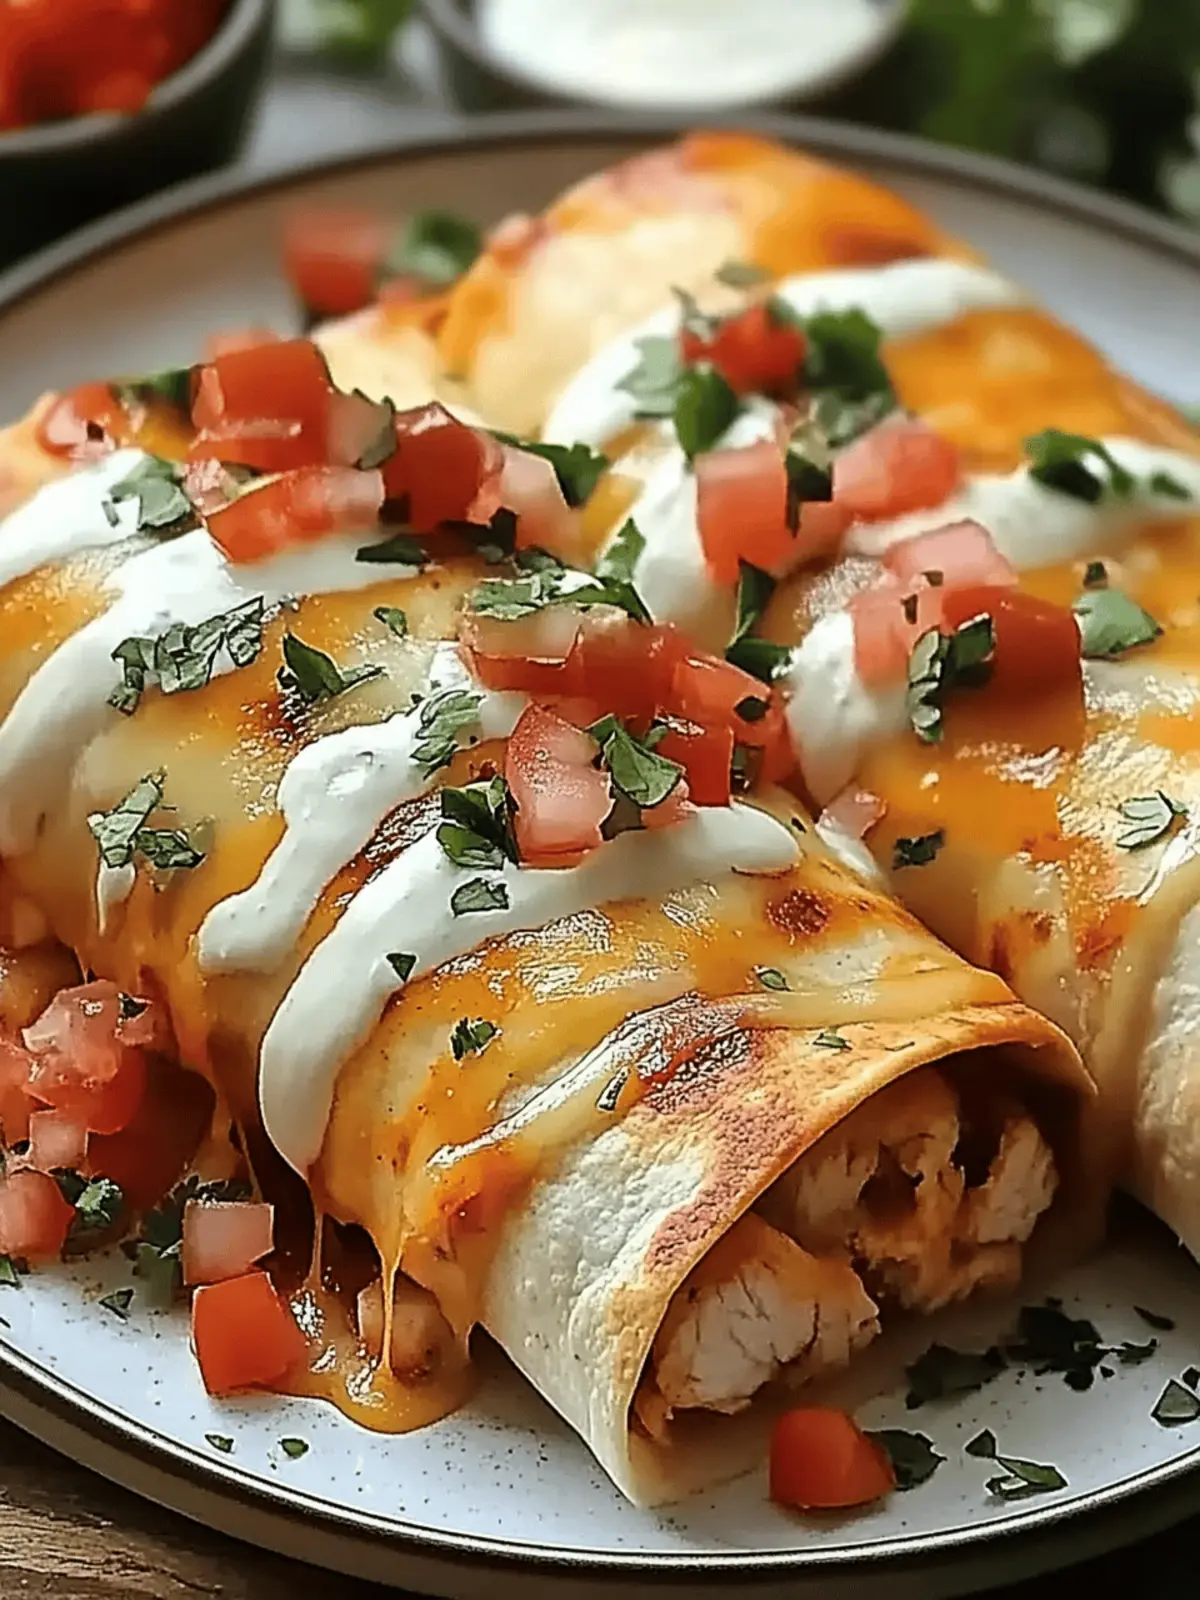
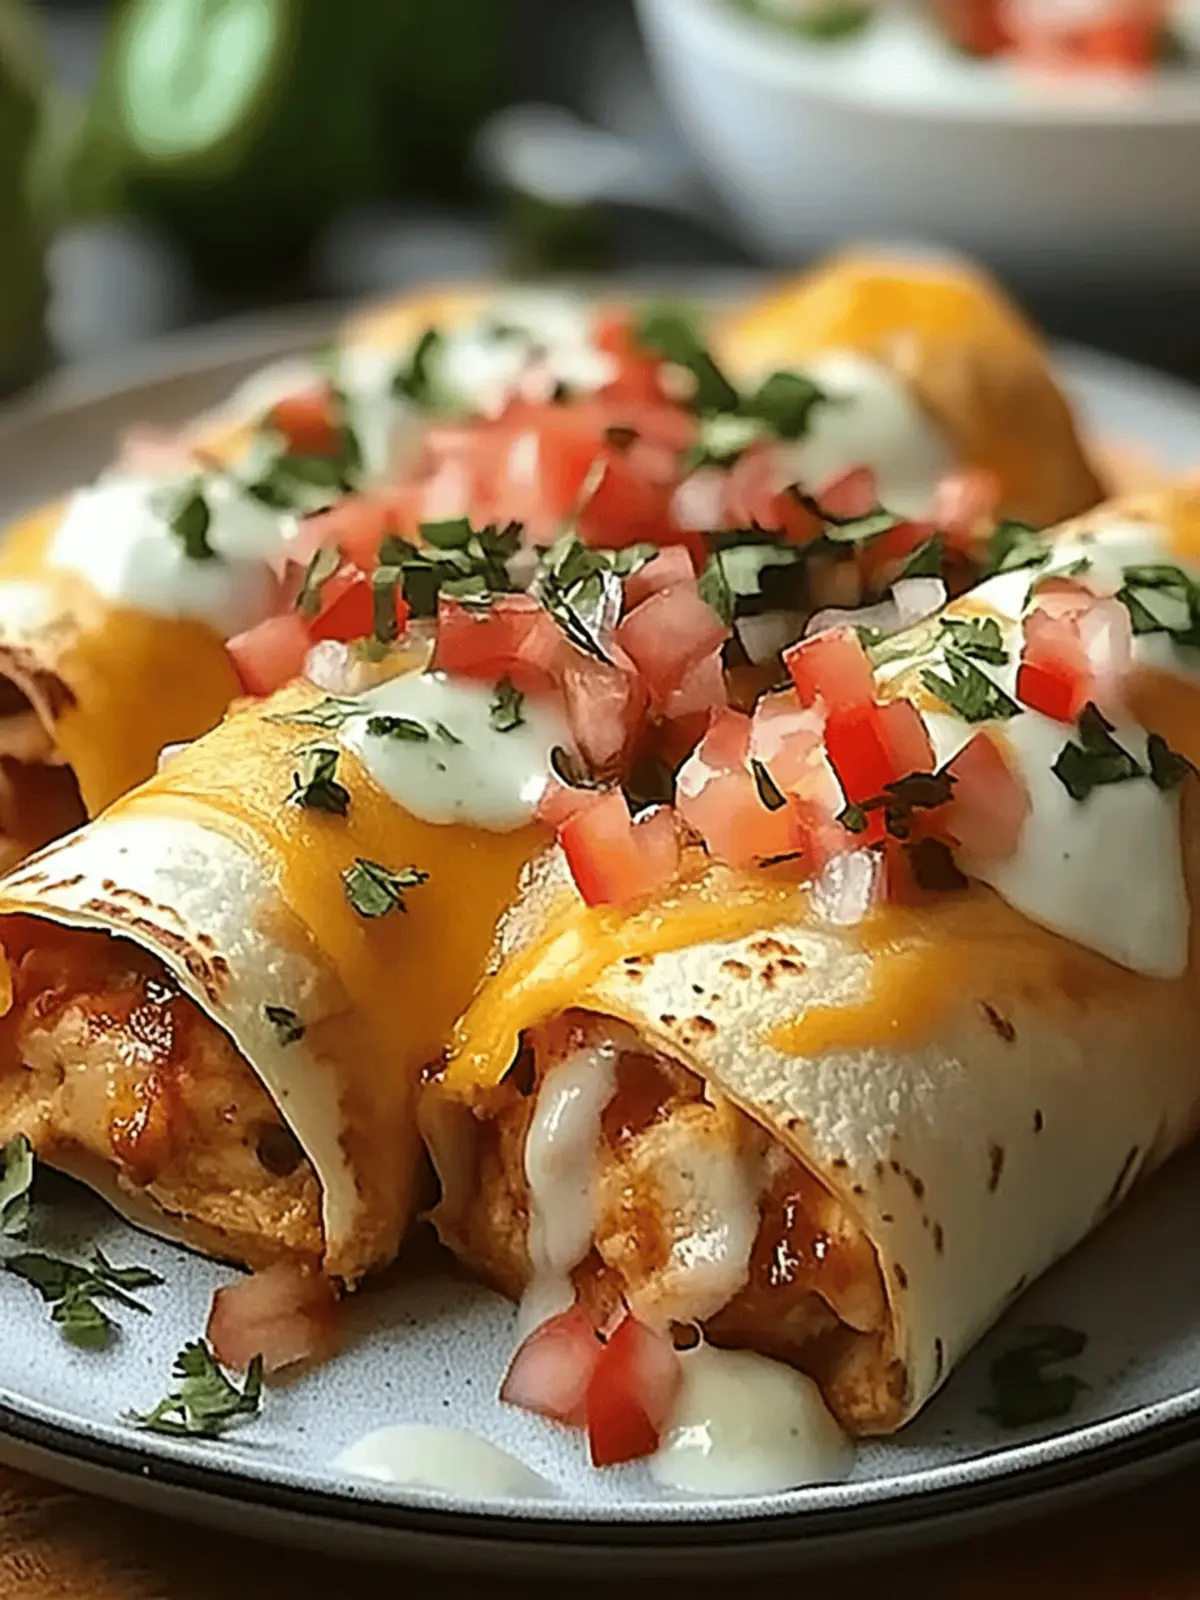
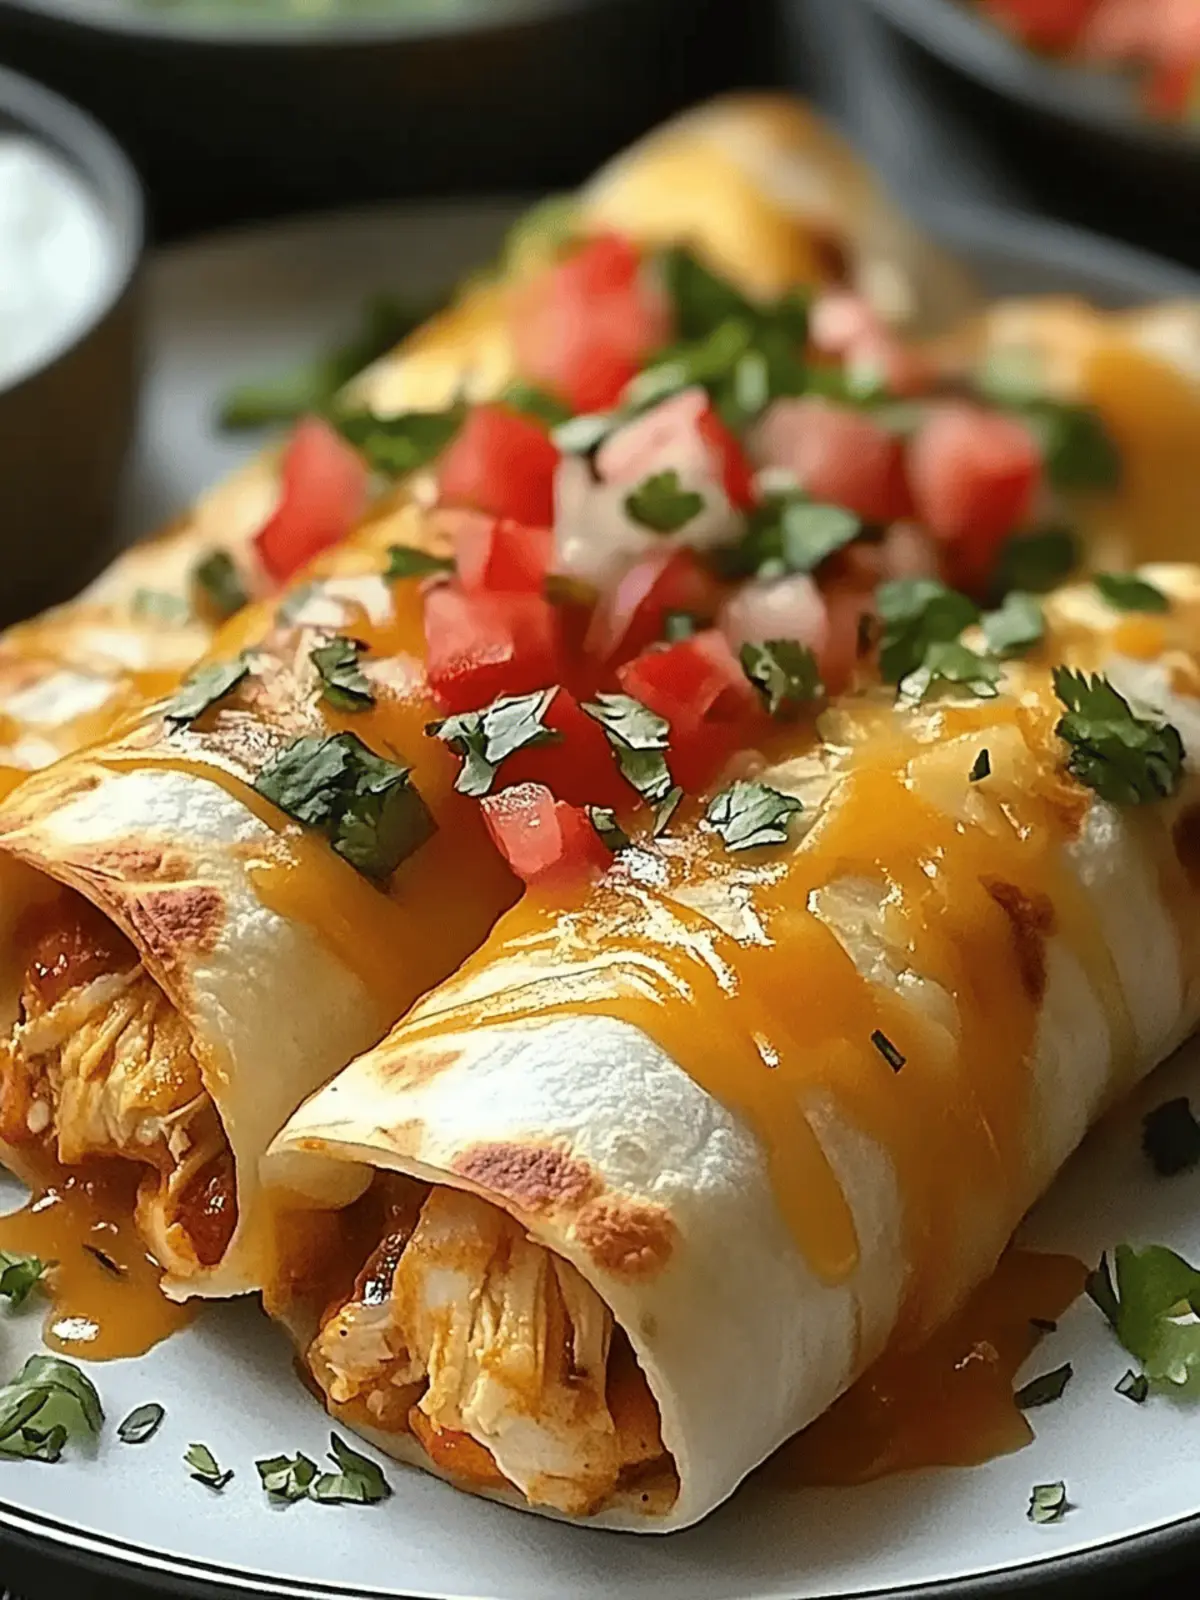
When the cravings for something delicious hit, nothing quite satisfies like a Baked Chicken Chimichanga. Picture this: a crisp, golden crust encasing a warm, cheesy filling that oozes flavor with every bite. I discovered this perfect blend of comfort and crunch on a night when I wanted something homemade yet easy to whip up after a long day. It’s amazing how simple ingredients like shredded chicken, cream cheese, and a hint of taco seasoning can transform into a dish that feels utterly indulgent.
Whether you’re entertaining friends or simply treating yourself to a cozy night in, these chimichangas are a surefire crowd-pleaser. They come together in no time, with just a little prep and some baking magic. Plus, they’re versatile enough for everyone’s taste buds—top them with your favorite salsa, guacamole, or a drizzle of sour cream, and you’ve got a meal that’ll have everyone reaching for seconds. Trust me, the home-cooked flavor beats any fast food option hands down. Let’s dive into this delicious recipe!
Why love Baked Chicken Chimichangas so much?
Irresistible Flavor: Each chimichanga boasts a cheesy, flavorful filling that brings a delightful twist to your dinner table.
Easy Preparation: This recipe requires minimal prep time, making it a breeze for busy weeknights.
Golden and Crisp: Baking rather than frying means you enjoy that satisfying crunch without the extra guilt.
Crowd Favorite: Perfect for gatherings, they are a hit with both kids and adults alike!
Customize with Toppings: Serve with your favorite salsas, avocado, or sour cream for an extra burst of flavor.
Versatile Ingredients: Use leftover chicken or mix in veggies to make it your own!
Baked Chicken Chimichangas Ingredients
• Let’s gather everything for a delightful meal!
For the Filling
- Cooked shredded chicken – gives these baked chicken chimichangas a hearty base full of flavor.
- Cream cheese – adds creaminess and binds the ingredients together beautifully.
- Shredded cheddar cheese – offers a sharp, bold flavor that enhances every bite.
- Shredded Monterey Jack cheese – brings a mild taste and perfect melt to the filling.
- Salsa or enchilada sauce – provides a zesty kick that complements the chicken perfectly.
- Taco seasoning – infuses the filling with a mix of spices that truly elevates the flavor profile.
For the Wrap
- Large flour tortillas – easy to roll and hold all that cheesy goodness inside.
For the Crispy Finish
- Olive oil or melted butter – brushing these on the chimichangas ensures a golden, crispy exterior.
How to Make Baked Chicken Chimichangas
-
Preheat your oven to 400°F (200°C) and line a baking sheet with parchment paper. This step is essential for achieving that perfectly crisp texture that we all love.
-
Mix the filling in a large bowl by combining shredded chicken, cream cheese, salsa, taco seasoning, and both cheeses. Mix until smooth and evenly combined for a flavorful explosion in every bite.
-
Assemble one tortilla at a time. Spoon about ½ cup of the chicken mixture into the center, then fold the sides in and roll it up tightly like a burrito. Repeat for all tortillas, ensuring they’re securely wrapped.
-
Arrange the chimichangas seam-side down on your prepared baking sheet. Brush the tops generously with olive oil or melted butter for that beautiful golden finish.
-
Bake in the oven for 20–25 minutes. Flip them halfway through to achieve even crispness until they’re golden brown and deliciously crisp.
-
Serve warm by removing them from the oven and letting them cool slightly. Pair with your favorite toppings for added flair and flavor.
Optional: Top with fresh guacamole for a delicious twist.
Exact quantities are listed in the recipe card below.
How to Store and Freeze Baked Chicken Chimichangas
- Room Temperature: Baked chicken chimichangas can be left out for up to 2 hours if not served. After that, it’s best to refrigerate them to prevent spoilage.
- Fridge: Store any leftovers in an airtight container in the fridge for up to 3 days. Reheat in the oven or microwave until heated through for best results.
- Freezer: For longer storage, freeze the baked chimichangas individually wrapped in plastic wrap, then in a freezer bag for up to 3 months.
- Reheating: To reheat from frozen, bake at 375°F (190°C) for 25-30 minutes or until heated through. Enjoy the flavors of your baked chicken chimichangas with that same crispiness!
Baked Chicken Chimichangas Variations
Feel free to get creative with this recipe—your taste buds will thank you!
- Spicy Kick: Add diced jalapeños or cayenne pepper to the filling for an exciting heat that will awaken your senses.
- Veggie Lovers: Incorporate sautéed bell peppers and onions into the chicken mixture for a colorful twist. This will not only add flavor but also extra nutrition.
- Gluten-Free: Substitute flour tortillas with gluten-free tortillas, ensuring everyone can enjoy this delicious meal together.
- Cheesy Delight: Use a blend of pepper jack cheese for a spicy, melty filling that adds depth of flavor and creaminess.
- Creamy Avocado: Fold in mashed avocado or guacamole for an extra layer of creaminess. It’s a fantastic way to boost the healthy fats!
- Herb Infusion: Add fresh cilantro or parsley to the filling for a burst of fresh flavor that brightens up every bite.
- Breakfast Version: Swap chicken for scrambled eggs and add breakfast sausage for a hearty morning twist that everyone will love!
- Sweet Salsa: Experiment with a mango or pineapple salsa on top for a tropical twist, balancing savory and sweet perfectly.
What to Serve with Baked Chicken Chimichangas?
Looking to round out your meal with delightful sides that compliment the zesty flavors of these baked chicken chimichangas?
- Mexican Street Corn: This creamy, tangy dish brings an irresistible flavor burst and pairs beautifully with the spices in the chimichangas.
- Refried Beans: Creamy and hearty, these beans offer a wonderful contrast to the crispy chimichangas, making them a satisfying addition.
For a refreshing twist, add a vibrant Mexican street corn salad toss made with fresh cilantro and lime juice. The sweetness of the corn and the zing of lime create a lovely balance with the savory chimichangas.
-
Guacamole and Tortilla Chips: Cool and creamy guacamole served with crunchy chips is a classic pairing that enhances the overall experience.
-
Chili Lime Rice: This zesty rice offers a refreshing kick that complements the bold flavors of the chimichangas without overpowering them.
-
Margaritas: Sip on a chilled margarita to elevate your meal with its citrusy tang, which beautifully contrasts the rich chicken filling.
-
Peach Salsa: A sweet yet spicy salsa made with fresh peaches provides an exciting topping option that adds color and depth to every bite.
-
Pico de Gallo: Fresh, vibrant, and loaded with tomatoes, onions, and cilantro, this salsa adds a burst of freshness that pairs perfectly with baked chicken chimichangas.
-
Chocolate Flan: Finish off your meal on a sweet note with a velvety chocolate flan for a delightful blend of textures and flavors.
Expert Tips for Baked Chicken Chimichangas
-
Use Leftovers: If you have leftover rotisserie chicken, use it! It saves time and enhances flavor in your baked chicken chimichangas.
-
Don’t Overfill: Avoid overstuffing the tortillas; use about ½ cup of filling. This makes them easier to roll and prevents leaks during baking.
-
Seal Properly: Ensure the edges of the tortillas are sealed tightly; this helps the chimichangas hold their shape and prevents spilling while baking.
-
Brush Generously: Brushing the tops with olive oil or melted butter not only adds flavor but also helps achieve a gorgeous golden-brown color.
-
Customize Your Fillings: Feel free to add veggies like bell peppers or corn for extra nutrition and flavor. Just be cautious about moisture, which can make the filling soggy.
-
Serve Immediately: For the best taste and texture, serve these baked chicken chimichangas right out of the oven while they’re warm and crisp!
Make Ahead Options
These Baked Chicken Chimichangas are perfect for meal prep, saving you valuable time on busy weeknights! You can assemble the chimichangas up to 24 hours in advance—after rolling them up, simply place them on a baking sheet, cover tightly with plastic wrap, and refrigerate. To ensure they stay as delicious as the day you made them, brush on the olive oil or butter just before baking. When you’re ready to enjoy your chimichangas, preheat your oven and bake from the fridge, adding an extra 5 minutes to the cooking time to ensure they’re heated through. This way, you can have a satisfying, homemade meal ready to go, satisfying your cravings without the fuss!
Baked Chicken Chimichangas Recipe FAQs
How do I choose the right chicken for my chimichangas?
Absolutely! For this recipe, I recommend using cooked shredded chicken, which can come from rotisserie chicken or homemade boiled chicken. The key is to ensure the chicken is moist and flavorful. Check for any dark spots which can indicate spoilage, and aim for chicken pieces that are tender and juicy for the best taste.
What’s the best way to store leftover baked chicken chimichangas?
Very good question! If you have leftovers, simply place them in an airtight container in the fridge. They will stay fresh for up to 3 days. When you’re ready to enjoy them again, I suggest reheating in the oven at 350°F (175°C) for about 10-15 minutes to bring back their crispness.
Can I freeze baked chicken chimichangas? If so, how?
Absolutely! To freeze your chimichangas, let them cool completely after baking. Then, wrap each chimichanga tightly in plastic wrap, followed by a layer of aluminum foil to prevent freezer burn. Store them in a freezer bag for up to 3 months. When you’re ready to eat, preheat your oven to 375°F (190°C) and bake for 25-30 minutes or until heated through and crisp.
What if my chimichangas turn out soggy?
This can be a common troubleshooting issue. Make sure you don’t overfill your tortillas; about ½ cup of filling is ideal. Also, ensure the edges are properly sealed to prevent leaks. If you’re using a high-moisture salsa, consider draining it a bit before mixing it with your filling to keep things nice and dry.
Are Baked Chicken Chimichangas suitable for everyone? What about allergies?
Great question! This recipe contains dairy from cream cheese and cheese, so it’s not suitable for those with lactose intolerance or dairy allergies. You can substitute with dairy-free alternatives if needed. Additionally, for gluten-free options, consider using gluten-free tortillas. Always check ingredient labels for allergens to ensure everyone’s health and safety.
What ingredients can I swap out for a healthier version?
The more the merrier! You can substitute shredded chicken with lean ground turkey or a mix of veggies for a vegetarian option. Using low-fat cream cheese and cheese can reduce calories, and whole wheat tortillas can add fiber. Feel free to get creative and make it fit your dietary needs while still enjoying the deliciousness of baked chicken chimichangas!
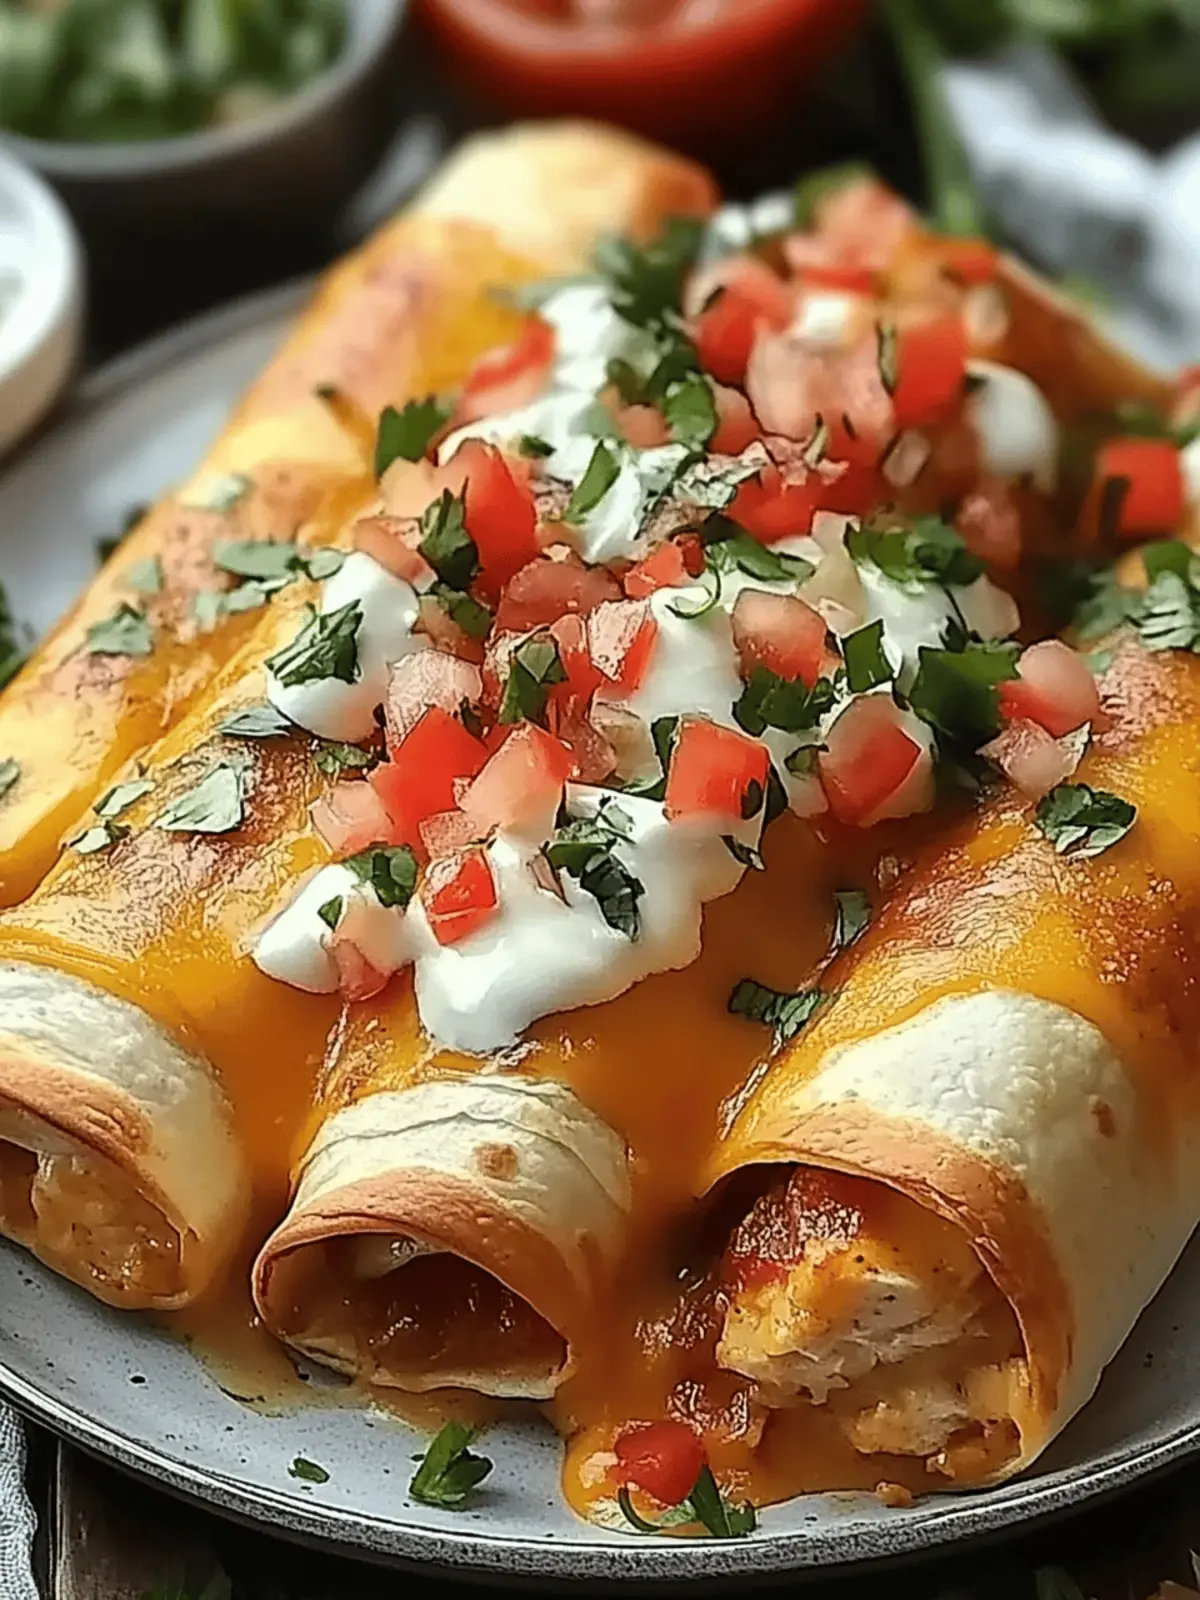
Deliciously Cheesy Baked Chicken Chimichangas You’ll Love
Ingredients
Equipment
Method
- Preheat your oven to 400°F (200°C) and line a baking sheet with parchment paper.
- Mix the filling in a large bowl by combining shredded chicken, cream cheese, salsa, taco seasoning, and both cheeses. Mix until smooth and evenly combined.
- Assemble one tortilla at a time. Spoon about ½ cup of the chicken mixture into the center, then fold the sides in and roll it up tightly like a burrito.
- Arrange the chimichangas seam-side down on your prepared baking sheet. Brush the tops generously with olive oil or melted butter.
- Bake in the oven for 20–25 minutes. Flip them halfway through until they’re golden brown and crisp.
- Serve warm by removing them from the oven and letting them cool slightly. Pair with your favorite toppings.

