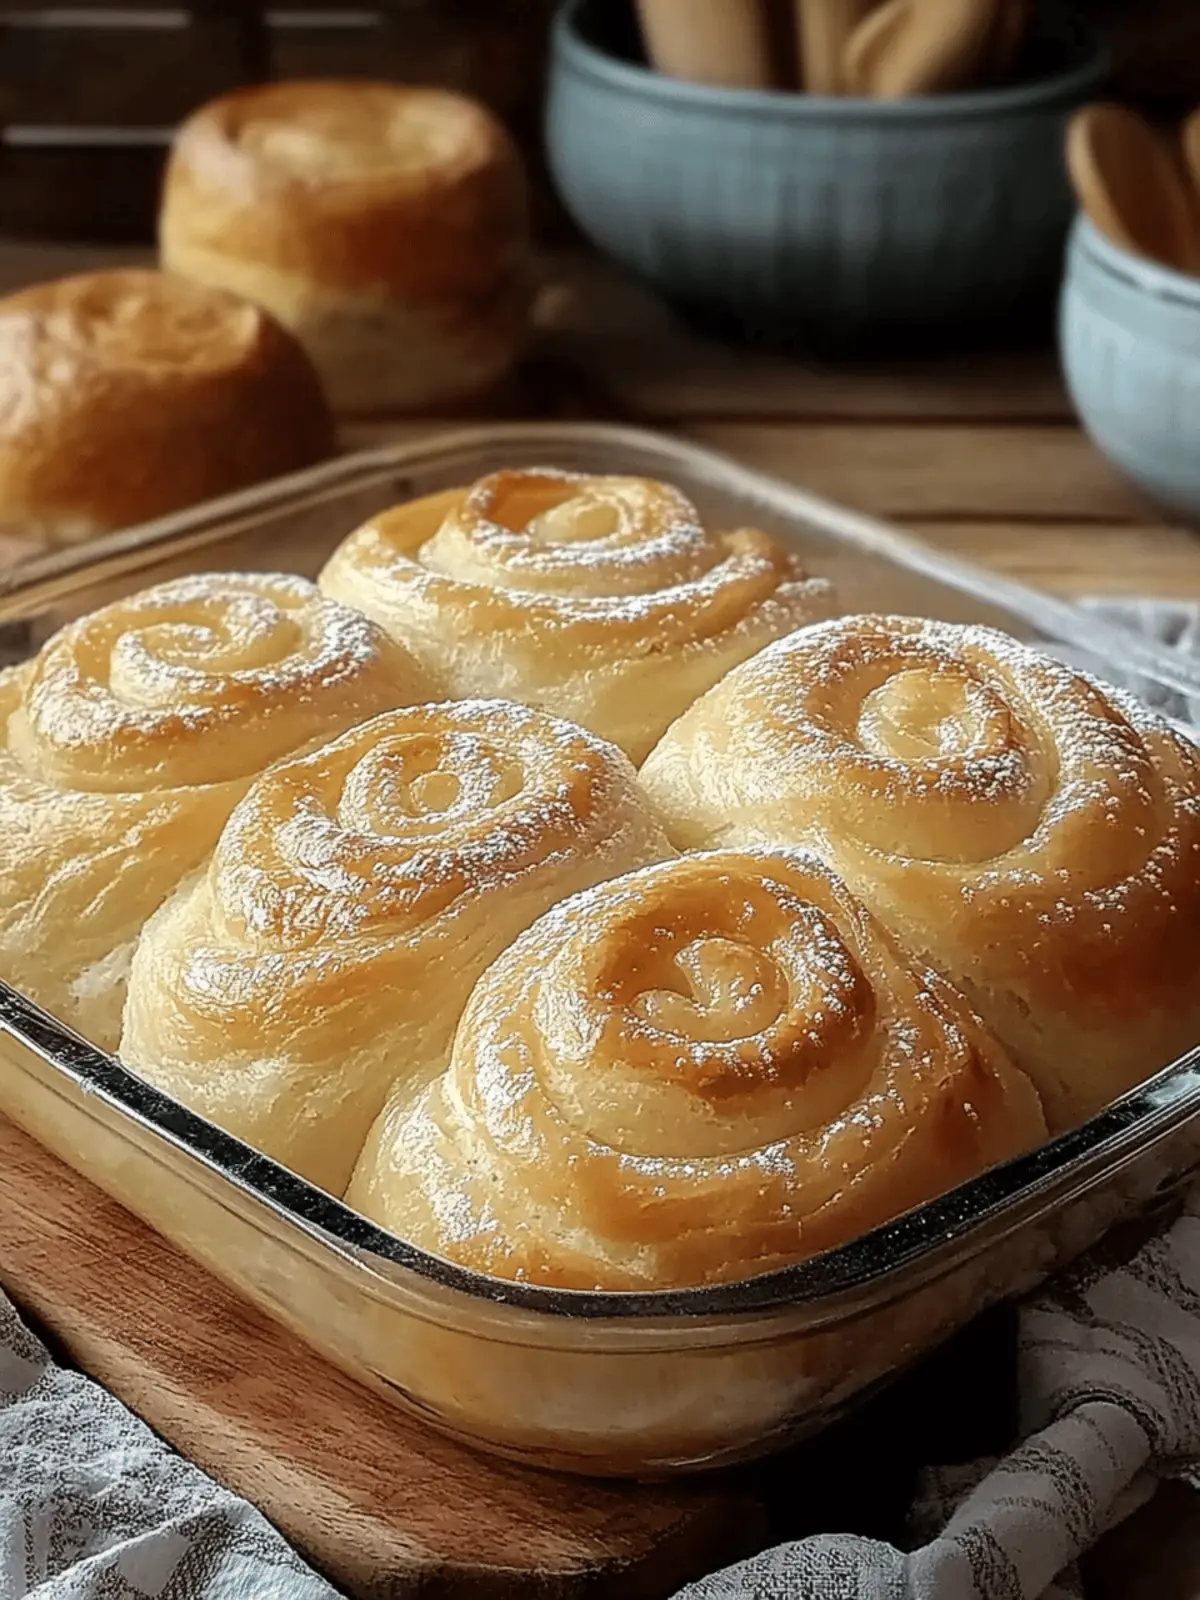
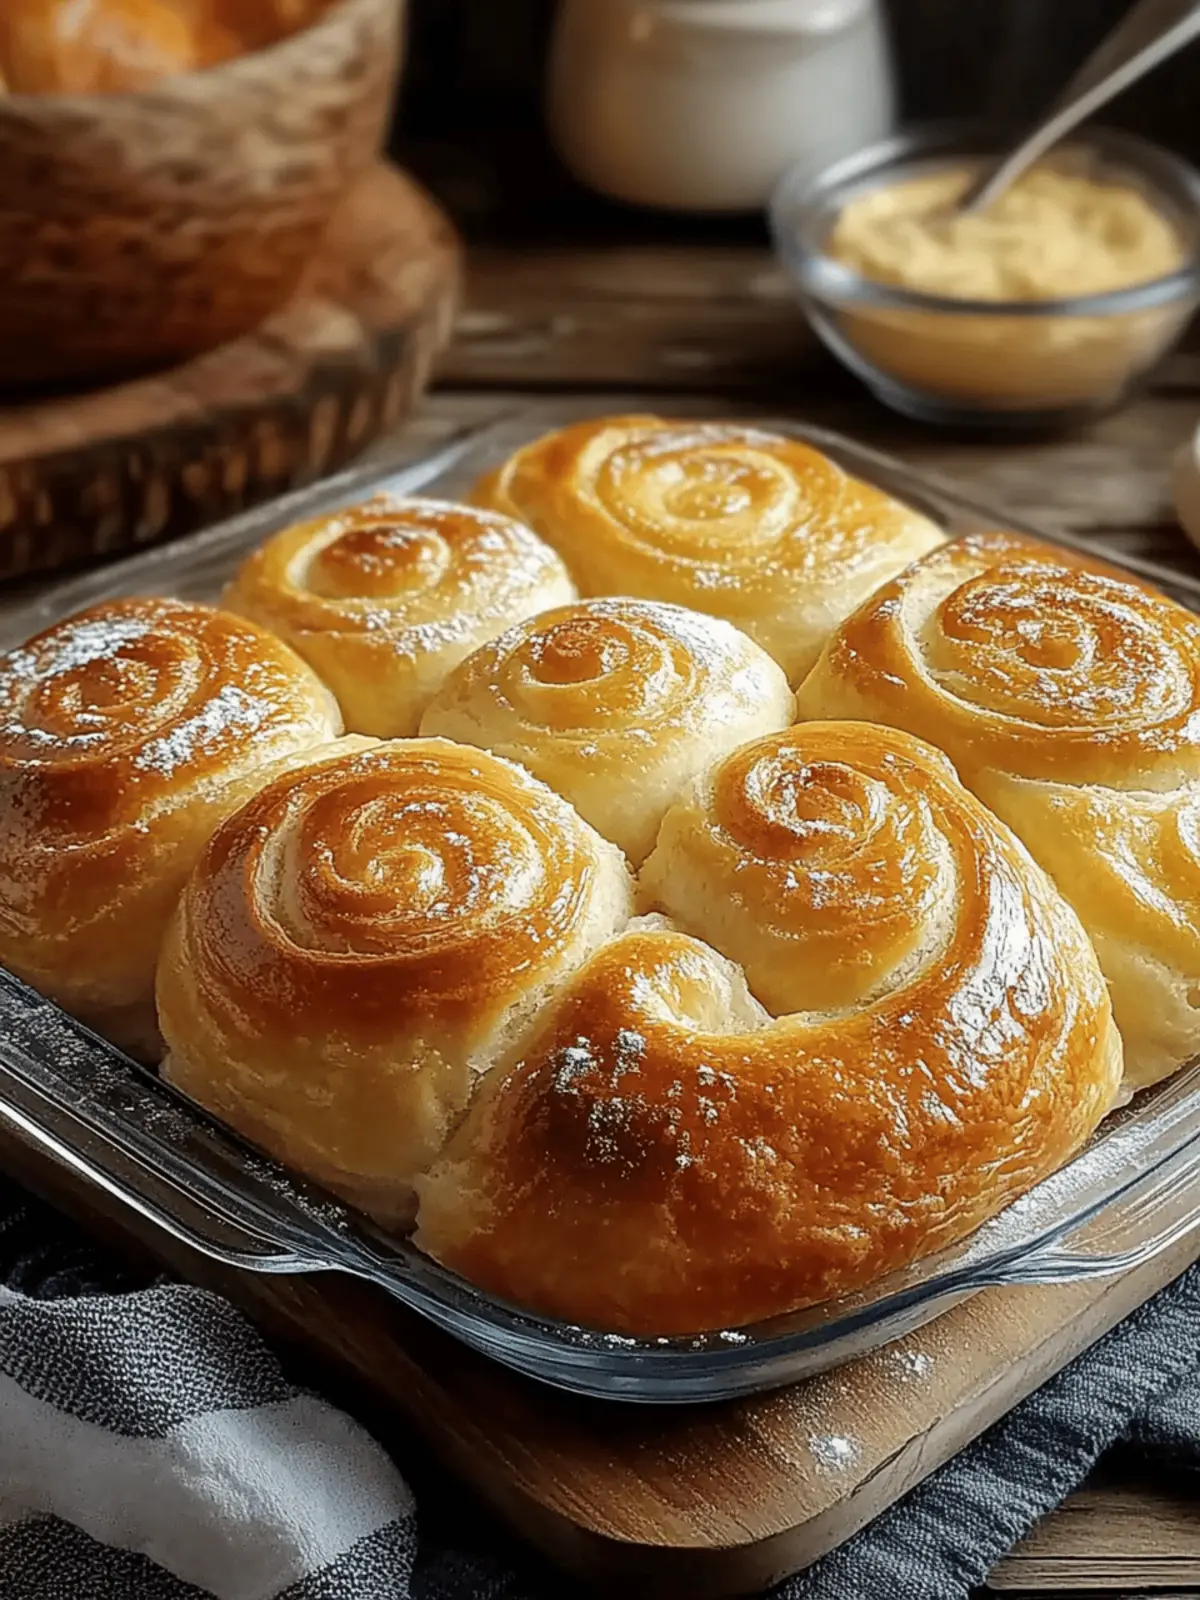
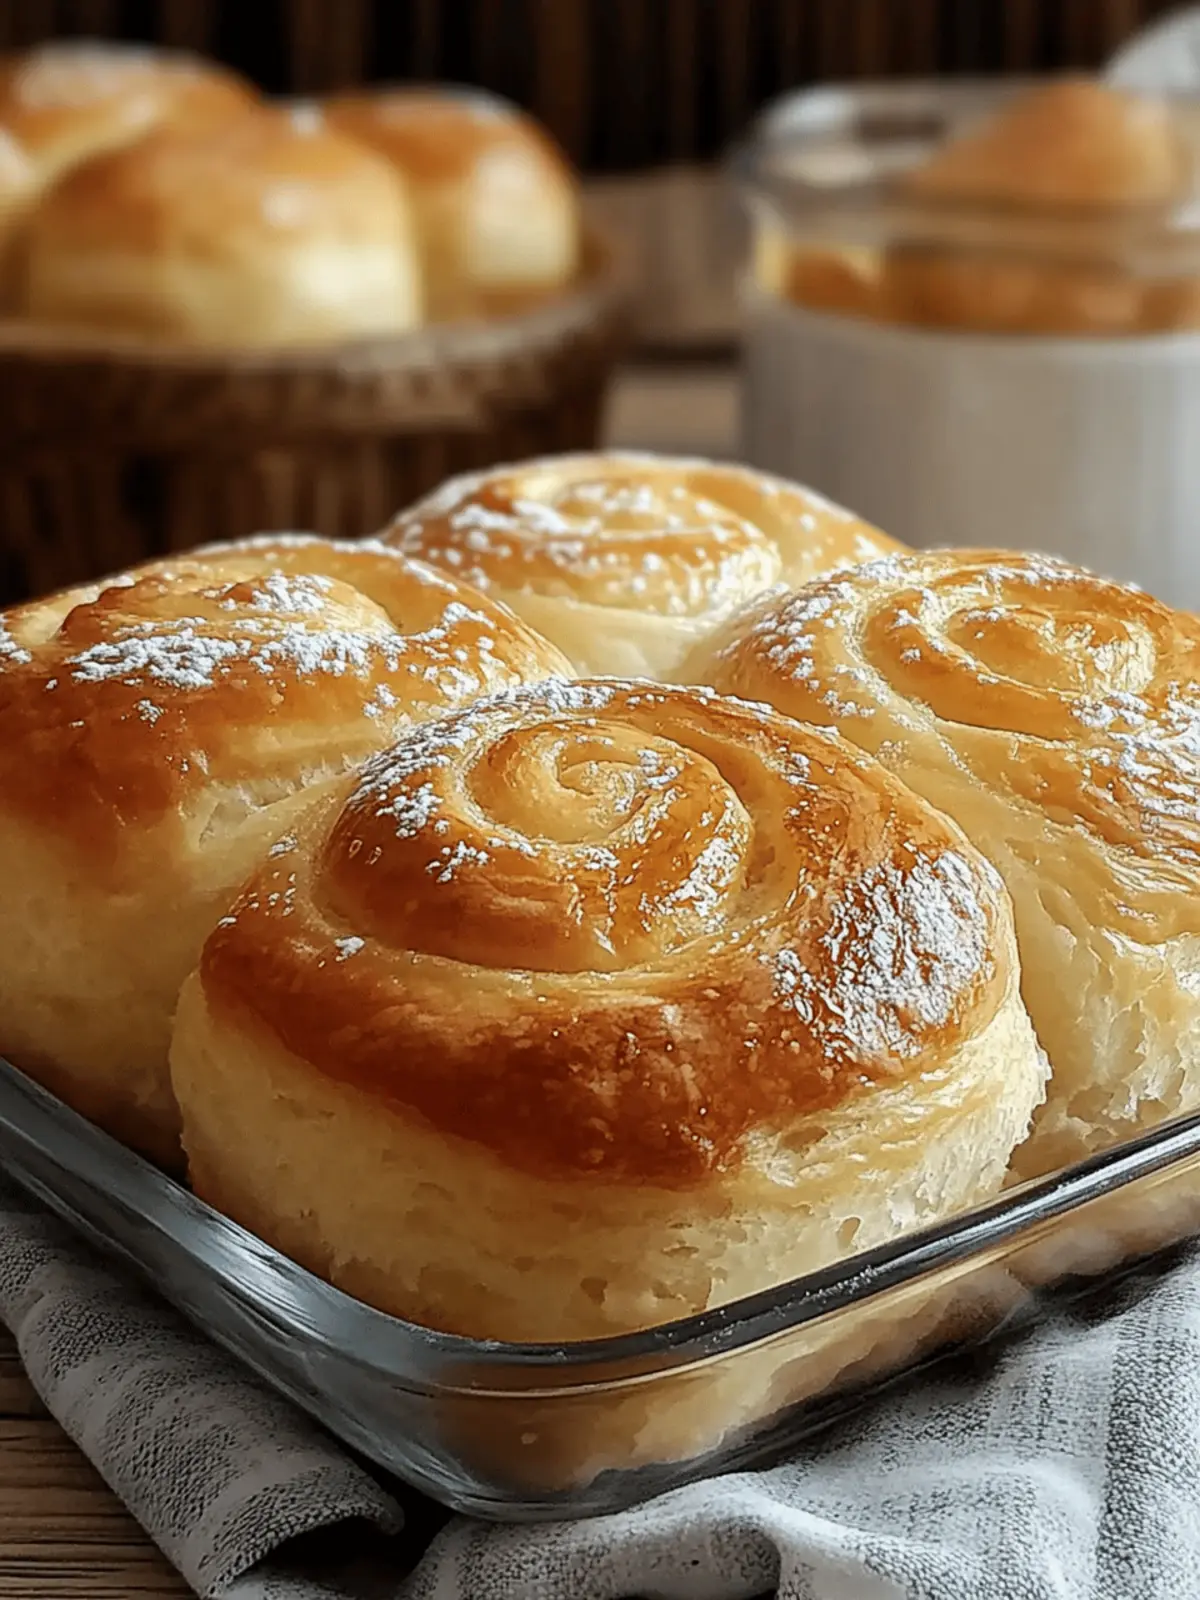
When the sun rises and fills the kitchen with golden light, I can’t help but think about the sweet, buttery aroma of Classic Ensaymada Bread wafting through the air. This delightful Filipino pastry is more than just a treat; it evokes memories of warm gatherings and shared experiences. With its soft, fluffy texture and subtle hint of sweetness, ensaymada is perfect for breakfast or a midday snack.
What makes this indulgent bread even more appealing is its versatility—whether topped with grated cheese or remixed into variations like Ube or Chocolate Ensaymada, there’s a flavor for everyone. Best of all, making it at home doesn’t require professional skills; just a pinch of patience and love. So, roll up your sleeves and get ready to create a warmth-filled kitchen with a batch of irresistible ensaymada that will quickly become a family favorite!
Why is Classic Ensaymada Bread a must-try?
Fluffy Texture: This bread’s soft, airy consistency will literally melt in your mouth, making each bite an experience to savor.
Versatile Flavor Options: Customize it with unique variations like Coconut, Ube, or Chocolate to keep your palate excited!
Simplicity in Baking: You don’t need to be a pro baker to whip this up—just follow the steps and watch magic happen.
Family-Friendly Fun: Gather the kids or friends to make this a fun baking project that everyone can enjoy together.
Cultural Delight: Share a piece of Filipino heritage right in your kitchen with a treat that brings warmth and nostalgia.
Perfect Anytime Snack: Whether for breakfast or a delightful snack, Classic Ensaymada Bread fits perfectly into any time of day!
Classic Ensaymada Bread Ingredients
• The key to baking this delightful Filipino treat lies in the perfect blend of ingredients!
For the Dough
- All-Purpose Flour – Provides structure for a fluffy bread; you can use whole wheat flour for a denser version.
- Granulated Sugar – Adds sweetness; brown sugar can be used for a richer flavor.
- Salt – Essential for enhancing flavors; don’t skip this important ingredient!
- Instant Yeast – Leavens the dough for that light texture; make sure it’s fresh for the best rise.
- Milk (warmed) – Hydrates ingredients and activates the yeast; almond milk is a great dairy-free substitute.
- Unsalted Butter (softened) – Infuses moisture and flavor; margarine can be used as an alternative.
- Eggs – Bind ingredients together and enrich the dough; try flaxseed meal for an egg-free option.
- Vanilla Extract – Adds aromatic flavor; it’s optional but highly recommended for that delightful taste.
For the Topping
- Melted Butter (for brushing) – Creates a rich crust that enhances the ensaymada experience.
- Grated Cheese (e.g., cheddar or queso de bolsa) – A delicious topping that brings flavor and texture; mozzarella works well for a milder taste.
- Sugar (for dusting) – Provides a sweet finishing touch, making it irresistible!
Let your creativity shine as you explore different variations, all starting with these essential ingredients for Classic Ensaymada Bread.
How to Make Classic Ensaymada Bread
-
Gather Ingredients: Collect all your ingredients for ease of access. Having everything on hand will make the baking process smoother and more enjoyable.
-
Activate Yeast: Combine warmed milk, instant yeast, and a tablespoon of sugar in a bowl. Let this mixture sit until it becomes frothy, about 5-10 minutes—this indicates the yeast is alive and kicking!
-
Whisk Dry Ingredients: In a large mixing bowl, whisk together the all-purpose flour, remaining sugar, and salt. This step ensures even distribution of flavors and textures in your dough.
-
Mix Wet Ingredients: In another bowl, beat the eggs before mixing them with softened butter and vanilla extract. Whisk it well until creamy, making your dough taste heavenly!
-
Combine Mixtures: Gradually merge the wet and dry ingredients, stirring until you form a soft dough. Don’t worry if it’s a bit sticky; this will lead to that perfect fluffy texture!
-
Knead Dough: On a floured surface, knead your dough for about 8-10 minutes. Aim for a smooth and elastic texture—that’s the secret to airy bread!
-
First Rise: Place the dough in a greased bowl, cover it with a cloth, and allow it to rise in a warm area until doubled in size, about 1 hour. This is where the magic begins!
-
Prepare Portions: Once risen, punch down the dough gently and divide it into 12 pieces. Shape each piece into a circle, brushing melted butter on top for extra flavor.
-
Shape into Spirals: Roll each dough circle into a jelly roll shape, then place them in greased molds or on a baking tray. The spirals create that iconic ensaymada form!
-
Second Rise: Allow the shaped dough to rise again until puffy, which takes about 30-45 minutes. This step is crucial for light and fluffy bread.
-
Preheat Oven: Preheat your oven to 350°F (175°C), preparing for that delightful baking aroma soon to fill your home.
-
Bake: Place the trays in the oven and bake for 20-25 minutes, or until the tops are golden brown. Your kitchen is about to smell heavenly!
-
Cool: After baking, let the ensaymada cool in the molds for about 10 minutes. Then, transfer them to a wire rack to cool completely—if you can resist the urge to dive right in!
-
Finish with Toppings: Brush cooled ensaymada with melted butter, then sprinkle with grated cheese and dust with sugar while still warm. This final touch takes your bread to another level!
Optional: Serve warm for a gooey, melty experience that everyone will love!
Exact quantities are listed in the recipe card below.
Helpful Tricks for Classic Ensaymada Bread
-
Yeast Freshness is Key: Always use fresh instant yeast; stale yeast will prevent the dough from rising properly, leading to dense bread.
-
Butter Softness Matters: Make sure your unsalted butter is softened to room temperature before mixing; this ensures a well-blended dough and fluffy texture.
-
Knead Thoroughly: Knead the dough for a solid 8-10 minutes. Under-kneading results in a tough bread, while over-kneading can make it too dense.
-
Second Rise Importance: Don’t skip the second rise—allow the shaped dough to puff up before baking. This step creates that signature lightness in Classic Ensaymada Bread.
-
Baking Check: For a perfect bake, look for a golden brown color and a hollow sound when you gently tap the bottom. This indicates that the bread is done!
-
Cooling Time: Resist the urge to dive in right after baking; cooling on a wire rack enhances texture and flavor, making each bite even more enjoyable.
Classic Ensaymada Bread Variations
Explore the delightful possibilities of customizing your ensaymada to suit your cravings and delight your family!
-
Coconut Ensaymada: Add shredded coconut into the dough or sprinkle some on top for a tropical twist. The hint of coconut pairs beautifully with the sweet aroma.
-
Ube Ensaymada: Fold in ube extract or mashed ube for a vibrant, colorful pastry. This variation brings a lovely flavor and a feast for the eyes!
-
Chocolate Ensaymada: Mix cocoa powder into the dough and top with rich chocolate frosting for a sweet treat that is pure bliss. Perfect for chocolate lovers at any time of day.
-
Nutty Ensaymada: Incorporate chopped nuts such as almonds or walnuts for added crunch and flavor. The nuts provide a satisfying texture that complements the soft bread.
-
Savory Cheese Ensaymada: Use a blend of cheeses like mozzarella and parmesan in the dough for a cheesy, savory twist. This variation is a delicious departure from the traditional sweet version!
-
Spiced Ensaymada: Add a sprinkle of cinnamon or cardamom into the dough for a warm, aromatic experience. These spices evoke a cozy feeling that’s perfect for any gathering.
-
Fruit-Topped Ensaymada: Consider topping your fresh-out-of-the-oven ensaymada with fresh fruits like berries or bananas. This adds a refreshing and colorful touch!
-
Gluten-Free Ensaymada: Substitute all-purpose flour with a gluten-free flour blend to cater to dietary needs without losing the fluffy texture. Your gluten-sensitive friends will be delighted!
What to Serve with Classic Ensaymada Bread?
Every bite of this fluffy delight calls for the perfect companions to create a lovely full meal experience.
- Creamy Coffee: A warm cup of creamy coffee complements the sweetness of ensaymada, making it a cozy morning treat.
- Fresh Fruit Salad: Bright, juicy fruits add a refreshing contrast, balancing the richness of the bread while providing a burst of flavor.
- Coconut Jam: The tropical sweetness of coconut jam spreads beautifully over ensaymada, accentuating its buttery richness for a unique taste explosion.
- Hot Chocolate: Rich, frothy hot chocolate turns snack time into a sweet indulgence, perfect for sharing moments with loved ones.
- Cheese Platter: A selection of cheeses, from mild mozzarella to sharp cheddar, enhances the savory notes of the ensaymada, creating an enjoyable flavor dance.
- Mango Smoothie: A creamy mango smoothie offers a luscious, fruity pairing that brings a delightful tropical vibe to your brunch or snack break.
- Vanilla Ice Cream: For a dessert twist, serve warm ensaymada with a scoop of vanilla ice cream—melting goodness that will leave you smiling.
- Herbal Tea: A calming herbal tea, like chamomile or mint, provides a soothing accompaniment, perfect for unwinding with your sweet treat.
- Yogurt with Honey: A dollop of creamy yogurt, drizzled with honey, complements the ensaymada, providing a lovely tanginess to each rich, buttery bite.
- Red Wine: A glass of light red wine can add an unexpected touch to your gathering, playing off the sweetness of the bread for a delightful pairing.
Storage Tips for Classic Ensaymada Bread
Room Temperature: Store Classic Ensaymada Bread in an airtight container for up to 3 days to keep it soft and fresh, away from direct sunlight.
Fridge: If you need to store it longer, you can refrigerate it; however, this may result in slightly drier bread. Consume within a week for the best quality.
Freezer: For longer storage, wrap the ensaymada tightly in plastic wrap and place it in a freezer-safe bag. It can be frozen for up to 2 months. Thaw in the refrigerator or at room temperature before reheating.
Reheating: To enjoy the bread warm again, simply pop it in a preheated oven at 350°F (175°C) for about 5-10 minutes, or warm it in a microwave for about 15-20 seconds until soft.
Make Ahead Options
These Classic Ensaymada Bread are perfect for busy home cooks looking to save time! You can prepare the dough up to 24 hours in advance. Simply follow the recipe until the first rise, then punch down the dough, wrap it tightly, and refrigerate. When you’re ready to bake, let the dough sit at room temperature for about 30 minutes before shaping it into spirals and allowing them to rise again. If you want to go further, shaped ensaymada can be frozen for up to 3 days; just cover them well in plastic wrap before freezing. When ready to enjoy, bake directly from the fridge or let dough come to room temperature, then bake as directed for those delicious, fresh-baked results!
Classic Ensaymada Bread Recipe FAQs
How do I choose ripe ingredients for Classic Ensaymada Bread?
Absolutely! For the best results, ensure your milk is warm but not hot to the touch—around 110°F (43°C)—to activate the yeast effectively. Your butter should be softened at room temperature for easy mixing. When selecting eggs, fresher ones yield better flavor, so it’s always good to check the expiration date!
What is the best way to store Classic Ensaymada Bread?
To keep your Classic Ensaymada Bread fresh, store it in an airtight container at room temperature for about 3 days. If you want to extend its shelf life, refrigerate it for up to a week—but note that it may dry out a bit. The ideal method, however, is to freeze it! Wrap each ensaymada tightly in plastic wrap, then place them in a freezer-safe bag. They’ll stay delicious for up to 2 months.
Can I freeze Classic Ensaymada Bread? If so, how?
Very! Follow these steps for effective freezing:
- Allow the bread to cool completely after baking.
- Wrap each piece securely in plastic wrap to prevent freezer burn.
- Place the wrapped ensaymada in a freezer-safe zip-top bag.
- Label the bag with the date; this will help you keep track of freshness.
When you’re ready to enjoy them, simply thaw them in the refrigerator overnight or at room temperature for a couple of hours. Reheat them in a preheated oven for 5-10 minutes at 350°F (175°C) or warm them in the microwave for 15-20 seconds.
What should I do if my dough doesn’t rise?
If you encounter a dough that hasn’t risen properly, first, don’t panic! Check if your yeast is active—if it didn’t foam in warm milk, it might be too old. Next, consider the temperature of your kitchen; yeast thrives in warm environments, so find a cozy spot for rising. If the dough is too dry, knead in a bit more warm milk gradually. Remember, the dough should be soft and slightly tacky, not overly sticky.
Are there any dietary considerations for Classic Ensaymada Bread?
Yes, definitely! If you or your guests have dietary restrictions, you can customize this recipe. Use plant-based milk instead of dairy and substitute melted butter with vegan margarine. For those with egg allergies, consider using flaxseed meal (1 tablespoon of flaxseed meal mixed with 2.5 tablespoons of water equates to 1 egg) to bind the ingredients. When serving, be cautious if anyone has cheese allergies, and consider alternative toppings like dairy-free cheese.
Can I use whole wheat flour instead of all-purpose flour for Classic Ensaymada Bread?
Of course! You can substitute with whole wheat flour for a denser texture that’ll still give you a yummy ensaymada. Just remember that whole wheat flour absorbs more liquid, so you might need to adjust the amount of milk in the dough slightly. Enjoy the nutty flavor while keeping that classic fluffy goodness!
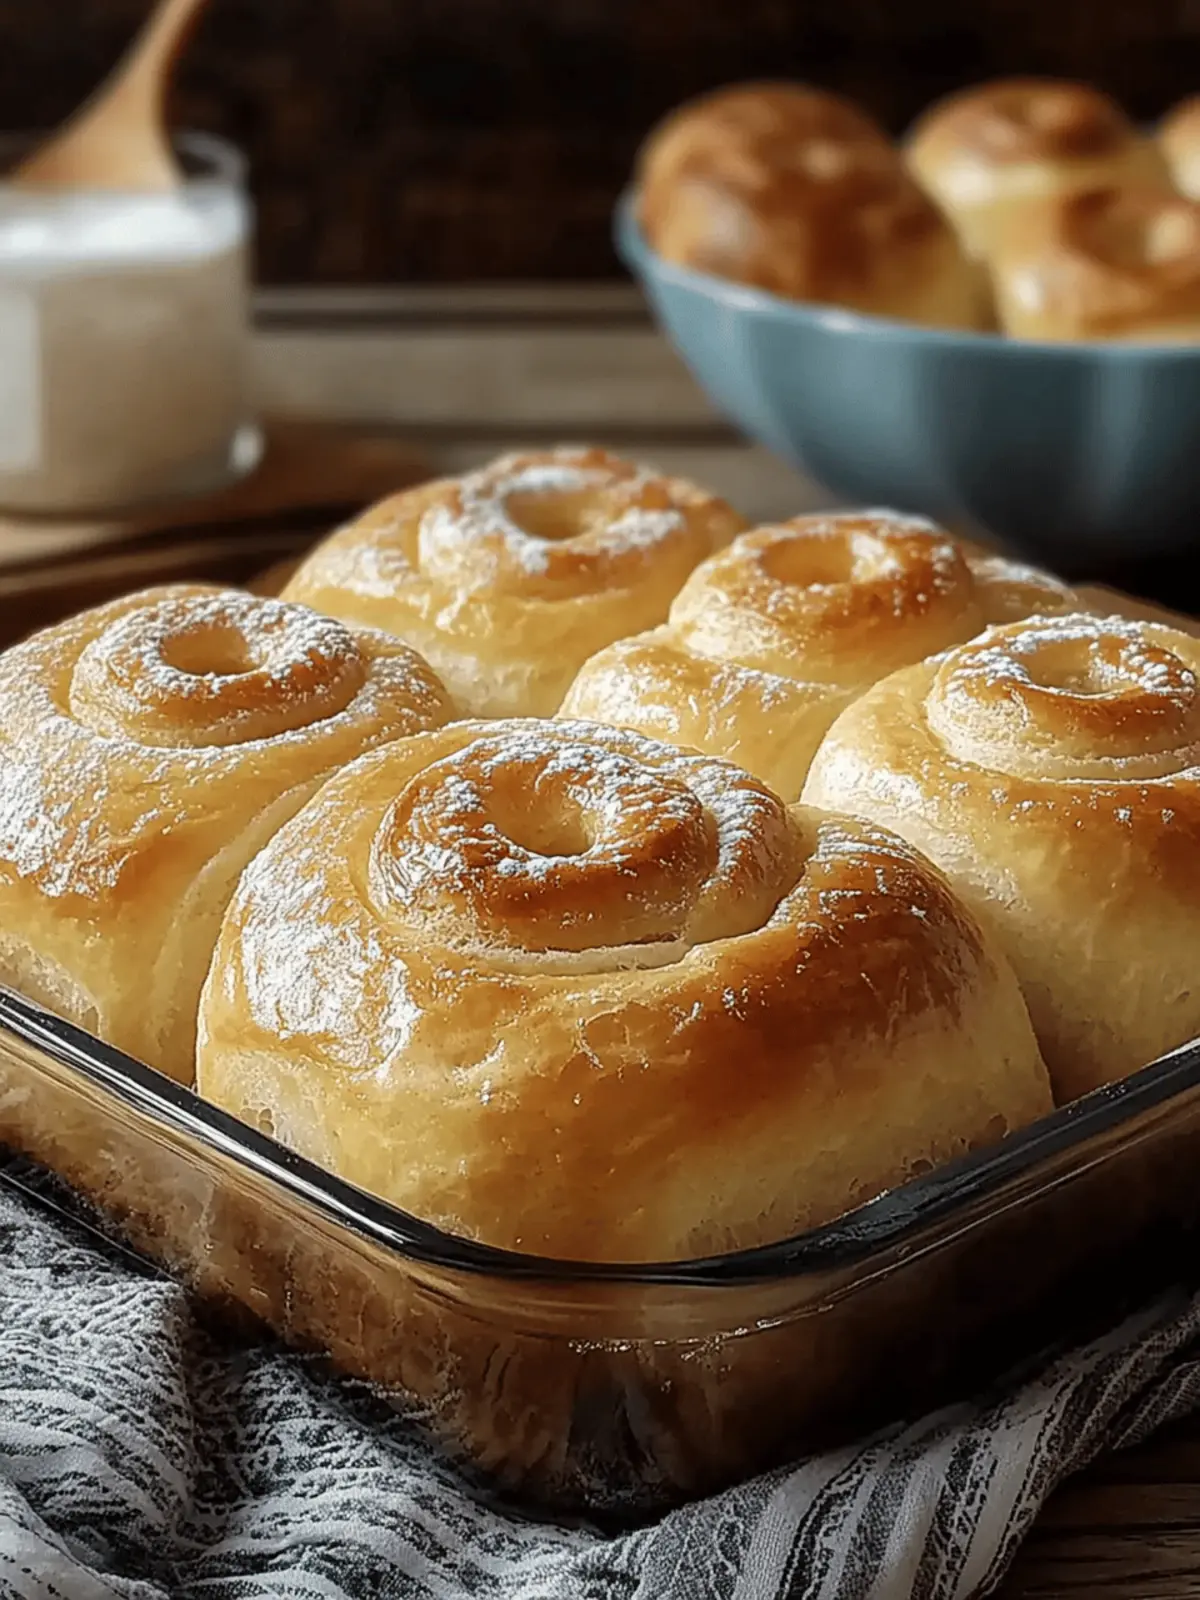
Classic Ensaymada Bread: Your Fluffy Filipino Favorite to Bake
Ingredients
Equipment
Method
- Gather Ingredients: Collect all your ingredients for ease of access.
- Activate Yeast: Combine warmed milk, instant yeast, and a tablespoon of sugar. Let sit until frothy.
- Whisk Dry Ingredients: In a large mixing bowl, whisk flour, remaining sugar, and salt.
- Mix Wet Ingredients: Beat the eggs and mix with softened butter and vanilla extract.
- Combine Mixtures: Gradually merge wet and dry ingredients until forming a soft dough.
- Knead Dough: Knead the dough on a floured surface for 8-10 minutes until smooth.
- First Rise: Place dough in a greased bowl, cover, and let rise until doubled, about 1 hour.
- Prepare Portions: Punch down dough, divide into 12 pieces, and shape into circles.
- Shape into Spirals: Roll each circle into a jelly roll shape and place in greased molds.
- Second Rise: Let shaped dough rise again until puffy, about 30-45 minutes.
- Preheat Oven: Preheat oven to 350°F (175°C).
- Bake: Bake for 20-25 minutes or until tops are golden brown.
- Cool: Allow to cool in molds for 10 minutes, then transfer to wire rack.
- Finish with Toppings: Brush cooled bread with melted butter, sprinkle with cheese, and dust with sugar.

