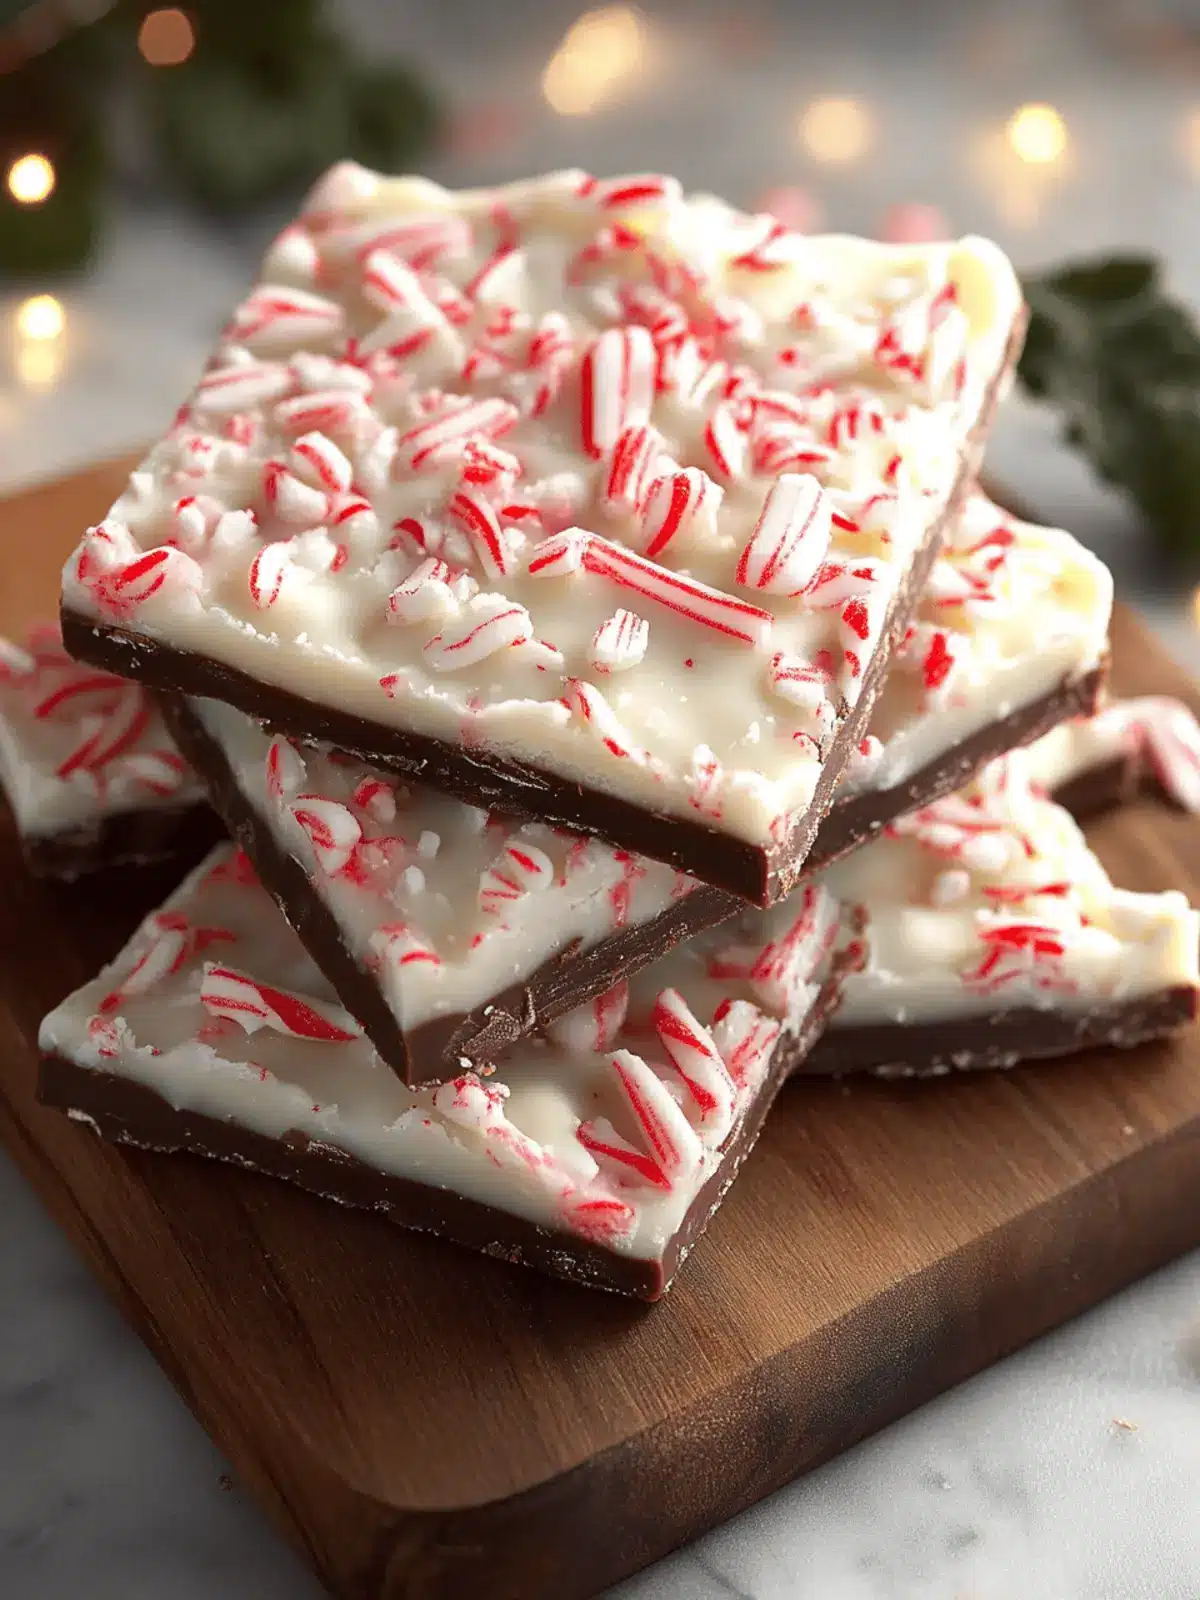
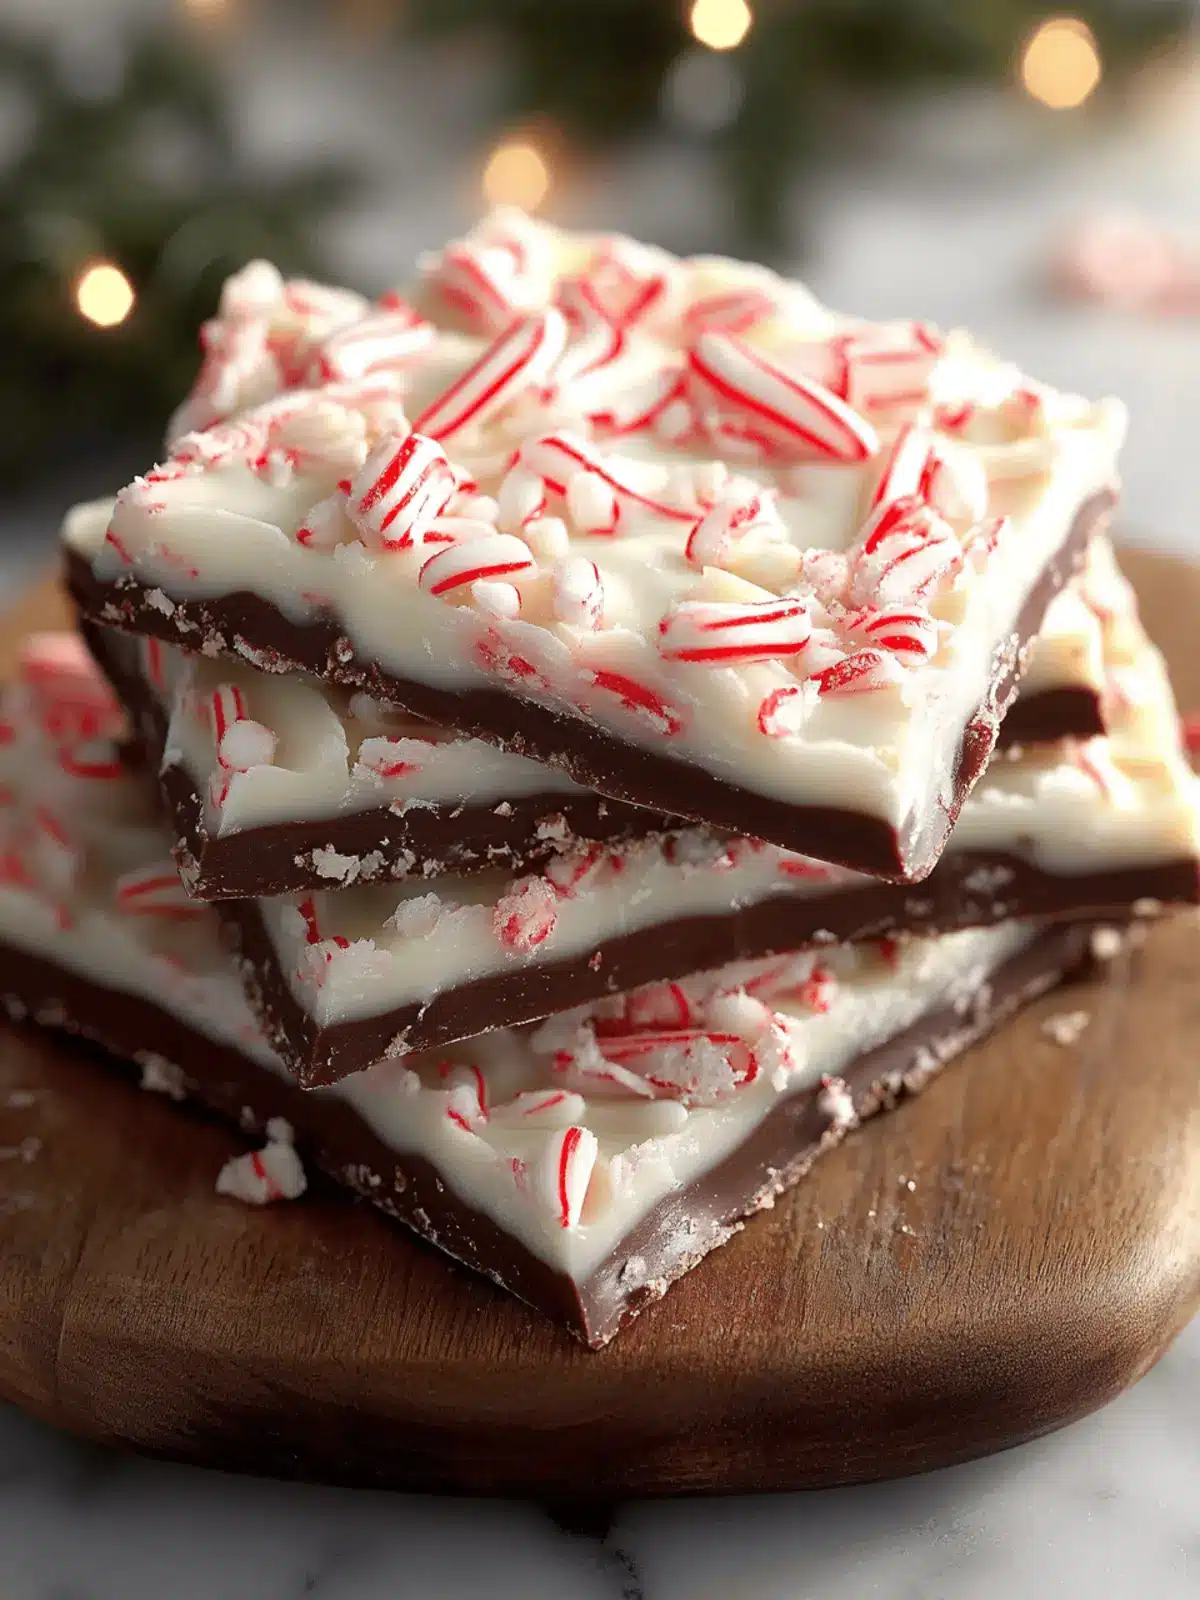
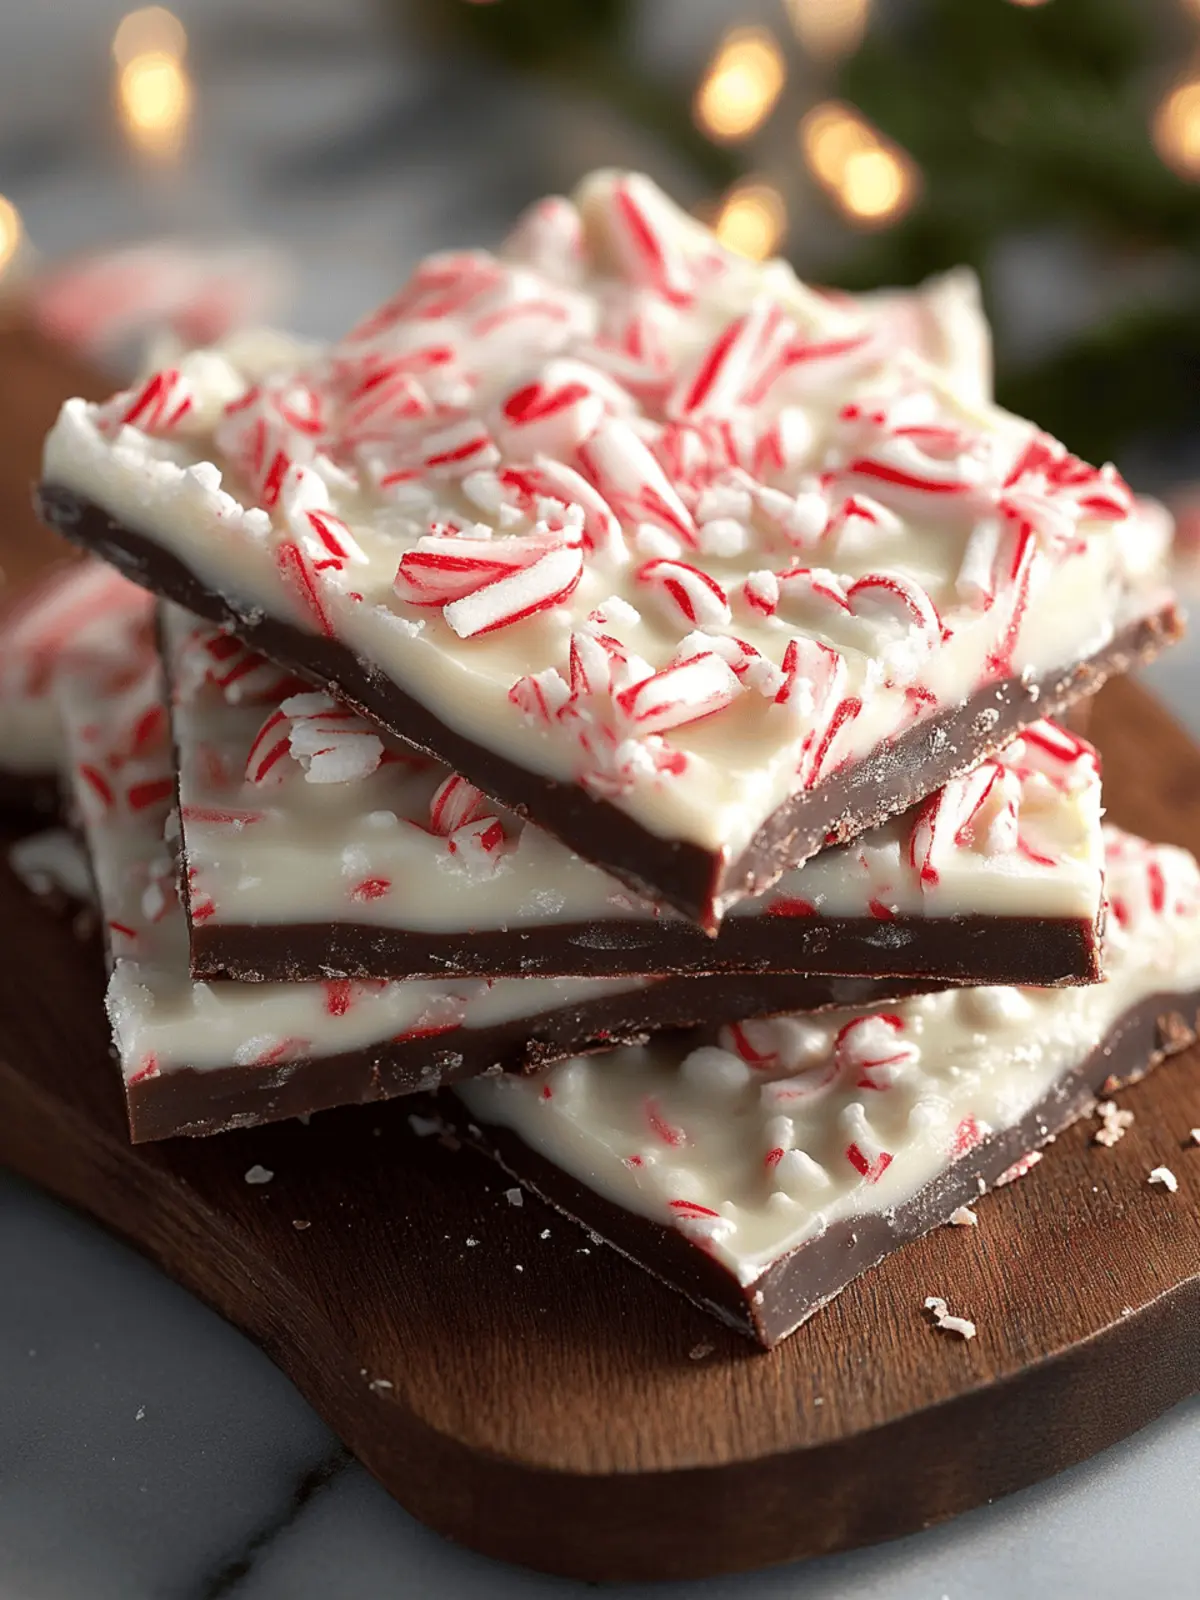
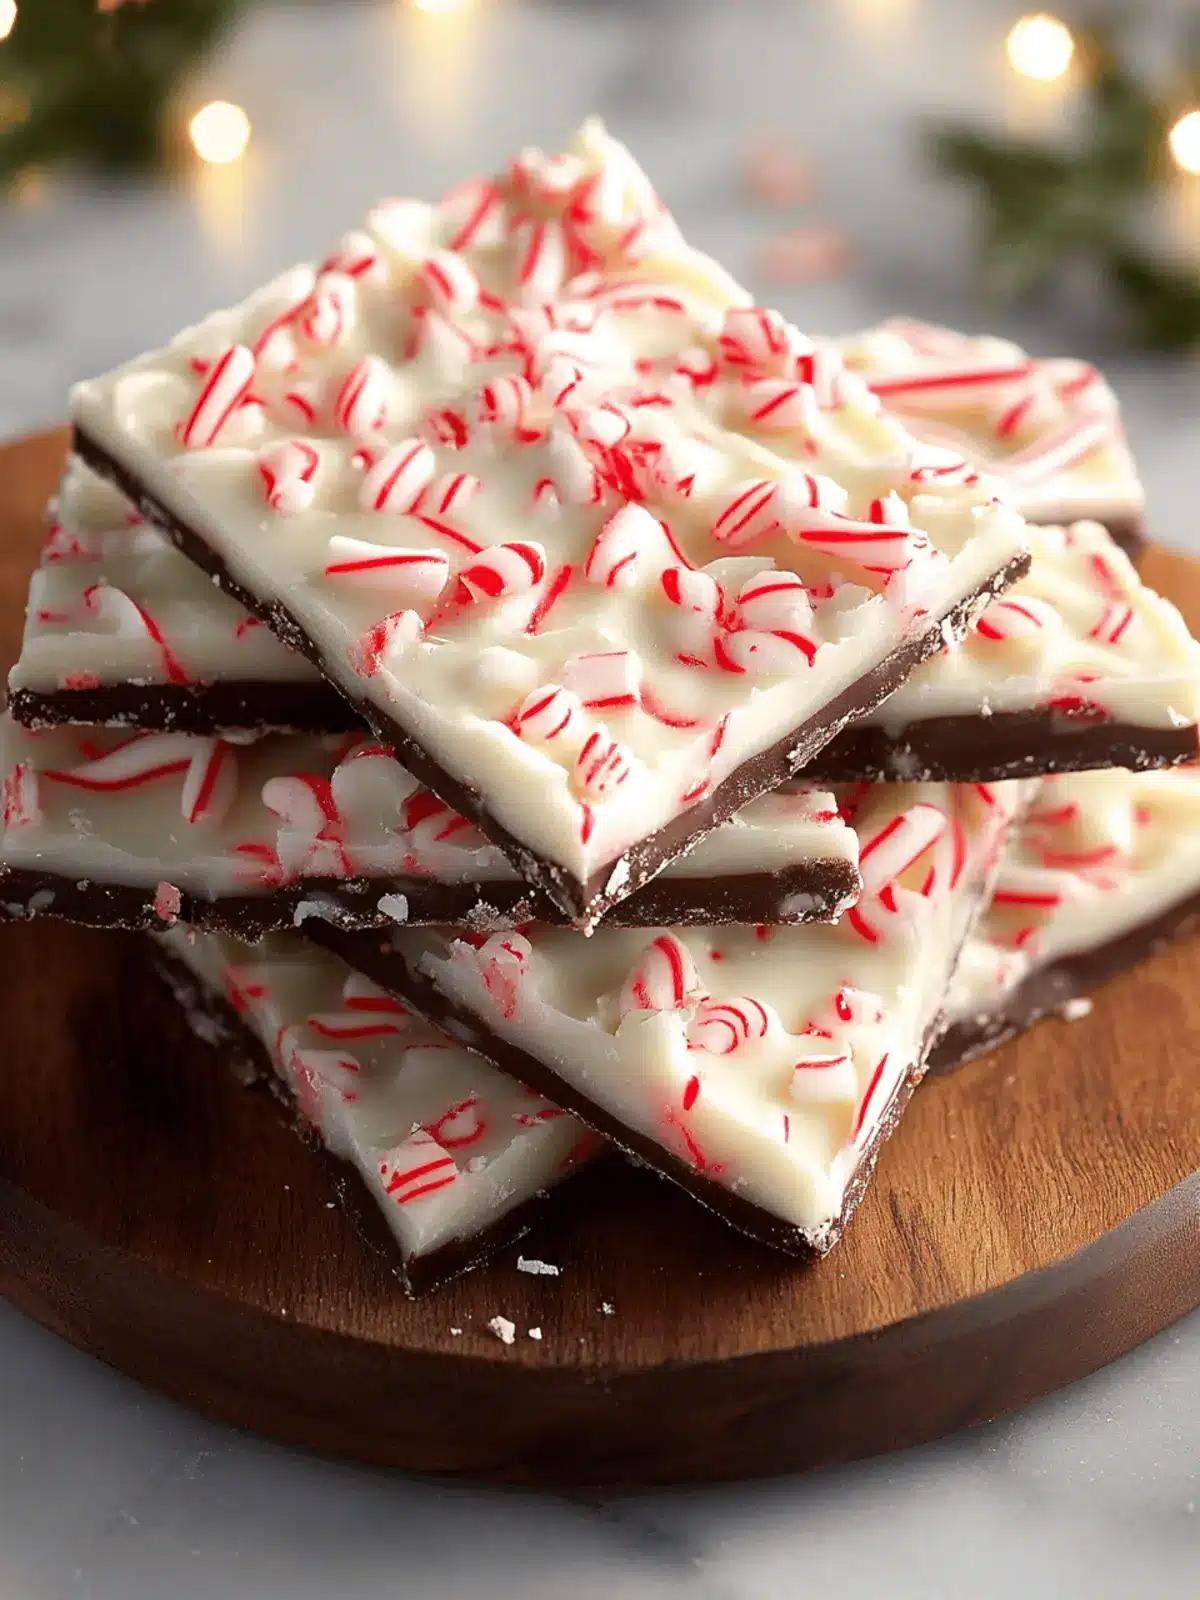
As the holiday season approaches, there’s an unmistakable invitation to indulge in sweet treats that evoke the warmth of home and cherished memories. One of my favorite traditions has become crafting Homemade Peppermint Bark, a no-bake delight that captures everything seasonal in each delicious bite. The rich layers of dark and white chocolate come together almost effortlessly, topped with a sprinkle of candy cane crunch that creates not only a feast for the palate but also for the eyes.
Last December, I found myself overwhelmed by the hustle of holiday preparations, desperate for a treat that could be made in under an hour and look fabulous on my gift-giving table. Enter this fantastic recipe! With just a handful of ingredients and the freedom to customize with unique flavors like orange zest or an assortment of holiday cookies, this peppermint bark has become a must-have at my gatherings. Join me in bringing joy to your own celebrations with a simple, festive treat that everyone will love!
Why is Homemade Peppermint Bark so special?
Irresistible Flavors: The pairing of rich dark and sweet white chocolate creates a mouthwatering contrast that’s simply divine.
Effortless Assembly: With no baking required, you’ll whip this up in no time, perfect for busy holiday schedules.
Customizable Treat: Add your twist—try crushed cookies or citrus zest for a unique flavor profile that suits everyone’s taste.
Visual Appeal: The stunning layers and festive colors make it an eye-catching centerpiece for your holiday spread.
Gifting Made Easy: Pack it in decorative bags or tins; everyone loves a homemade sweet treat during the festive season!
Homemade Peppermint Bark Ingredients
For the Chocolate Layers
- Dark or Semisweet Chocolate Chips – 12 oz; this is the rich base of your bark. Substitution: Use a chopped chocolate bar (preferably 70% cacao) for even better flavor.
- White Chocolate Chips – 12 oz; adds a creamy sweetness to balance the darker chocolate. Substitution: Look for high-quality chocolate bars with cocoa butter for an upscale touch.
For Flavor Enhancement
- Peppermint Extract – ½ tsp, optional; adds an extra burst of minty freshness. Note: Can omit if using mint-flavored chocolate for your Homemade Peppermint Bark.
For the Crunch
- Crushed Candy Canes – ½ cup; these provide a delightful crunch and festive flair. Note: About 6-8 standard candy canes will give you the perfect amount.
Optional Garnishes
- Chopped Toasted Nuts – such as almonds, pecans, or hazelnuts; these can elevate the texture and flavor profile.
- Crushed Holiday Cookies – add a bit of nostalgia and sweetness; perfect for a holiday twist.
- Orange Zest – a refreshing hint of citrus that pairs beautifully with chocolate; try this if you’re looking for a unique variation! Use dairy-free chocolate and vegan candy canes for a vegan alternative.
How to Make Homemade Peppermint Bark
-
Prepare Baking Sheet: Line a 9×13-inch (or quarter sheet) baking dish with parchment paper, allowing the edges to hang over. This will make removal easy later on!
-
Melt Dark Chocolate: Microwave dark chocolate in 20-second bursts, stirring each time until it’s smooth and glossy. Aim for a lovely liquid texture without lumps.
-
Add Flavor: Stir in the peppermint extract (if using) to elevate the flavor of your Homemade Peppermint Bark. The scent is simply irresistible!
-
Pour Base Layer: Spread the melted dark chocolate evenly in the pan, creating a layer about ¼ inch thick. This rich base will be the star of the show!
-
Release Air Bubbles: Gently tap the pan on the counter to release any trapped air bubbles, ensuring a smooth finish.
-
Chill: Place the pan in the refrigerator for 10-15 minutes until the layer is set but not hard; the goal is a lovely firm surface.
-
Melt White Chocolate: Repeat the microwave process for the white chocolate until it’s smooth. This layer balances out the rich dark chocolate beautifully.
-
Add White Layer: Pour the melted white chocolate over the dark layer, spreading it evenly to cover all of that chocolatey goodness.
-
Swirl for Effect: Take a knife or toothpick to lightly swirl the two chocolate layers together, creating a marbled effect that’s visually stunning.
-
Top with Candy Canes: Sprinkle the crushed candy canes on top, gently pressing them into the white chocolate to ensure they adhere. This adds the perfect crunch!
-
Final Chill: Allow it to chill at room temperature for about 1 hour or in the fridge for 20-30 minutes until firm. Patience is key here!
-
Cut into Pieces: Once set, lift the bark from the pan using the parchment overhang and break it into rustic pieces or cut into squares for a neater appearance.
Optional: Drizzle with additional melted chocolate for an extra touch of elegance.
Exact quantities are listed in the recipe card below.
What to Serve with Homemade Peppermint Bark?
Crafting a delightful spread for the holiday season? Enhance your dessert table with these complementary bites and sips.
-
Rich Hot Chocolate: Warm, creamy hot chocolate pairs beautifully with the minty bark, making every bite feel extra cozy. Decorate mugs with whipped cream for that festive flair!
-
Spiced Apple Cider: The cinnamon and nutmeg in spiced apple cider harmonize wonderfully with peppermint, creating a delightful contrast of flavors that will warm your heart.
-
Festive Cheese Platter: A mix of creamy brie, sharp cheddar, and a touch of blue cheese can balance out the sweetness of the bark—add some fruit to round out the board.
-
Vanilla Ice Cream: Top a scoop of vanilla ice cream with pieces of homemade peppermint bark for a refreshing twist on a classic dessert. The chocolate layers melt beautifully into the ice cream!
-
Chocolate-Dipped Strawberries: Fresh strawberries dipped in dark chocolate provide a fruity and indulgent counterpoint to the bark’s crunch, boosting both flavor and presentation.
-
Nutty Cookie Assortment: Offering a variety of nuts and butter cookies alongside peppermint bark brings texture and adds a comforting familiarity that will have everyone coming back for more.
-
Pineapple Upside-Down Cake: The sweetness of pineapple and the buttery cake can provide a delightful contrast to the minty chocolate treat. It’s a nostalgic dessert that brings smiles!
-
Holiday Spritz Cookies: Sugar spritz cookies, with their delicate texture and buttery flavor, create a light bite that complements the richness of peppermint bark beautifully.
-
Mulled Wine: A warm glass of mulled wine with spices like cloves and anise brings a festive touch and enhances the overall holiday spirit of your gathering.
-
Peppermint Mocha: For coffee lovers, a peppermint mocha balances the sweetness of the bark, making it a perfect pairing that captures the joyful flavors of the season.
Homemade Peppermint Bark Variations
Dive into delightful personalizations to elevate your Homemade Peppermint Bark.
-
Mint Chocolate: Swap dark chocolate for mint-flavored chocolate for an extra minty punch. This creates a wonderfully cohesive flavor!
-
Nutty Twist: Add chopped toasted nuts like walnuts or pistachios to the top for an added crunch. They enhance the texture beautifully!
-
Holiday Cookie Crunch: Crush up your favorite festive cookies and sprinkle them on top instead of candy canes for a nostalgic twist that will surprise your taste buds.
-
Cocoa Dusting: After cooling, dust the surface with cocoa powder for a richer chocolate taste that complements the sweetness. A simple but tasty enhancement!
-
Spicy Peppermint: Introduce a hint of cayenne pepper to the chocolate mix for a surprising kick of heat. The spice plays well with the sweetness and mintiness!
-
Citrus Zest: Incorporate orange or lemon zest into the white chocolate layer for refreshing citrus notes that brighten the flavors considerably. It’s a sophisticated choice!
-
Drizzle Extra Chocolate: For a fancy touch, melt some extra chocolate and drizzle it over the top before final chilling. It adds a lovely decorative look!
-
Vegan Delight: Use dairy-free chocolate chips and vegan candy canes for a plant-based version that everyone can enjoy without compromising on flavor. Sweetness for all!
Make Ahead Options
These Homemade Peppermint Bark treats are perfect for meal prep, making your holiday preparations a breeze! You can melt the chocolates and prepare the layers up to 24 hours in advance, storing the melted dark and white chocolates separately in airtight containers in the refrigerator. When you’re ready to assemble, simply reheat them in the microwave in 20-second intervals until smooth again. The crushed candy canes can also be prepared and stored in a separate container, ensuring the crunch remains intact. This way, when it’s time to serve, you’ll have everything ready to go, creating a festive treat that is just as delightful for your guests!
Expert Tips for Homemade Peppermint Bark
-
Chocolate Quality: Choose high-quality chocolate for the best flavor—dark chocolate with around 70% cacao enhances richness, while quality white chocolate adds creaminess.
-
Layering Technique: Ensure the first layer of chocolate is completely set before adding the second. This prevents mixing and maintains distinct layers in your Homemade Peppermint Bark.
-
Air Bubble Fix: If you see air bubbles after spreading, gently tap the pan on the counter to release them. A smooth finish looks more appealing and professional.
-
Creative Options: Don’t hesitate to experiment! Try substituting different toppings like crushed cookies or nuts to personalize your bark for various tastes.
-
Storage Essentials: To keep your Homemade Peppermint Bark fresh, store it in an airtight container at cool room temperature, avoiding refrigeration to prevent sticky candy canes.
How to Store and Freeze Homemade Peppermint Bark
Room Temperature: Store your homemade peppermint bark in an airtight container at cool room temperature for up to two weeks. This helps maintain its delightful crunch.
Fridge: If you live in a warmer climate, you can refrigerate it, but beware—it may cause the candy canes to become sticky. Always keep it sealed tightly.
Freezer: For longer storage, wrap individual pieces in plastic wrap and place them in an airtight container. They can be frozen for up to 3 months while retaining their flavor and texture.
Reheating: If you prefer a softer bite, let the bark sit at room temperature for a few minutes before enjoying. No need for reheating; it’s best enjoyed fresh!
Homemade Peppermint Bark Recipe FAQs
How do I select the right chocolate for Homemade Peppermint Bark?
Absolutely! For the best flavor, choose high-quality dark chocolate with around 70% cacao. This ensures a rich and satisfying base. When it comes to white chocolate, look for bars that contain cocoa butter for a creamier texture and more authentic taste, as opposed to those that are primarily made with vegetable oil.
What’s the best way to store my Homemade Peppermint Bark?
To keep your peppermint bark fresh, store it in an airtight container at cool room temperature for up to two weeks. This helps to maintain the delightful crunch from the candy canes. If living in a warmer climate, you might prefer refrigeration, but be cautious—as this can lead to sticky candy canes. Always keep the bark tightly sealed to prevent moisture.
Can I freeze Homemade Peppermint Bark?
Absolutely! You can freeze your homemade peppermint bark for up to 3 months. Just wrap individual pieces in plastic wrap and place them in an airtight container to keep them fresh. When you’re ready to enjoy, let them thaw at room temperature for a few minutes before grabbing a bite. It’s a great way to save some for later!
What should I do if the chocolate seizes while melting?
If you find your chocolate seizing up and becoming lumpy, don’t worry! Just stir in a teaspoon of neutral oil, like coconut or vegetable oil, into the melted chocolate. This should bring back that smooth consistency you need for your homemade peppermint bark. Remember, gentle stirring is key!
Are there any dietary considerations when making this recipe?
Very! If you’re looking for vegan options, simply use dairy-free chocolate and ensure your candy canes are free of animal-derived ingredients. For those with allergies, be mindful of the chocolate and any optional garnishes like nuts. Always read labels carefully to prevent any cross-contamination.
How long can I keep Homemade Peppermint Bark before it goes bad?
Your delicious creation will last up to two weeks at room temperature in an airtight container. If stored properly, it maintains its flavor and crunch throughout this time, making it perfect for sharing during the festive season! Enjoy every bite!

Delicious Homemade Peppermint Bark for Quick Holiday Joy
Ingredients
Equipment
Method
- Prepare Baking Sheet: Line a 9x13-inch (or quarter sheet) baking dish with parchment paper, allowing the edges to hang over.
- Melt Dark Chocolate: Microwave dark chocolate in 20-second bursts, stirring each time until it's smooth and glossy.
- Add Flavor: Stir in the peppermint extract (if using) to elevate the flavor of your Homemade Peppermint Bark.
- Pour Base Layer: Spread the melted dark chocolate evenly in the pan, creating a layer about ¼ inch thick.
- Release Air Bubbles: Gently tap the pan on the counter to release any trapped air bubbles.
- Chill: Place the pan in the refrigerator for 10-15 minutes until the layer is set but not hard.
- Melt White Chocolate: Repeat the microwave process for the white chocolate until it's smooth.
- Add White Layer: Pour the melted white chocolate over the dark layer, spreading it evenly.
- Swirl for Effect: Lightly swirl the two chocolate layers together with a knife or toothpick.
- Top with Candy Canes: Sprinkle the crushed candy canes on top, gently pressing them into the white chocolate.
- Final Chill: Allow it to chill at room temperature for about 1 hour or in the fridge for 20-30 minutes.
- Cut into Pieces: Lift the bark from the pan using the parchment overhang and break it into rustic pieces.


