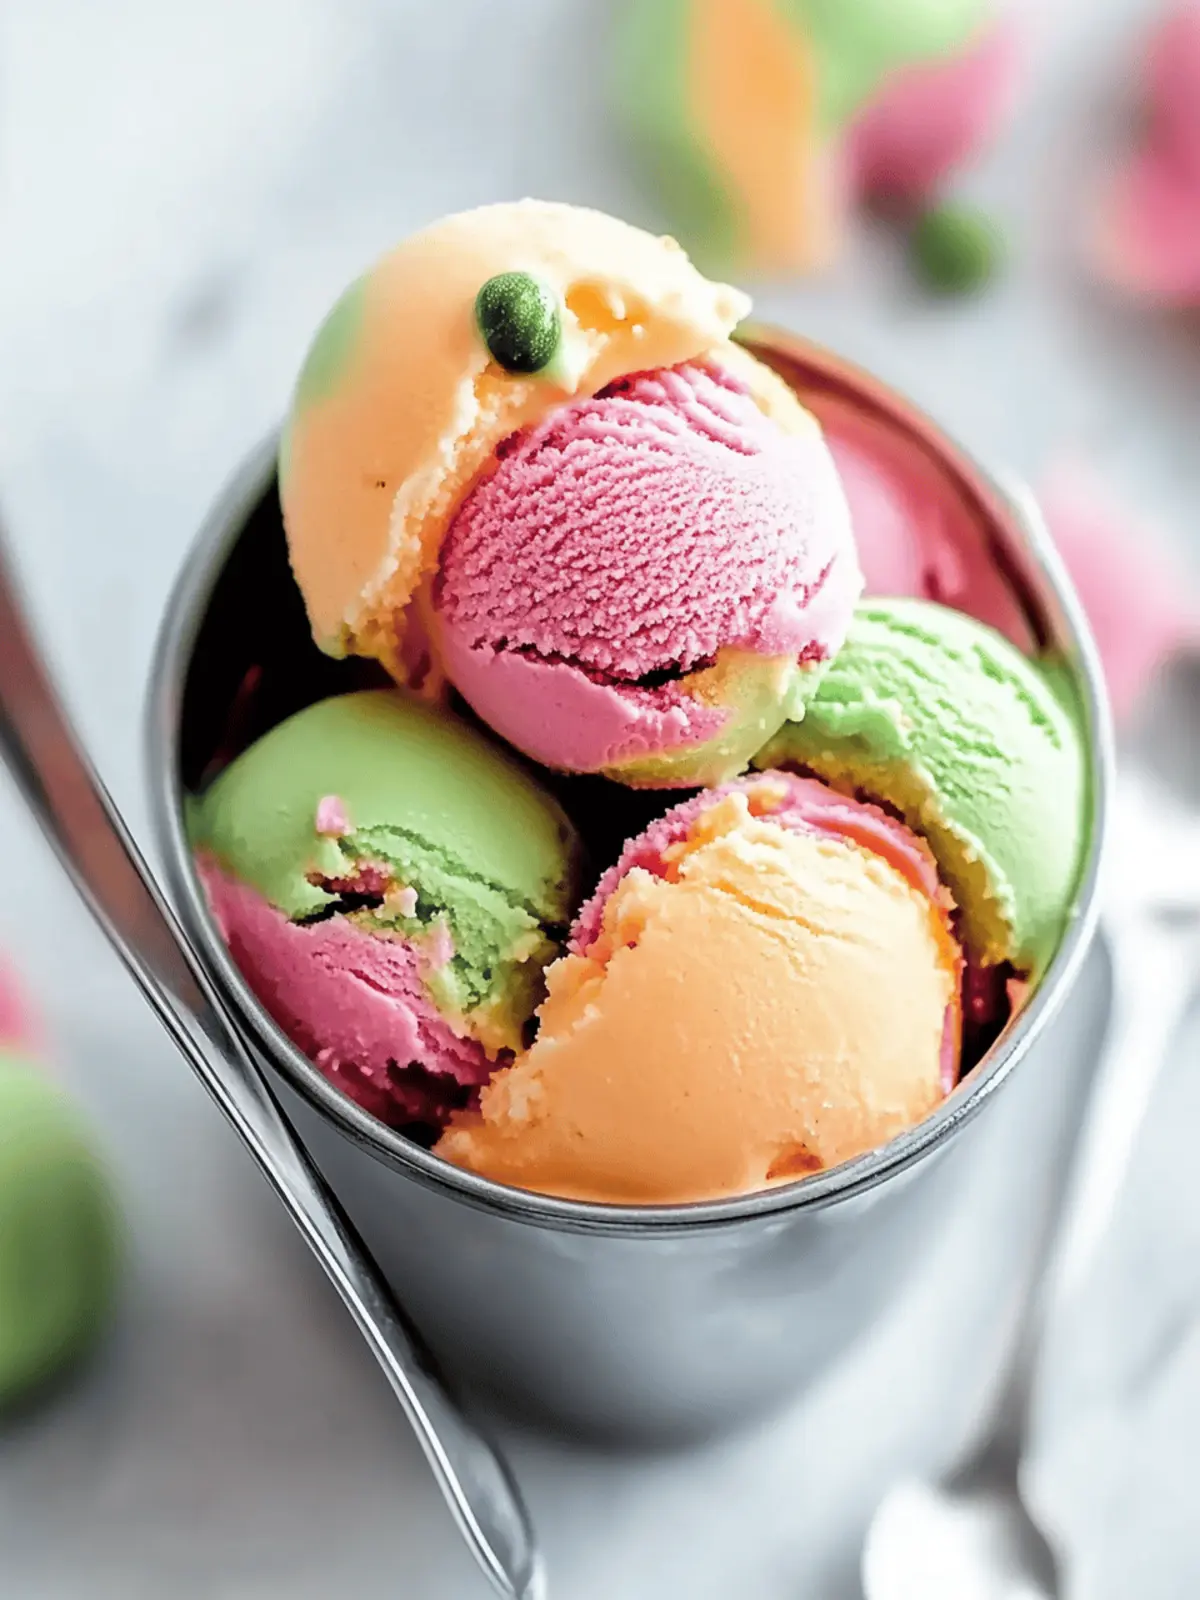
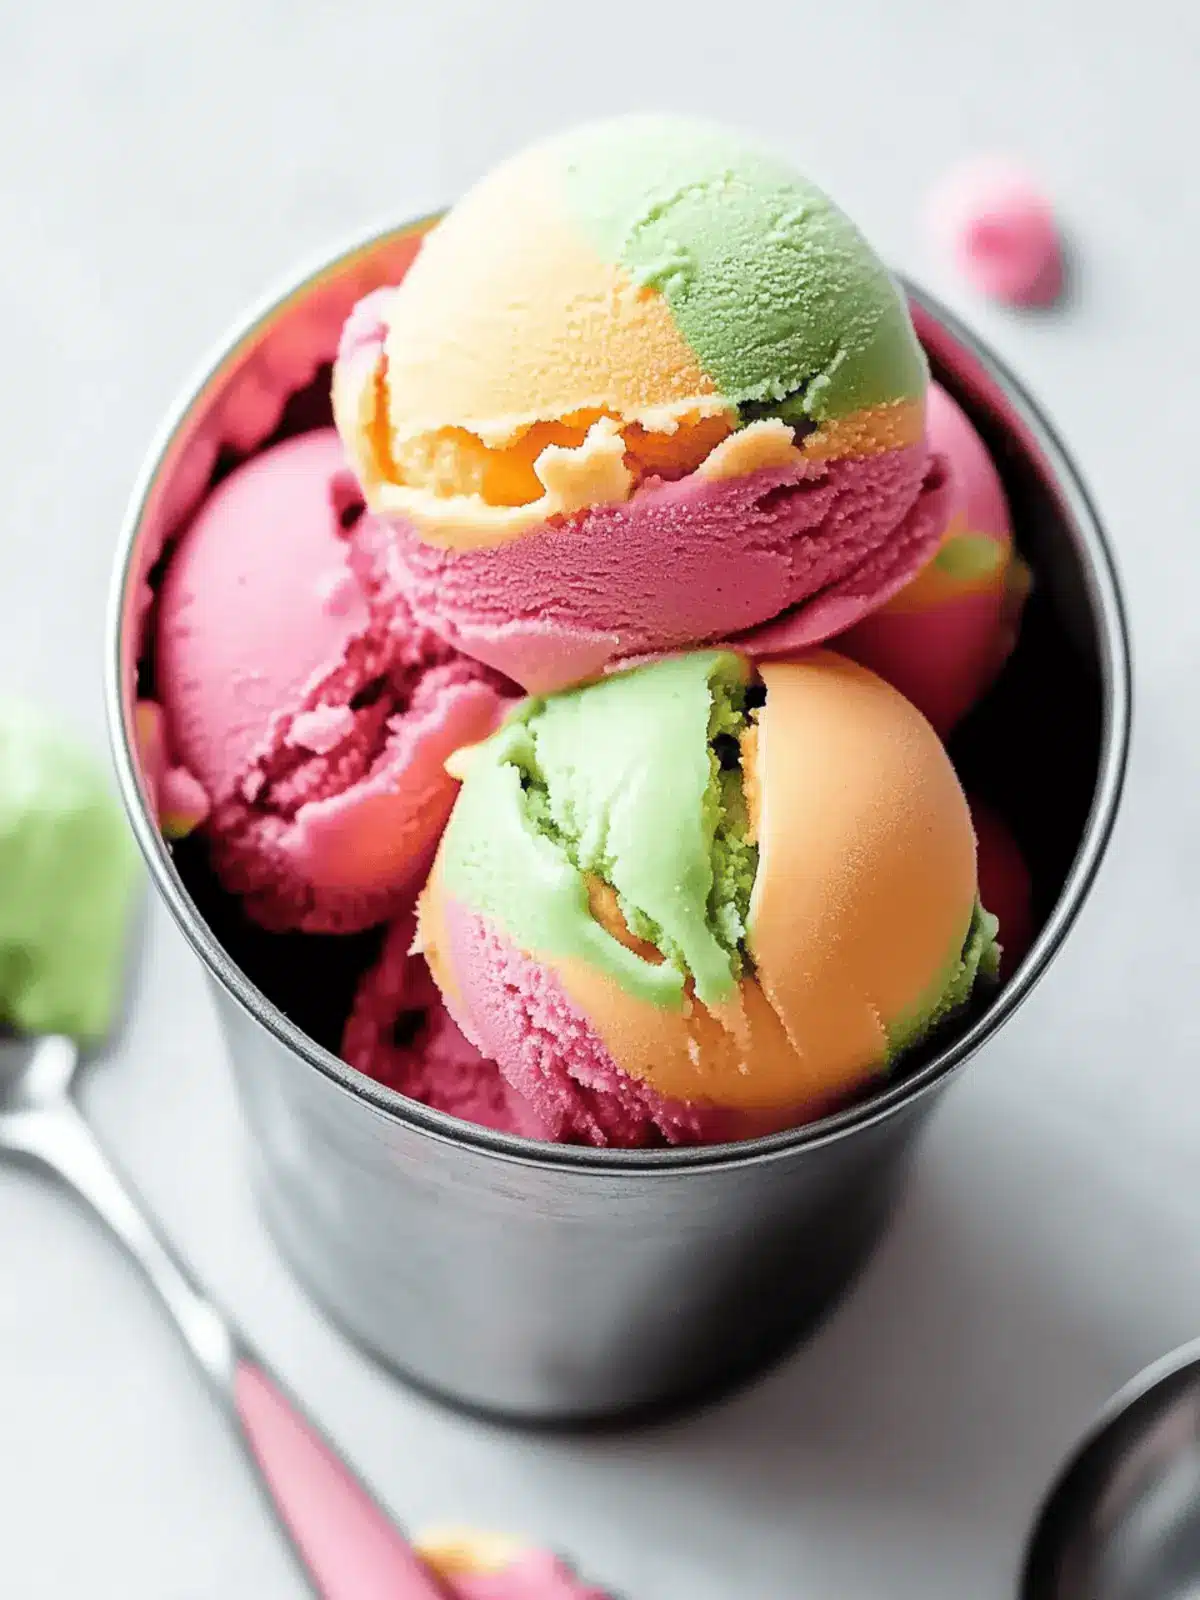
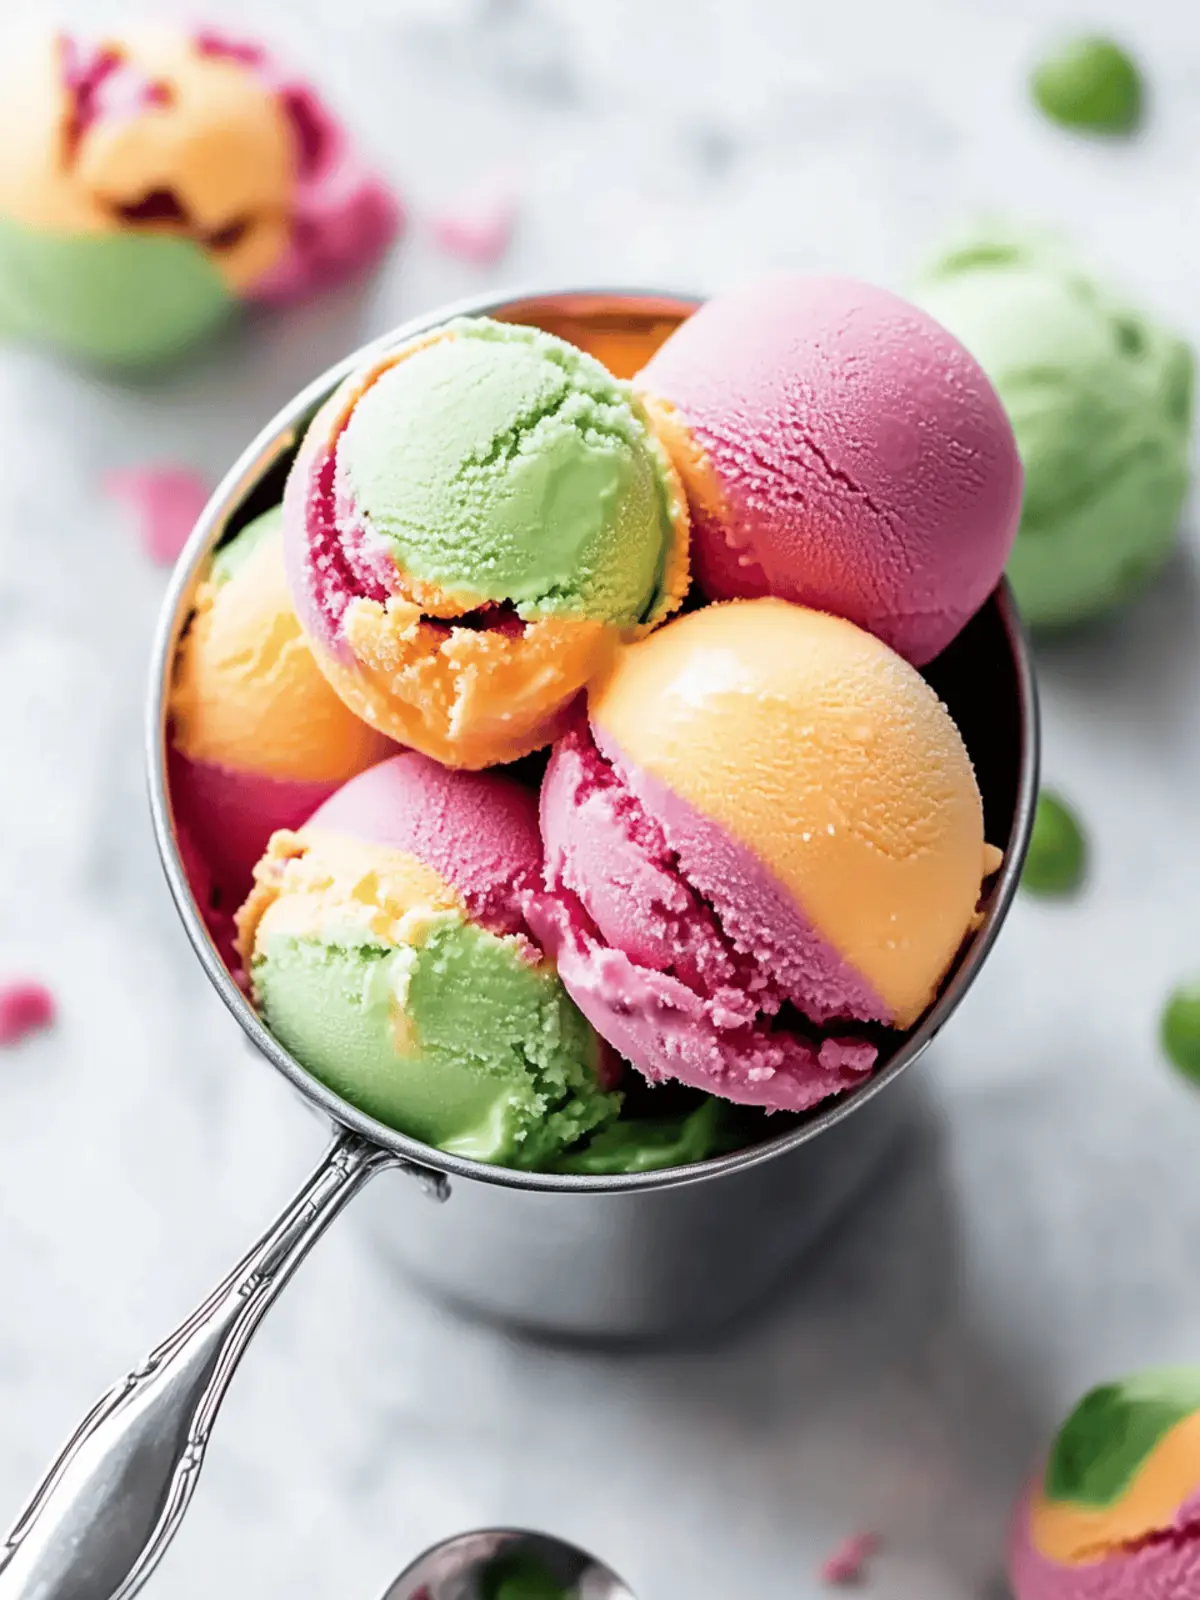
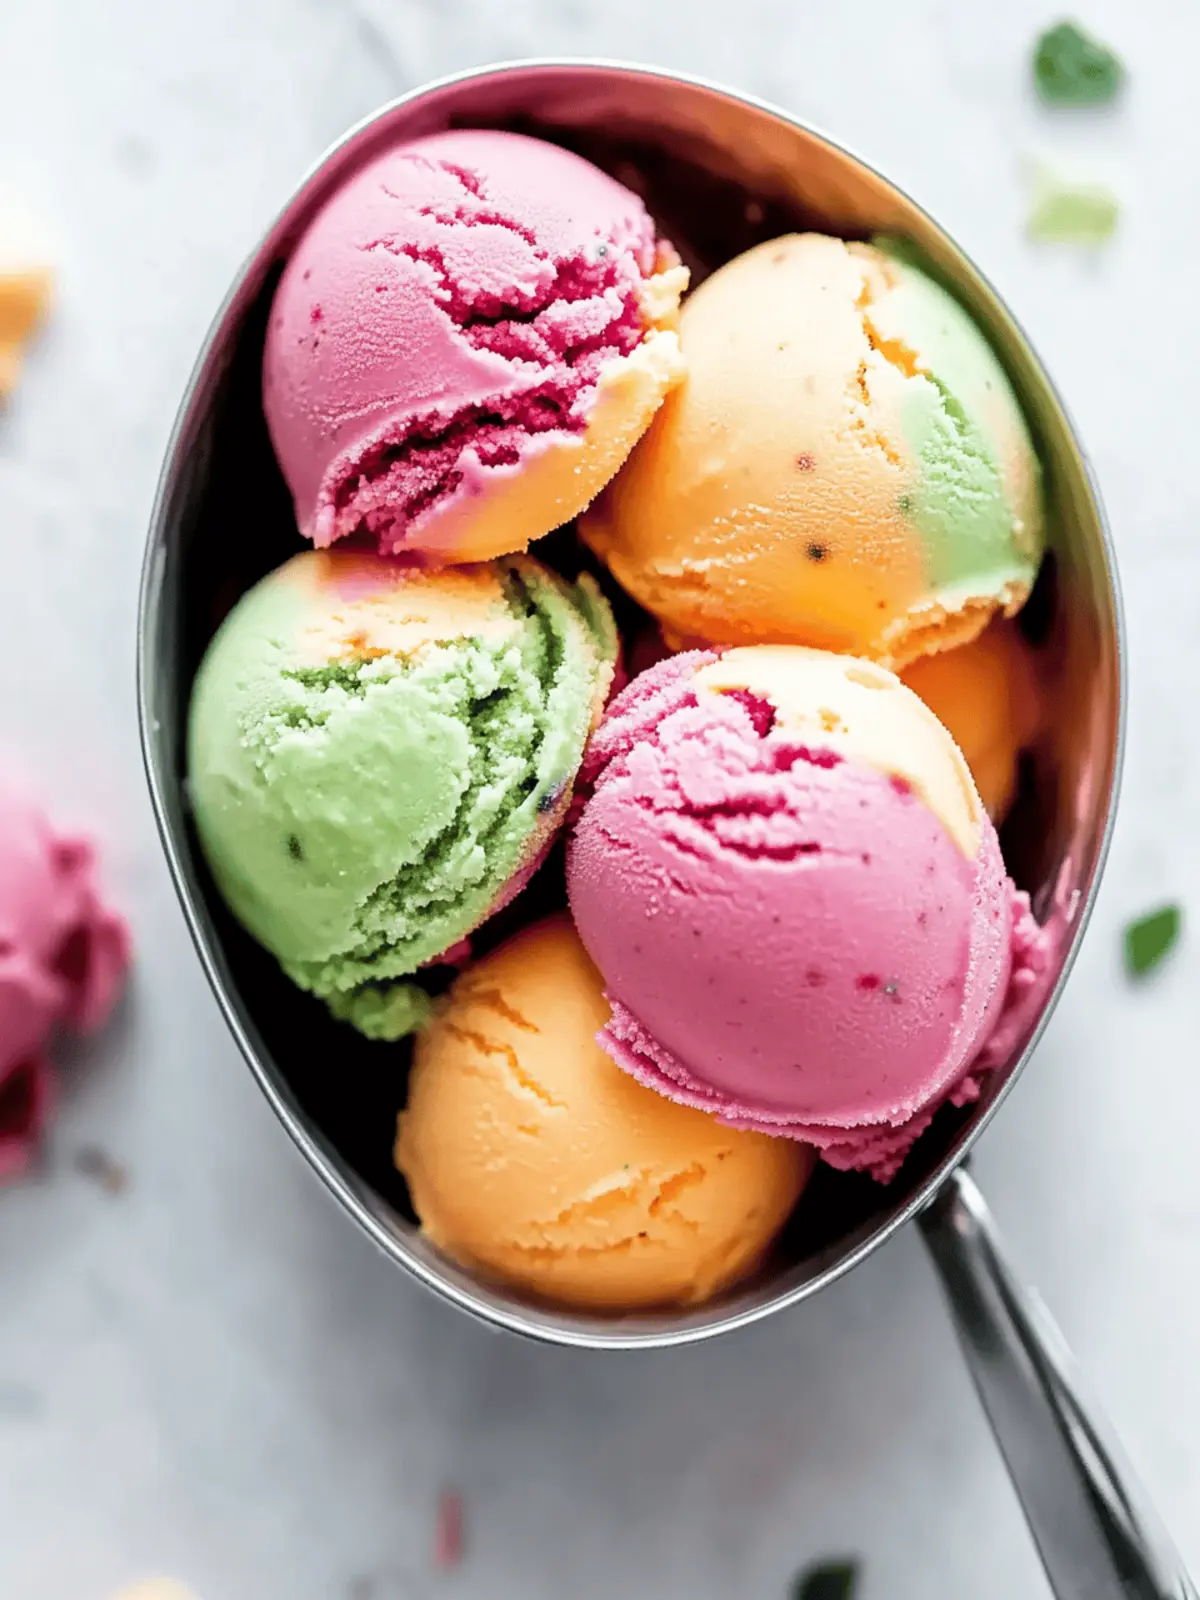
When the summer sun starts beating down, there’s nothing quite like a refreshing scoop of homemade rainbow sherbet to revive your spirits. I stumbled upon this delightful treat while experimenting in my kitchen, trying to bring a splash of color and flavor to those hot, lazy afternoons. The vibrant hues of zesty lime, sweet orange, and luscious raspberry swirl together to create not just a dessert, but a celebration of summer itself.
What makes this recipe extra special is its customizable nature—you can mix and match your favorite fruits to craft a treat that’s uniquely yours. Imagine the joy of serving guests a rainbow of flavors, all made with fresh, real ingredients. Plus, it’s easy to whip up, whether you’re hosting a barbecue or simply want a fun activity with the kids. This sherbet is not just a summer delight; it’s a canvas for your culinary creativity! So grab those ripe fruits and let’s dive into the refreshing world of homemade rainbow sherbet, where each scoop is a moment of pure bliss.
Why is Homemade Rainbow Sherbet a Must-Try?
Colorful and eye-catching, this rainbow sherbet is a feast for both the eyes and the palate. Customizable to your taste, you can mix your favorite fruits for a unique twist. Creamy texture meets real fruit flavors, delivering a refreshingly delicious experience. Perfect for summer gatherings, this delightful treat keeps everyone cool and happy. Plus, it’s a fun activity to whip up with family, making it a memorable addition to your summer repertoire!
Homemade Rainbow Sherbet Ingredients
For the Base
- Heavy Cream – Provides richness and creaminess; substitute with coconut milk for a dairy-free option.
- Whole Milk – Adds smooth texture; low-fat milk can be used but may affect creaminess.
- Granulated Sugar – Sweetens the base; can be replaced with agave syrup or honey as natural sweeteners.
- Vanilla Extract – Enhances flavor; no substitutes recommended for optimal taste.
For the Flavors
- Raspberries – Primary fruit flavor; fresh or thawed frozen berries work well for the best taste.
- Orange Juice – Provides sweetness and tang; fresh juice is ideal for a vibrant flavor.
- Orange Zest (optional) – Adds an extra citrus note; omit if sensitive to strong flavors.
- Green Food Coloring (optional) – Enhances visual appeal; can be substituted with natural spinach color or omitted.
- Lime Juice – Contributes tartness; fresh lime juice is preferable but bottled will work too.
Enjoy crafting your very own homemade rainbow sherbet, where each layer bursts with fruity goodness!
How to Make Homemade Rainbow Sherbet
-
Prepare Base: In a saucepan, combine heavy cream, whole milk, and granulated sugar. Heat and stir for about 5-7 minutes until the sugar dissolves completely. Remove from heat, add vanilla extract, and allow to cool.
-
Create Raspberry Puree: Blend fresh raspberries with 2 tablespoons of sugar until smooth. Strain the mixture to remove any seeds, ensuring a silky puree for a luscious layer.
-
Churn Base: Pour the cooled mixture into an ice cream maker. Churn until you achieve a soft-serve consistency, usually around 20-30 minutes—this is where the magic begins!
-
Flavor the Base: Divide the base into three portions.
- For Orange Layer: Add fresh orange juice, optional zest, and food coloring to one part, then churn briefly.
- For Lime Layer: Mix lime juice, plus optional zest and food coloring, then churn again.
- For Raspberry Layer: Mix the last portion with the raspberry puree, and churn until well combined.
-
Layer Flavors: In a freezer-safe container, alternate spoonfuls of the orange, lime, and raspberry mixtures. Swirl gently with a spoon to create a beautiful marbled effect.
-
Freeze: Place the container in the freezer for 4-6 hours or until firm. This is the final step to achieving that perfect frozen treat!
Optional: Serve with fresh fruit slices on top for an extra burst of color and flavor.
Exact quantities are listed in the recipe card below.
What to Serve with Homemade Rainbow Sherbet?
When summer’s heat beckons, complement your vibrant sherbet with these delightful pairings that enhance its refreshing nature.
- Fresh Berries: The burst of juicy strawberries, blueberries, and blackberries adds a delightful freshness that mirrors the fruity notes in your sherbet.
- Crispy Shortbread Cookies: Enjoy the buttery crunch of shortbread; their rich flavor balances the lightness of the sherbet, making each bite a sweet harmony.
- Coconut Whipped Cream: Light and fluffy, this dairy-free topping offers a tropical twist that pairs beautifully with your fruity treat. The creamy texture elevates the overall experience!
- Grilled Pineapple Slices: The caramelized sweetness from grilling brings an unexpected flavor punch that complements the sherbet’s tangy citrus layers, creating a tropical paradise on your plate.
- Mint Mojito Mocktail: This invigorating drink blends lime and mint for a refreshing sip that cleanses the palate and elevates your dessert experience to a summer celebration.
- Chocolate Chip Muffins: The chewy, sweet muffins provide a lovely contrast to the cold, creamy sherbet. They make for a delightful pairing at brunch or a summer picnic.
Let your summer gatherings shine by presenting a colorful and delicious dessert spread!
Make Ahead Options
These Homemade Rainbow Sherbet layers are perfect for meal prep enthusiasts! You can prepare the base up to 24 hours in advance by mixing the heavy cream, milk, sugar, and vanilla extract, then refrigerating the cooled mixture in an airtight container. Additionally, you can make the raspberry puree ahead and store it in the fridge for up to 3 days. When you’re ready to serve, just churn the base, add your desired fruit flavors, and freeze for 4-6 hours. This way, you save valuable time on busy summer nights while ensuring a delightful, refreshing treat that’s just as delicious when you serve it!
Variations & Substitutions for Homemade Rainbow Sherbet
Feel free to experiment with these variations and substitutions to make this rainbow sherbet truly your own!
-
Fruit Variations: Substitute any favorite ripe fruit, like strawberries, blueberries, or mangoes, to create exciting flavor profiles. Each fruit will bring its unique charm to your sherbet.
-
Dairy-Free Delight: Use coconut milk or almond milk in place of heavy cream and whole milk for a creamy, dairy-free version that doesn’t skimp on flavor.
-
Natural Sweeteners: Swap out granulated sugar for agave syrup, honey, or maple syrup to cater to different dietary preferences and add a hint of character to your sweetness.
-
Herb Infusion: Incorporate fresh herbs like basil or mint into your fruit purees for a refreshing twist. Just blend the herbs with the fruit and sugar for an aromatic surprise.
-
Flavor Boost: Enhance the flavors by adding a splash of fresh citrus zest or a few drops of extract like almond or coconut to the base mixture before churning.
-
Heat Level: For a little kick, blend in jalapeño or cayenne to the fruit purées. Just a touch will create a lovely contrast with the sweetness of the sherbet!
-
Layering Textures: For added crunch, consider folding in crushed nuts or granola into the layers before freezing. This little surprise will add a delightful texture!
-
Vegan Option: Replace all dairy ingredients with plant-based alternatives and use aquafaba as an egg-free stabilization method to achieve a creamy consistency.
Dive into these variations and let your creativity shine in each vibrant scoop of your homemade rainbow sherbet!
Storage Tips for Homemade Rainbow Sherbet
- Fridge: Store any leftover homemade rainbow sherbet in an airtight container for up to 3-4 days. However, for the best texture and flavor, it’s recommended to enjoy it fresh.
- Freezer: To extend the shelf life, freeze your sherbet for up to 2 months. Be sure to use an airtight container to prevent freezer burn.
- Reheating: Before serving, allow your sherbet to sit at room temperature for 5-10 minutes to soften, making it easier to scoop.
- Restoring Texture: If your sherbet becomes too hard in the freezer, churn it briefly in an ice cream maker to restore its creamy consistency.
Expert Tips for Homemade Rainbow Sherbet
- Pre-Chill the Base: Make sure your base mixture is completely cool before churning; this will help you achieve a smoother texture in your homemade rainbow sherbet.
- Watch the Churning: Avoid over-churning; stop when you reach a soft-serve consistency to maintain the creamy texture without iciness.
- Layer with Care: When layering the different flavors, spoon them in gently to keep the distinct colors while creating a lovely marbled effect.
- Fresh Ingredients Matter: Always opt for ripe, in-season fruits as they yield the best flavor and natural sweetness for your sherbet.
- Adjust Sweetness: Taste your mixture before freezing; you can always add a bit more sugar or sweetener if you prefer a sweeter treat!
Homemade Rainbow Sherbet Recipe FAQs
What fruits should I use for the best flavor?
Absolutely, using ripe, seasonal fruits is key! For that vibrant flavor in your homemade rainbow sherbet, I recommend sticking with fresh raspberries, sweet oranges, and zesty limes. Other great options include strawberries, blueberries, or even mangoes for a tropical twist. Just make sure whatever fruits you choose are at their peak ripeness for the most delicious results!
How should I store my leftover sherbet?
You can keep any leftover homemade rainbow sherbet in an airtight container in the fridge for up to 3-4 days. However, for optimal freshness and texture, it’s best to enjoy it soon after making. If you decide to freeze it, it can last in the freezer for up to 2 months. Just remember to let it sit at room temperature for about 5-10 minutes before scooping so it softens up nicely.
Can I freeze this sherbet for later? How?
Yes, you can! To properly freeze your homemade rainbow sherbet, first place the swirled mixture in a freezer-safe container. Make sure to cover it tightly to prevent freezer burn. When you’re ready to enjoy it, just take it out and let it sit for 5-10 minutes at room temperature. If it feels too hard, you can churn it briefly in an ice cream maker to restore its creamy texture.
What if I over-churn the mixture?
If you accidentally over-churn your mixture, it can become icy instead of creamy. To remedy this, consider transferring the mixture to an airtight container and placing it in the freezer. Allow it to firm up for a few hours. When you’re ready to serve, let it sit out for about 10 minutes, then churn it again for a smoother texture.
Can I make this sherbet dairy-free?
Very much so! For a dairy-free version of your homemade rainbow sherbet, simply substitute the heavy cream and whole milk with coconut milk. This not only makes it suitable for those avoiding dairy but also adds a delightful tropical flavor. Just follow the same steps as outlined in the recipe, and you’ll have a delicious dairy-free treat!
Is it safe for pets?
While it may be tempting to share your homemade rainbow sherbet with your furry friends, it’s best to avoid doing so. The sugar and certain fruits can be harmful to pets when consumed. Instead, treat them with a pet-safe frozen treat specifically designed for their dietary needs!

Homemade Rainbow Sherbet: Create Your Own Colorful Summer Delight
Ingredients
Equipment
Method
- In a saucepan, combine heavy cream, whole milk, and granulated sugar. Heat and stir for about 5-7 minutes until the sugar dissolves completely. Remove from heat, add vanilla extract, and allow to cool.
- Blend fresh raspberries with 2 tablespoons of sugar until smooth. Strain the mixture to remove any seeds.
- Pour the cooled mixture into an ice cream maker. Churn until you achieve a soft-serve consistency, usually around 20-30 minutes.
- Divide the base into three portions. For the orange layer, add fresh orange juice, optional zest, and food coloring to one part, then churn briefly.
- For the lime layer, mix lime juice, plus optional zest and food coloring, then churn again.
- For the raspberry layer, mix the last portion with the raspberry puree, and churn until well combined.
- In a freezer-safe container, alternate spoonfuls of the orange, lime, and raspberry mixtures. Swirl gently with a spoon.
- Place the container in the freezer for 4-6 hours or until firm.


