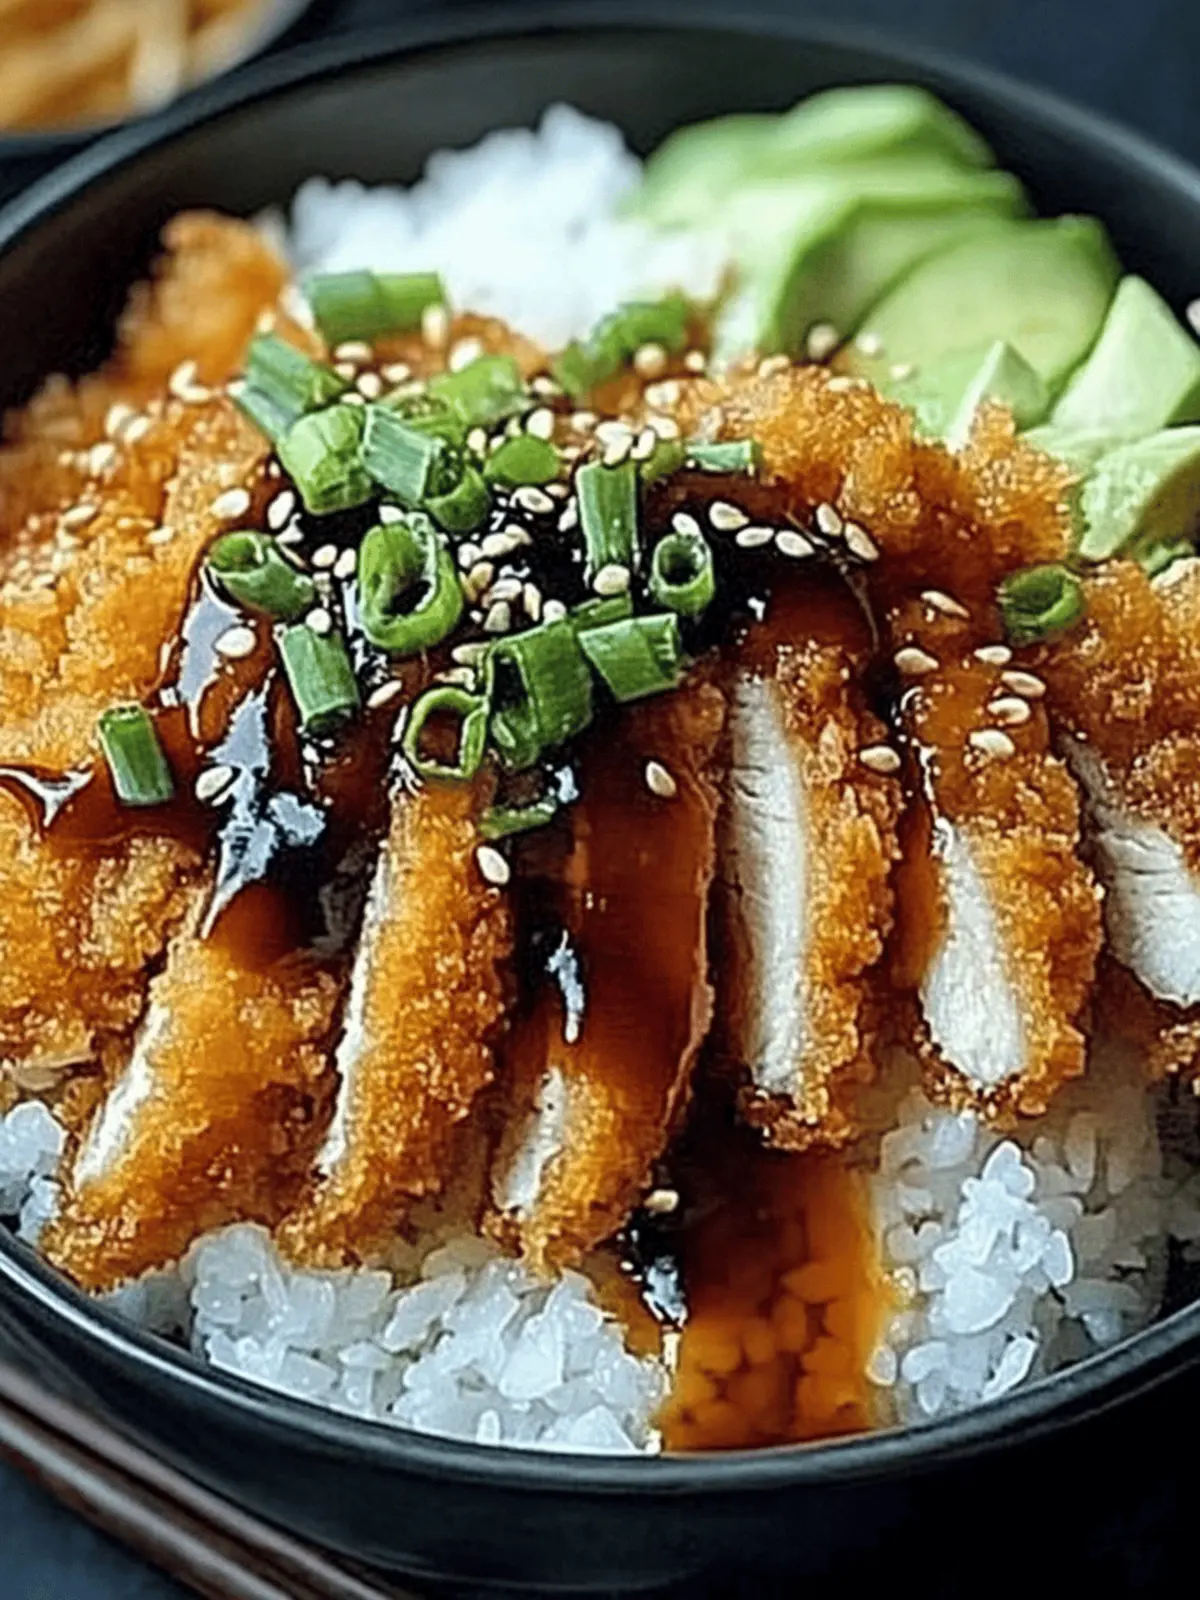
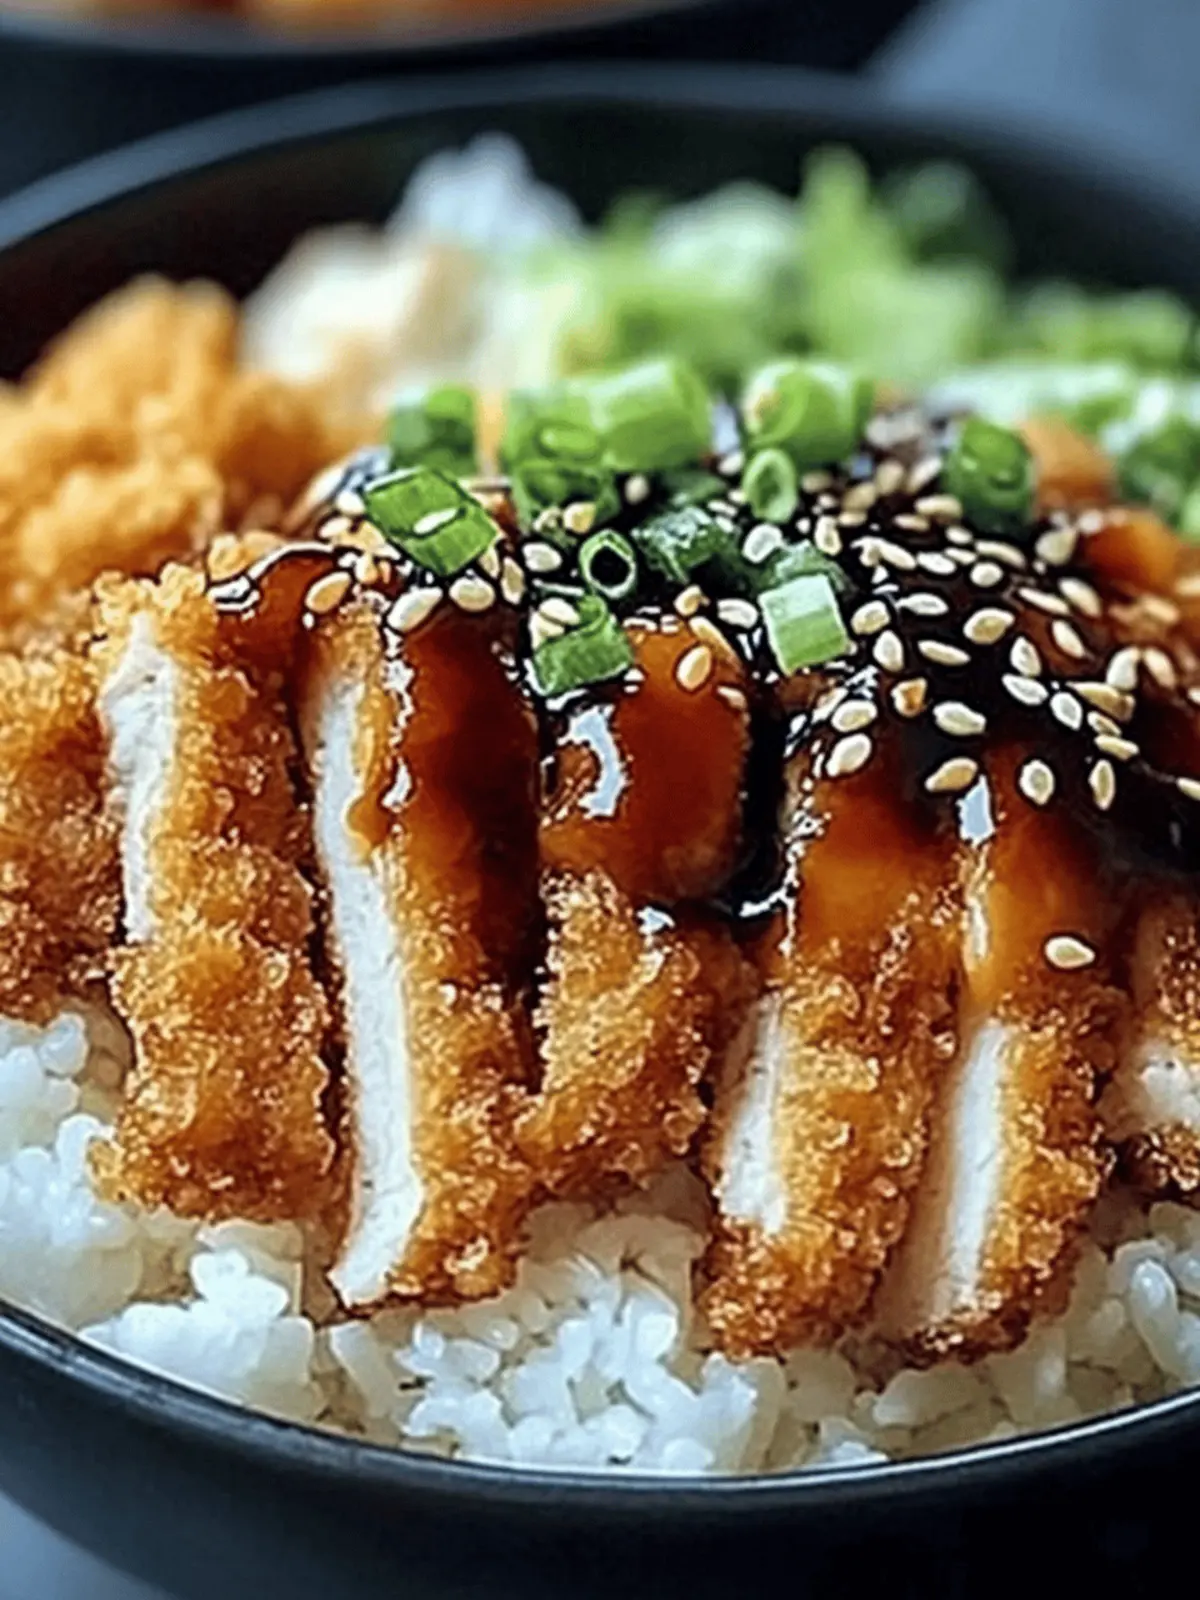
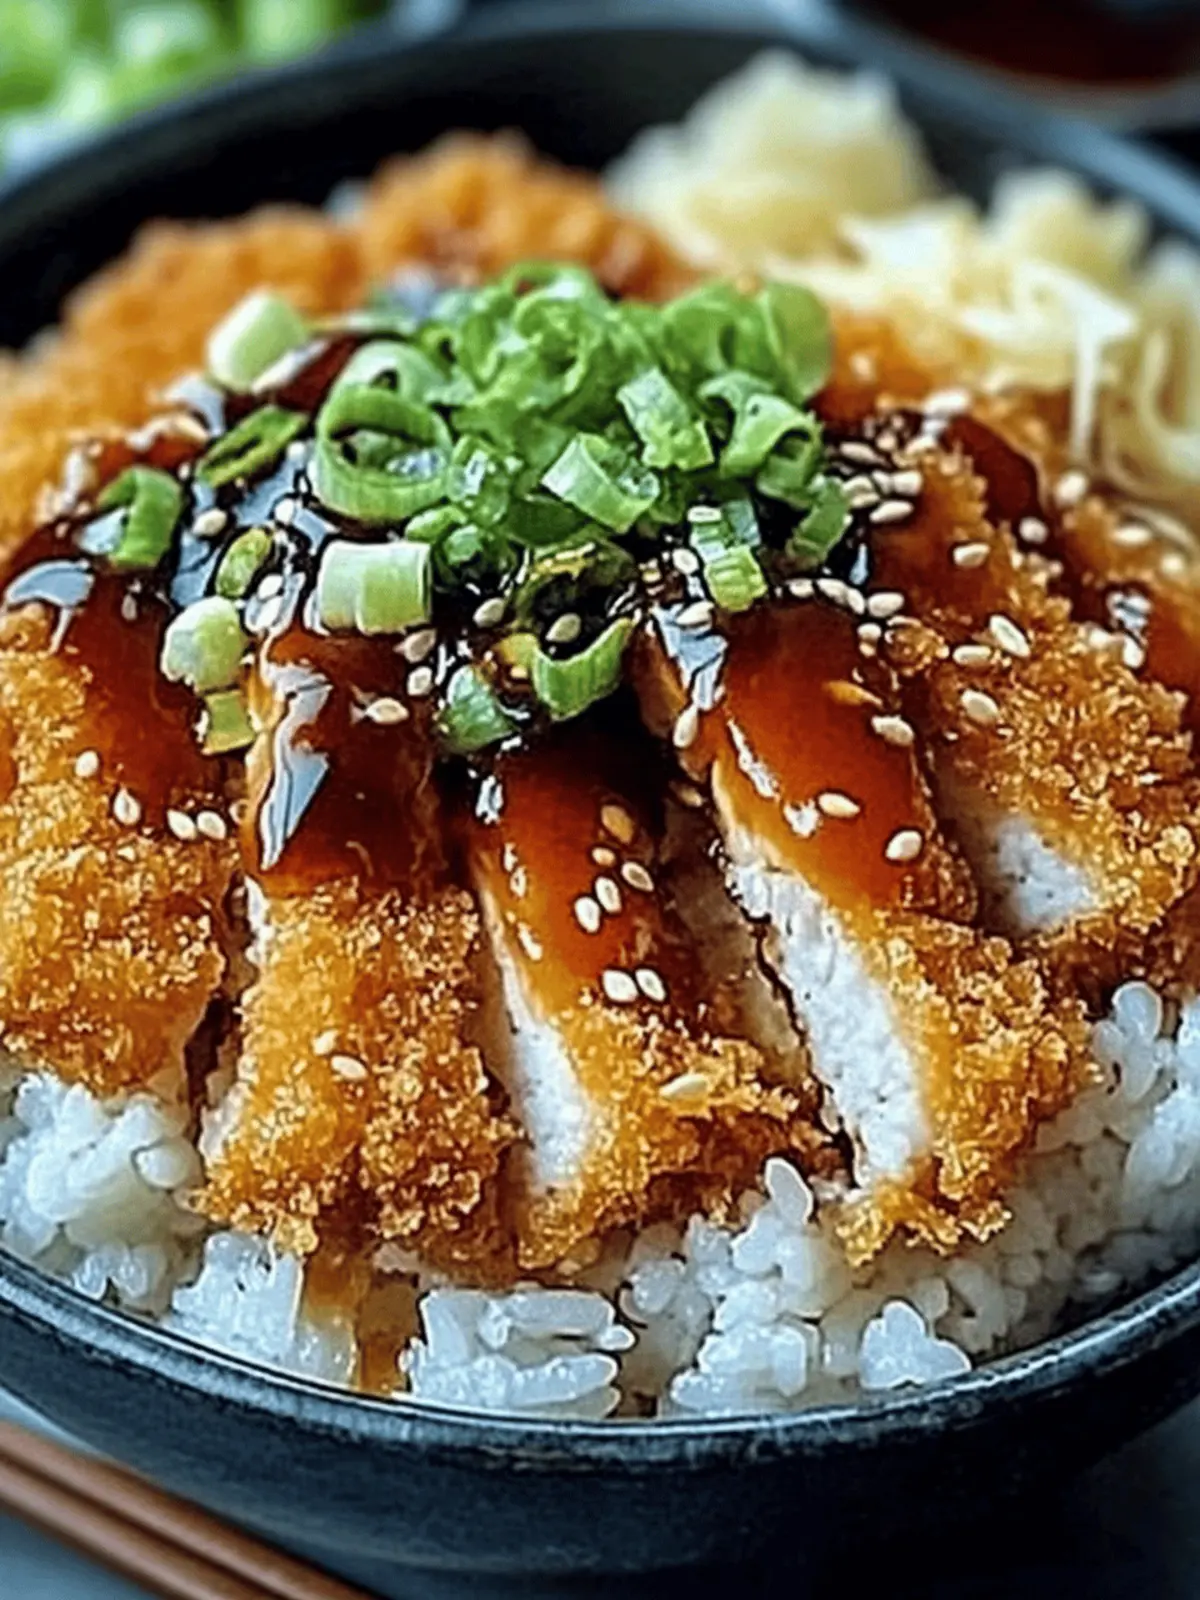
There’s something undeniably comforting about the sizzle of chicken in hot oil, which transports me straight to my favorite Japanese bistro. As the golden-brown crust forms, I can’t help but think of all the cozy evenings spent experimenting with flavors in my kitchen. These Japanese Katsu Bowls are more than just a meal; they are a celebration of texture, with crispy chicken resting on a soft bed of seasoned rice, all drizzled with a rich, tangy sauce.
After a long day, I often crave this delightful dish because it’s quick to prepare while still delivering the satisfaction of a gourmet meal. The versatility of chicken, pork, or even beef makes it perfect for any occasion, whether it’s a simple weeknight dinner or a festive gathering with friends. And with a touch of shredded cabbage or a sprinkle of sesame seeds, each bowl becomes a canvas of creativity.
Ready to bring this joy into your home? Let’s dive into the easy steps for crafting your very own Japanese Katsu Bowls!
Why are Japanese Katsu Bowls irresistible?
Crispy Perfection: The golden-brown chicken creates a satisfying crunch that will have everyone reaching for seconds.
Flavor Fusion: This dish combines savory notes with a tangy sauce that dances on your palate.
Quick & Easy: Ready in under 30 minutes, it’s perfect for busy weeknights.
Versatile Options: Enjoy it with chicken, pork, or beef, and customize toppings to fit your cravings.
Crowd-Pleaser: This delightful meal is sure to impress family and friends, making any gathering feel special.
Comfort in a Bowl: Cozy up with every bite of this delicious Japanese favorite, perfect for any occasion!
Japanese Katsu Bowls Ingredients
For the Chicken
• Chicken Breast – Provides the protein base; you can also use pork or beef for variations.
• Salt & Pepper – Essential seasonings for the chicken; adjust to your taste preferences.
• All-Purpose Flour – Used for dredging, forming the first layer of breading; gluten-free flour is recommended for a GF option.
• Eggs – Binds the panko breadcrumbs to the chicken; beat well for even coating.
• Panko Breadcrumbs – Offers a light and crispy texture; substitute with regular breadcrumbs if needed.
• Vegetable Oil – Essential for frying, providing the necessary fat; can use canola or sunflower oil as alternatives.
For the Rice
• Rice – The comforting base; long grain or sushi rice is recommended for this dish.
• Rice Vinegar – Adds a tangy flavor to the cooked rice; essential for balancing the dish.
• Sugar – Helps to enhance the flavor of the rice; balances the acidity from the vinegar.
• Salt – For seasoning the rice; adjust to suit your tastes.
For the Sauce
• Tonkatsu Sauce – A savory, tangy topping; you can purchase or make it at home.
• Soy Sauce – Adds depth to the sauce; enhances umami flavors.
• Worcestershire Sauce – Provides a unique flavor boost; complements the other sauces well.
• Ketchup – Sweetness that rounds out the sauce; a personal touch to the mix.
For Toppings
• Shredded Cabbage – Adds a refreshing crunch to the dish; a classic topping for katsu bowls.
• Green Onions – Brings a mild onion flavor and pop of color; customize based on your preference.
• Sesame Seeds – Enhances the presentation and adds a nutty flavor.
• Pickled Ginger – Exceptional for cutting through the richness of the katsu, providing a zesty finish.
With these ingredients, you’re all set to whip up your own Japanese Katsu Bowls and indulge in the delightful flavors that will transport you straight to a cozy bistro!
How to Make Japanese Katsu Bowls
-
Rinse rice: Start by rinsing the rice under cold water until the water runs clear. This will help remove excess starch and ensure fluffy, non-sticky grains.
-
Soak the rice: After rinsing, soak the rice in water for 30 minutes. This step enhances the rice’s texture, making it light and chewy when cooked.
-
Cook the rice: In a pot, cover the soaked rice with fresh water, bring it to a boil, then reduce the heat to low. Simmer for 15 minutes without lifting the lid. Once done, let it sit off the heat for 10 minutes.
-
Season the rice: Mix rice vinegar, sugar, and salt in a small bowl until dissolved. Gently fold this mixture into the cooked rice to balance its flavor.
-
Prepare the chicken: Pound the chicken breasts to about ½ inch thickness for even cooking. Season both sides generously with salt and pepper.
-
Set up coating stations: Arrange three bowls with flour, beaten eggs, and panko breadcrumbs. This makes it easy to coat the chicken evenly.
-
Dredge the chicken: Coat each piece of chicken in flour, tap off excess, dip in eggs, then coat thoroughly with panko breadcrumbs. Ensure every inch is covered for that crispy texture.
-
Fry the chicken: Heat vegetable oil in a skillet over medium heat. Add the coated chicken and fry for about 4-5 minutes on each side, until golden brown and cooked through (165°F internal temperature).
-
Drain and slice: Once crispy, place the fried chicken on paper towels to drain excess oil. Let it rest for a few minutes before slicing it into strips for serving.
-
Mix the sauce: In a bowl, combine tonkatsu sauce, soy sauce, Worcestershire sauce, and ketchup. Stir until well blended to achieve a flavorful sauce for drizzling.
-
Assemble the bowls: Serve the seasoned rice as the base, layer sliced katsu on top, and finish with your choice of toppings, drizzling the sauce generously over everything.
Optional: Add a sprinkle of sesame seeds and extra green onions for an enticing finish!
Exact quantities are listed in the recipe card below.
Japanese Katsu Bowls Variations
Customize your Japanese Katsu Bowls to suit your taste buds and make every serving uniquely yours.
-
Pork Alternative: Swap chicken for pork loin, yielding a richer flavor profile and a delightful twist.
-
Beef Katsu: Try using beef cutlets! Thinly sliced flank steak or sirloin can create a deliciously hearty option.
-
Gluten-Free: Use gluten-free breadcrumbs and flour to ensure everyone can enjoy this crispy delight without worry.
-
Crispy Tofu: For a plant-based version, use firm tofu, breading it just like chicken for a satisfying crunch.
-
Flavor Boost: Add a sprinkle of garlic powder or paprika to your breadcrumb mix for extra flavor in every bite.
-
Rice Variety: Experiment with jasmine or basmati rice for subtly different flavor profiles, making your bowls even more exciting.
-
Veggie Toppings: Elevate the freshness by adding sautéed bell peppers or zucchini alongside your usual toppings.
-
Heat it Up: Incorporate a drizzle of sriracha or chili oil for those who love a spicy kick with their katsu.
Expert Tips for Japanese Katsu Bowls
-
Hot Oil Check: Ensure the oil is hot enough before frying to get that perfect crispy coating without absorbing excess oil.
-
Don’t Overcook: Take care not to overcook the chicken; the ideal internal temperature is 165°F to keep it juicy and tender.
-
Coating Technique: For a consistently crunchy texture, make sure every piece of chicken is evenly coated in the panko breadcrumbs.
-
Flavor Balance: Adjust the seasoning in the rice and sauces to your liking, ensuring the flavors harmonize well with the chicken.
-
Custom Toppings: Feel free to customize your Japanese Katsu Bowls with toppings like avocado or sautéed vegetables for a fresh twist!
What to Serve with Japanese Katsu Bowls?
Imagine a cozy dinner where each bite offers a delightful crunch paired with fluffy rice, creating the perfect meal experience.
-
Creamy Coleslaw: The crunch of fresh cabbage in a creamy dressing enhances the katsu’s crispiness, balancing flavors beautifully.
-
Sesame Ginger Salad: This light salad adds a refreshing touch with vibrant vegetables and a zesty sesame dressing, complementing the richness of the katsu.
-
Miso Soup: Warm and comforting, this savory soup offers umami depth that enriches the entire meal, making it feel even more authentic.
-
Edamame Beans: Lightly salted and vibrant green, edamame provides a fun, bite-sized snack that pairs perfectly while adding protein to your meal.
-
Steamed Broccoli: Simple yet elegant, steamed broccoli adds a pop of color and a nutritious crunch that breaks up the richness of the katsu.
-
Tonkatsu Sauce Drizzle: A bit of extra tonkatsu sauce on the side gives guests the option to amplify their flavor experience with every bite.
-
Japanese Pickles: The tangy and crunchy pickles cut through the dish’s richness, providing a delightful contrast that wakes up the palate with each spoonful.
-
Cold Sake: A smooth, chilled sake complements the dish, enhancing the flavors and adding a touch of elegance to your dinner.
-
Green Tea Ice Cream: For dessert, this creamy treat offers a sweet and earthy finish, leaving everyone satisfied while complementing the meal’s Asian-inspired theme.
Make Ahead Options
These Japanese Katsu Bowls are perfect for meal prep enthusiasts! You can prepare the chicken katsu by breading it up to 24 hours in advance. Simply dredge in flour, dip in beaten eggs, and coat with panko breadcrumbs before storing in an airtight container in the fridge. Additionally, the rice can be cooked up to 3 days ahead; just let it cool completely, then refrigerate in a sealed container. To maintain quality, reheat the rice gently in the microwave or on the stove with a splash of water before serving. When ready to enjoy, simply fry the chicken straight from the fridge for crispy, restaurant-quality results with minimal effort!
How to Store and Freeze Japanese Katsu Bowls
Fridge: Store any leftover Japanese Katsu Bowls in an airtight container in the fridge for up to 3 days. Reheat gently to keep the chicken crispy.
Freezer: For longer storage, freeze breaded but uncooked chicken katsu in a single layer on a baking sheet. Once frozen, transfer to a zip-top bag for up to 3 months.
Reheating: When ready to enjoy, bake the frozen katsu at 400°F (200°C) for about 20-25 minutes until heated throughout. This helps to maintain the crispy texture.
Make-Ahead Tip: You can bread the chicken in advance and freeze it, making meal prep a breeze for busy days!
Japanese Katsu Bowls Recipe FAQs
How do I choose ripe chicken breast for Japanese Katsu Bowls?
Absolutely! Look for chicken breasts that are pink, plump, and free from dark spots. If they have any foul odor or slimy texture, it’s best to avoid them. Fresh chicken will yield the most flavorful and juicy katsu.
How should I store leftover Japanese Katsu Bowls?
Very simply! Store any leftovers in an airtight container in the fridge for up to 3 days. To keep the chicken crispy, reheat in an air fryer or an oven at 350°F (175°C) for a few minutes until warm. Avoid microwaving if possible, as that can make the katsu soggy.
Can I freeze the breaded chicken for Japanese Katsu Bowls?
Absolutely! To freeze, arrange the breaded chicken on a parchment-lined baking sheet and place it in the freezer until solid. Once frozen, transfer them to a zip-top bag labeled with the date. They can be frozen for up to 3 months. When ready, you can bake them straight from the freezer!
What should I do if my chicken katsu isn’t crispy?
The key to that perfect crunch is ensuring your oil is hot enough before frying. Test the oil by dropping a small piece of bread in; it should sizzle instantly. If your katsu still isn’t crispy, try coating it evenly with panko breadcrumbs and frying in small batches to avoid crowding the pan.
Are there any allergy considerations for Japanese Katsu Bowls?
For gluten-free options, use gluten-free breadcrumbs and flour when dredging the chicken. Always check the labels on sauces like tonkatsu sauce and Worcestershire sauce, as they may contain gluten or other allergens. If making for pets, remember to keep any seasoning or sauces away from their portions, as many sauces can be harmful to them.
Can I prepare Japanese Katsu Bowls ahead of time?
Very much! You can bread the chicken katsu in advance and store it in the fridge for a day or freeze it for longer storage. If you bread and freeze the uncooked katsu, simply follow the reheating instructions mentioned earlier to enjoy a quick and delightful meal later.
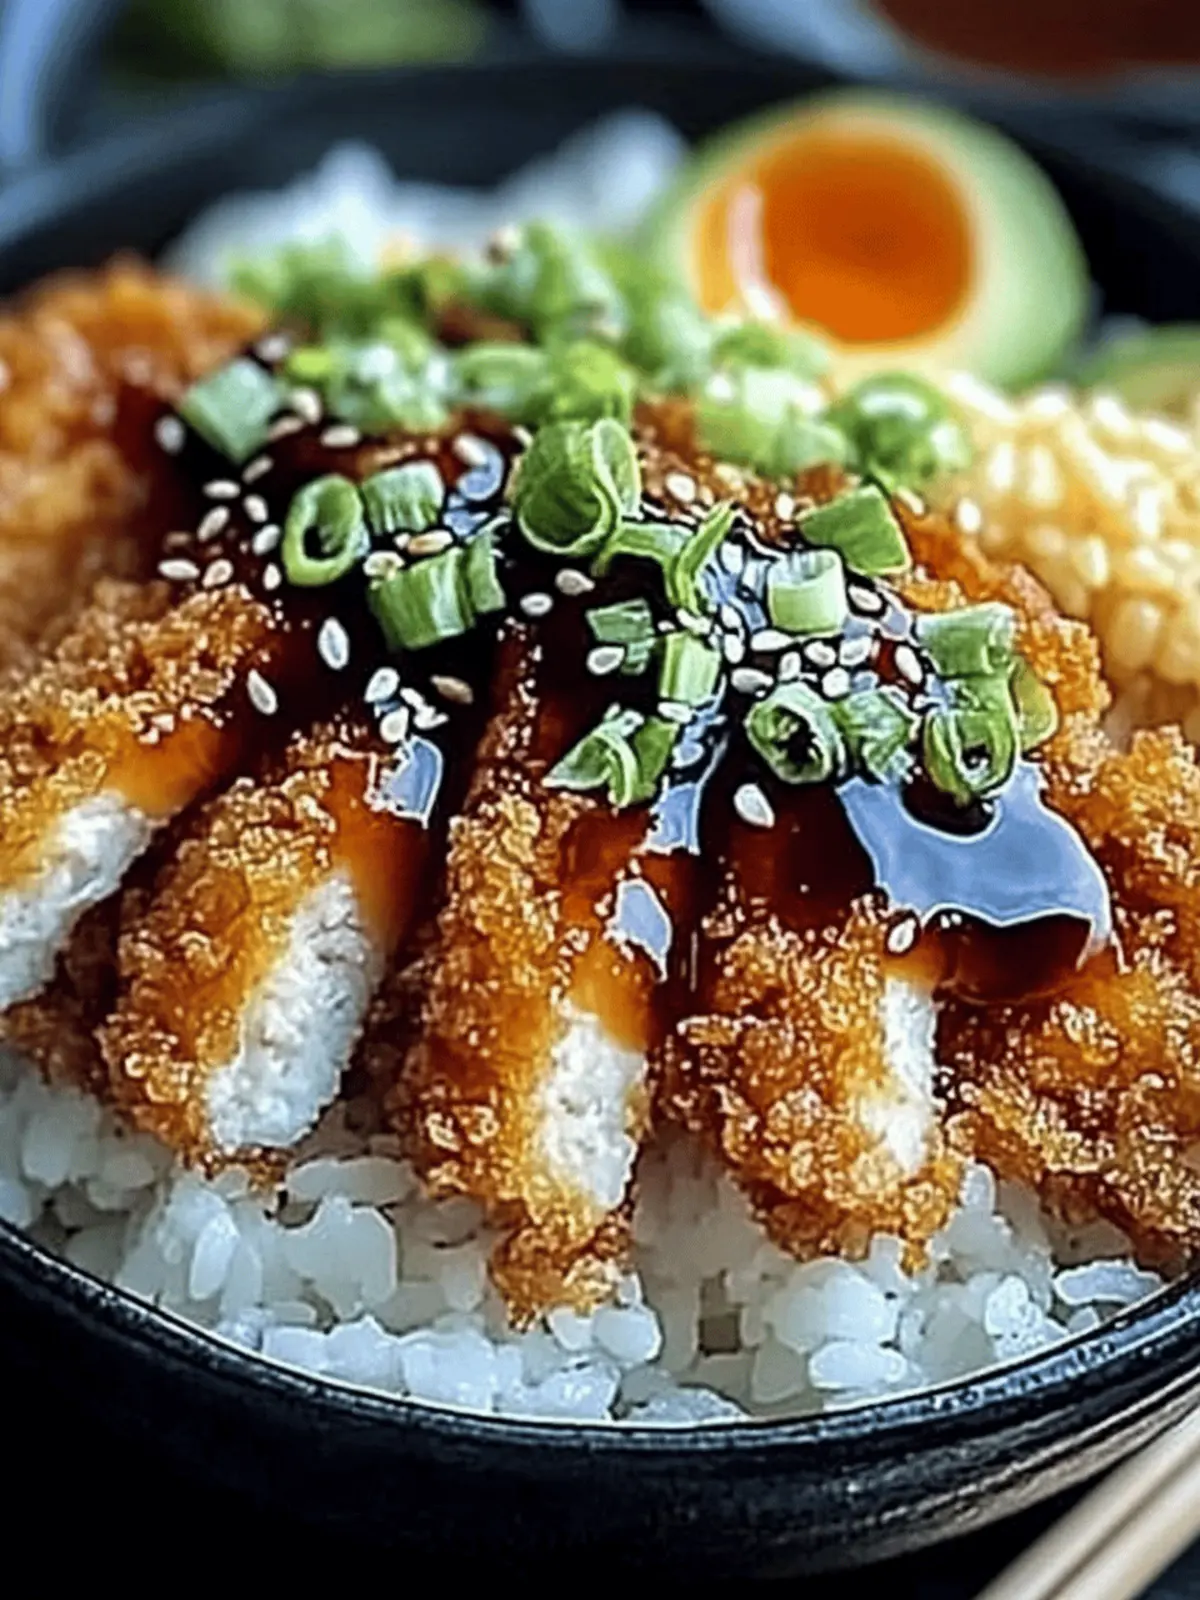
Irresistible Japanese Katsu Bowls: Crunchy Comfort at Home
Ingredients
Equipment
Method
- Rinse rice under cold water until clear to remove excess starch.
- Soak rice in water for 30 minutes for enhanced texture.
- Cook soaked rice in a pot with fresh water. Boil, then simmer for 15 minutes.
- Mix rice vinegar, sugar, and salt until dissolved, then fold into rice.
- Pound chicken breasts to ½ inch thickness and season with salt and pepper.
- Set up bowls with flour, beaten eggs, and panko breadcrumbs for coating.
- Coat chicken in flour, dip in eggs, and coat thoroughly in panko breadcrumbs.
- Heat oil in skillet and fry chicken for about 4-5 minutes on each side until golden.
- Drain chicken on paper towels, let rest, then slice into strips.
- Mix tonkatsu sauce, soy sauce, Worcestershire sauce, and ketchup in a bowl.
- Assemble bowls with seasoned rice, katsu slices, toppings, and sauce drizzled over.

