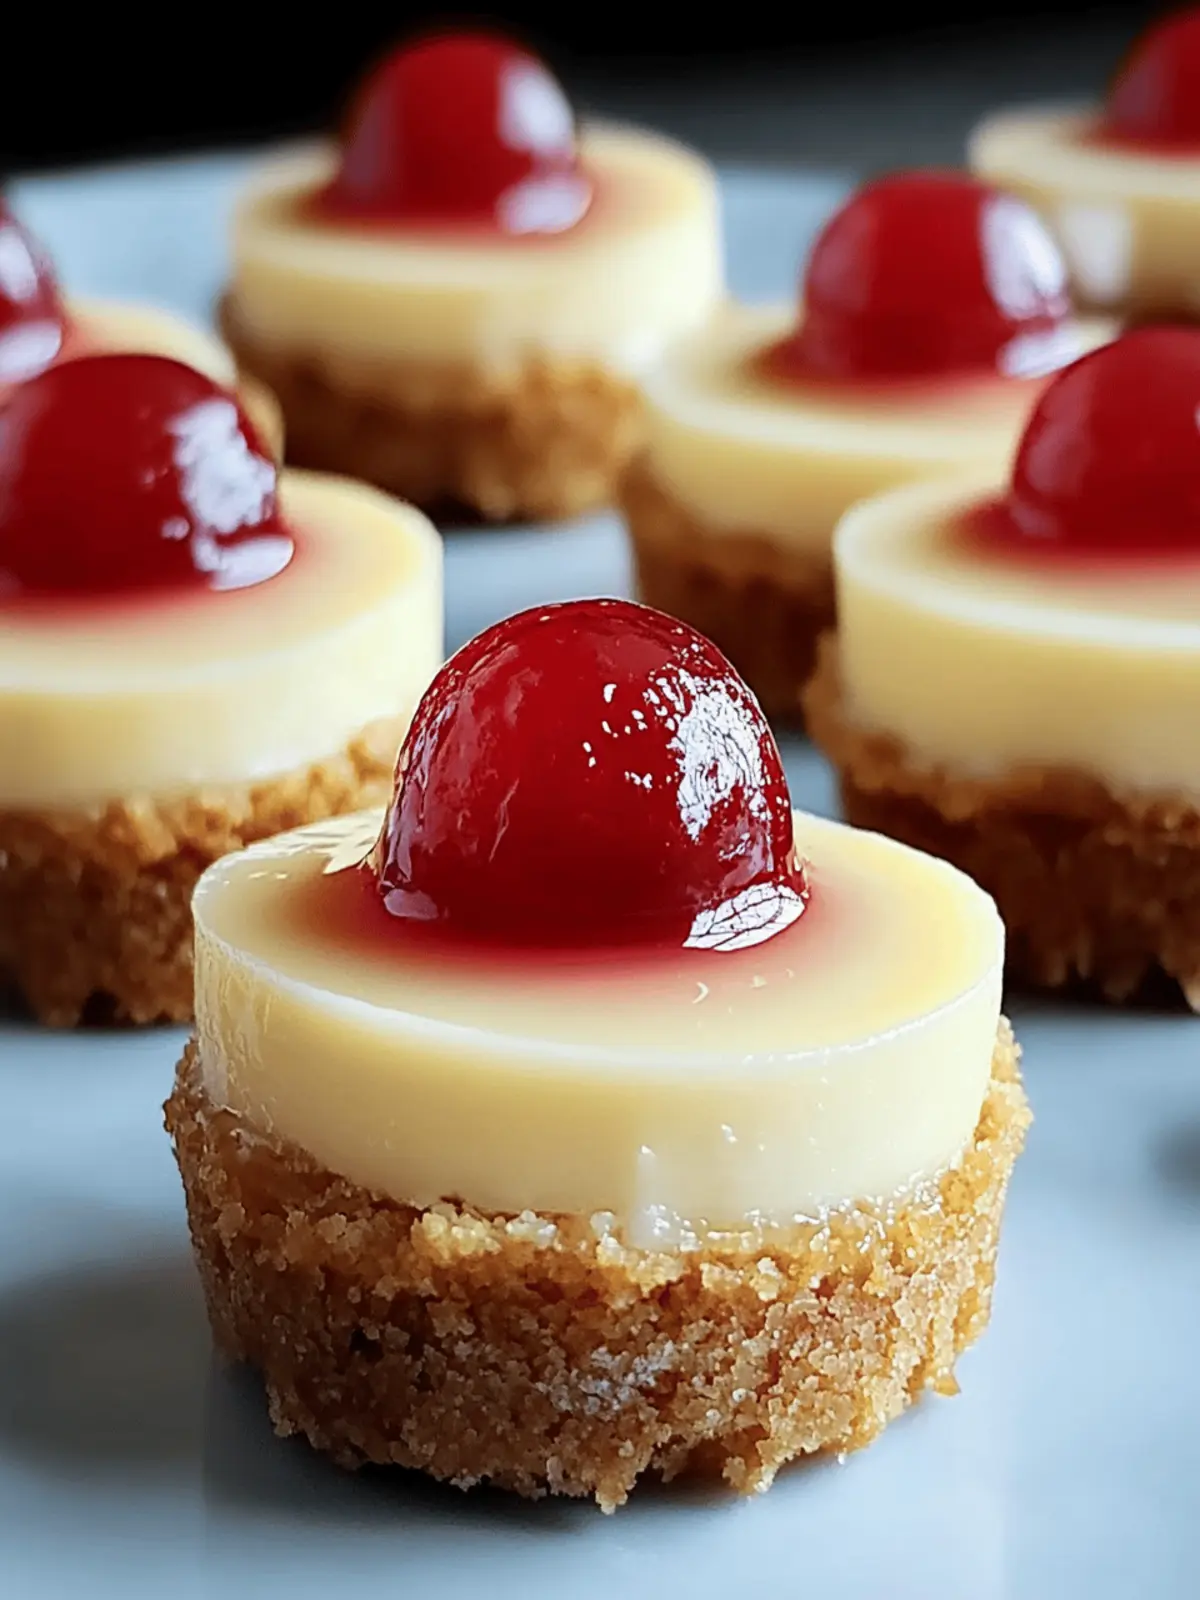
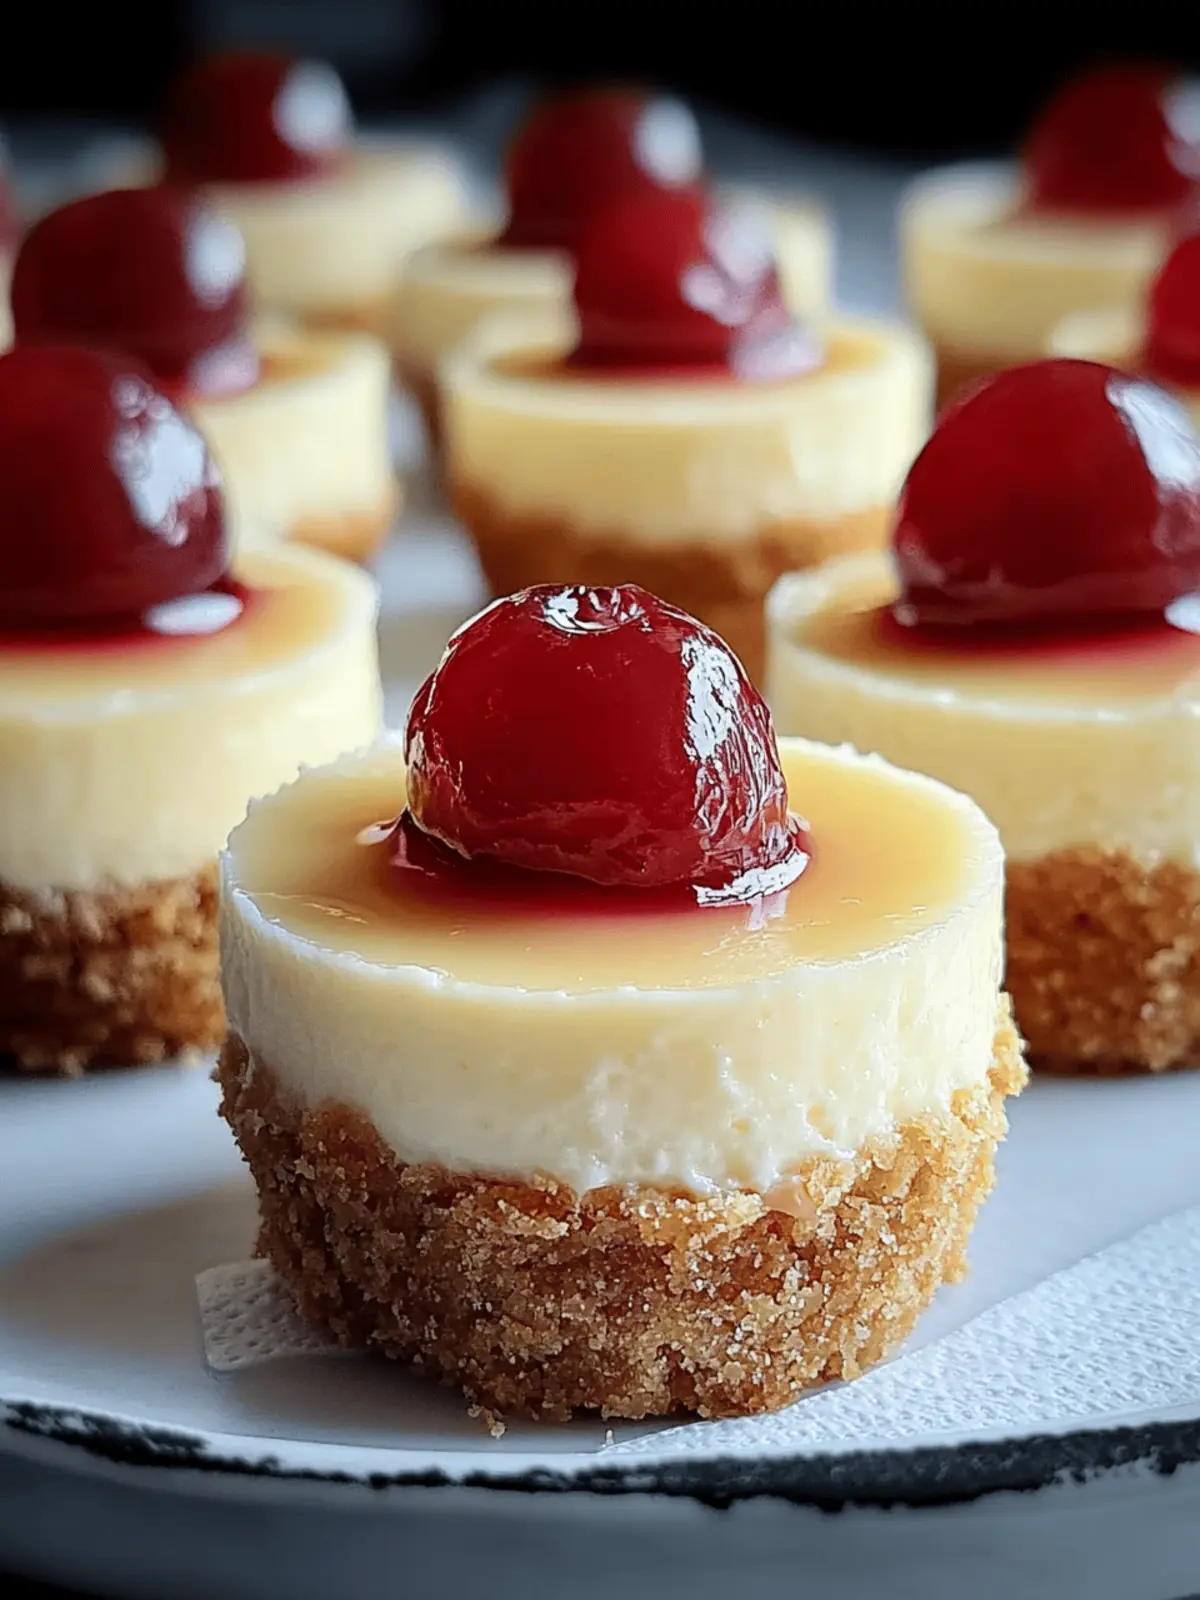
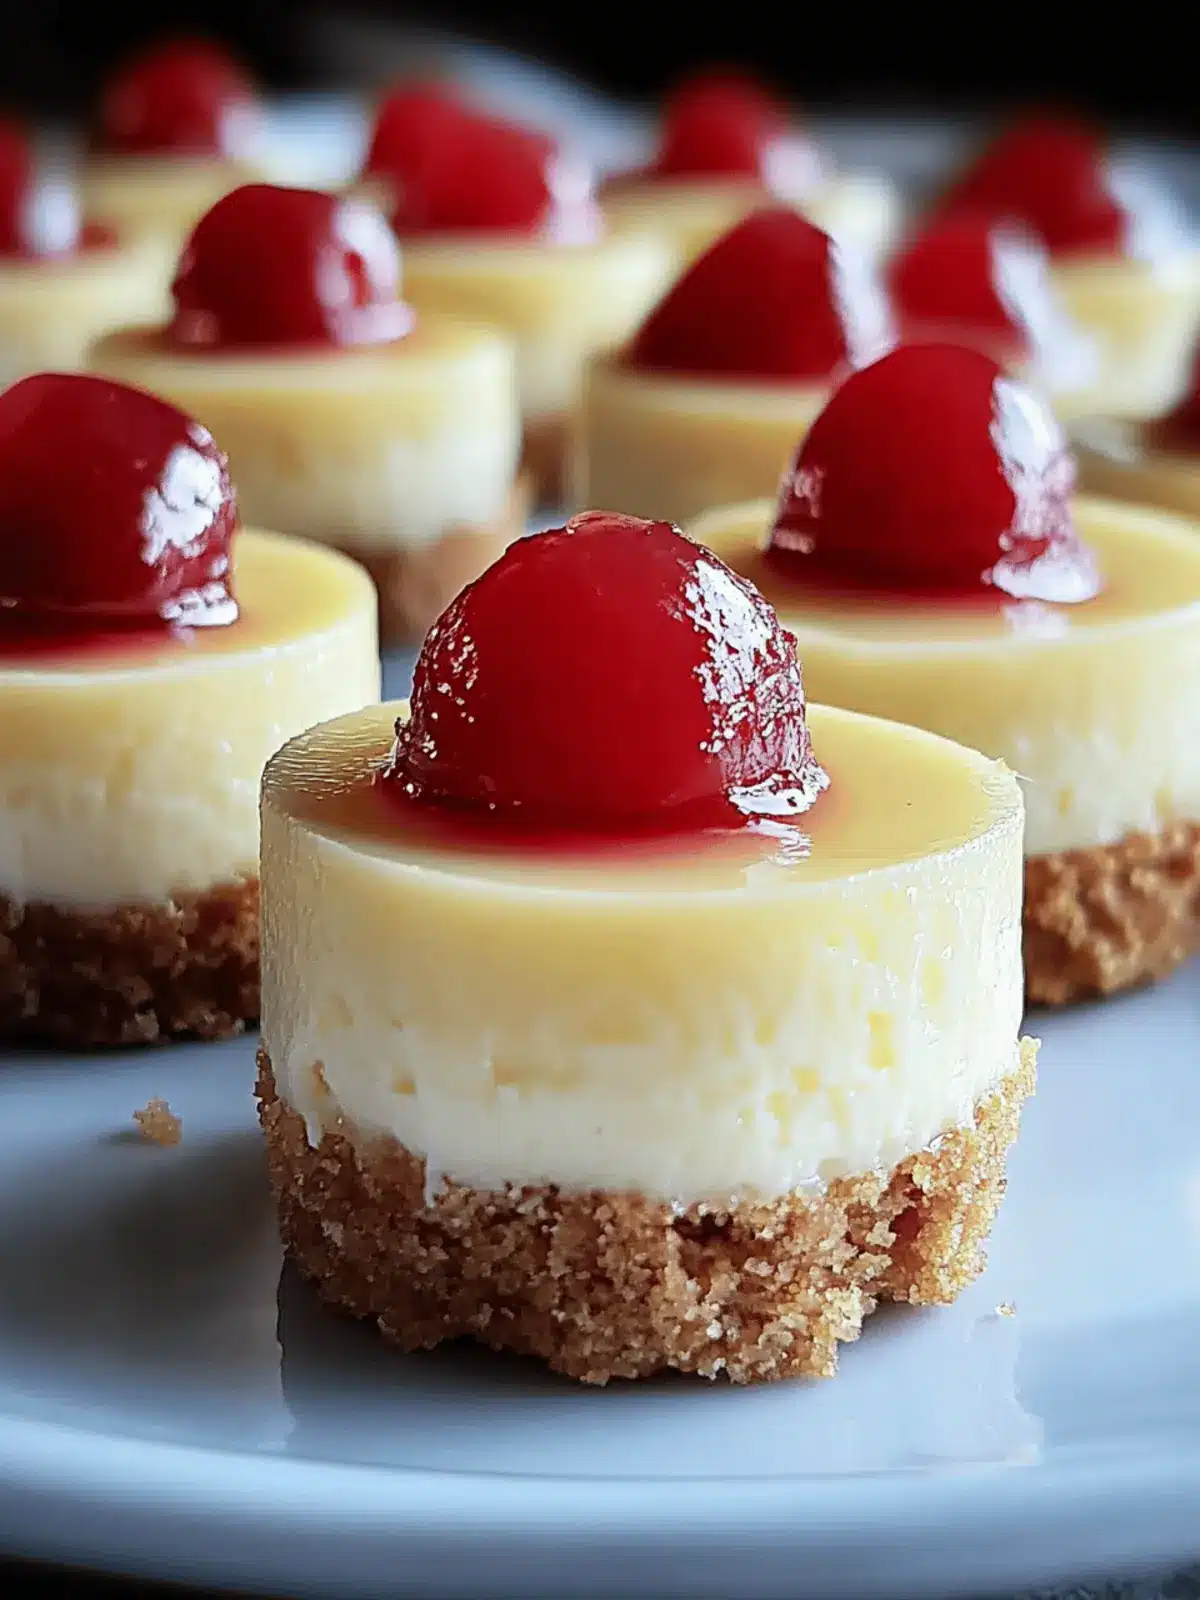
The first time I whipped up these Super Easy Mini Cheesecakes with Vanilla Wafer Crust, I was astounded by how a simple blend of ingredients could create such a deliciously indulgent treat. The moment that buttery aroma of the vanilla wafers filled my kitchen, I knew I was onto something special. Each individual cheesecake is not just a dessert; it’s a little cup of joy, measuring up to the big leagues of decadent confectionaries without the fuss.
Perfect for get-togethers or a cozy night in, this no-bake recipe strikes a balance between creamy richness and a crunch that’ll leave your taste buds dancing. And the best part? You can easily customize these for any occasion! Whether you’re craving a classic touch or a twist of flavor, this recipe welcomes your culinary creativity with open arms. So, let’s dive in and transform ordinary ingredients into extraordinary bites that are sure to impress!
Why are Mini Cheesecakes with Vanilla Wafer Crust a Must-Try?
Unforgettable Flavor: The smooth, creamy filling perfectly contrasts with the crunchy vanilla wafer base, creating a delicious bite every time.
No-Bake Convenience: Skip the oven fuss! These easy-to-make cheesecakes are ideal for home cooks who want delightful desserts without the stress.
Customizable Delight: Switch up the crust or add your favorite toppings, making each batch uniquely yours.
Crowd-Pleasing Appeal: Whether you’re heading to a party or hosting friends at home, these mini cheesecakes are always a hit, leaving everyone wanting more!
Impressive Yet Simple: Enjoy the feeling of creating a gourmet dessert with minimal effort—perfect for novice bakers or experienced chefs alike.
Mini Cheesecakes with Vanilla Wafer Crust Ingredients
For the Crust
• Finely crushed vanilla wafers – Provides the base crust with a sweet, buttery crunch; you can substitute with graham crackers or chocolate wafers for a different flavor.
• Unsalted butter – Binds the wafers together; coconut oil can be used instead if you prefer a dairy-free option.
For the Cheesecake Filling
• Full-fat cream cheese – Forms the creamy filling and must be softened for easy mixing; opt for low-fat for a lighter version.
• Granulated sugar – Adds just the right amount of sweetness to the cheesecake mixture.
• Full-fat sour cream – Enhances creaminess while adding slight tanginess; Greek yogurt can be a good alternative.
• Large eggs – Provides structure to the cheesecake; avoid overmixing to keep it smooth.
• Pure vanilla extract – Infuses delightful flavor; feel free to experiment with other extracts for a unique twist.
• Salt – Balances sweetness and enhances overall flavor.
Optional Garnishes
• Fresh berries – Add a burst of freshness and color; strawberries, blueberries, or raspberries work beautifully.
• Whipped cream – Elevates the dessert with a rich, creamy topping.
• Lemon zest – Introduces a bright, zesty contrast to the rich filling.
• Melted chocolate drizzle – For those chocolate lovers looking to indulge.
• Caramel sauce – Adds a sweet, gooey finish that complements the cheesecake’s flavor profile.
With these ingredients, you’ll create Mini Cheesecakes with Vanilla Wafer Crust that are sure to impress anyone fortunate enough to take a bite!
How to Make Mini Cheesecakes with Vanilla Wafer Crust
-
Preheat & Prepare: Start by preheating your oven to 325°F (160°C). Line a 12-cup muffin tin with paper liners to make removing the mini cheesecakes easy once they’re baked.
-
Mix the Crust: In a bowl, combine finely crushed vanilla wafers with melted unsalted butter. Stir until well coated. Press this mixture into the bottom of each muffin liner firmly, forming a solid crust.
-
Pre-Bake the Crust: Bake the crusts in the preheated oven for 5-7 minutes until slightly golden. This step ensures they hold their shape once filled. Let them cool slightly while you prepare the filling.
-
Beat the Filling: In a large mixing bowl, beat the softened cream cheese until creamy and smooth. Gradually add in granulated sugar, mixing well after each addition, followed by sour cream, pure vanilla extract, salt, and eggs. Mix until just combined—no lumps, but avoid overmixing!
-
Fill & Bake: Spoon the cheesecake filling into the pre-baked crusts, filling them to about 2/3 to 3/4 full. Gently tap the muffin tin on the counter to release any air bubbles. Bake for 18-22 minutes, until the edges appear set and the centers are slightly jiggly.
-
Cool & Chill: After baking, turn off the oven and leave the door ajar for 30 minutes, allowing the cheesecakes to cool gradually. Then, transfer them to room temperature and chill in the refrigerator for at least 3-4 hours or overnight to set.
-
Garnish & Serve: Before serving, add your favorite optional garnishes such as fresh berries, whipped cream, or a drizzle of chocolate. Enjoy these delightful treats chilled!
Optional: For a fun twist, top with lemon zest for a zesty kick.
Exact quantities are listed in the recipe card below.
Mini Cheesecakes with Vanilla Wafer Crust Variations
Feel free to get creative and make these delightful mini cheesecakes your own! Each variation welcomes your personal touch while keeping the essence of this amazing dessert.
-
Graham Cracker Crust: Swap vanilla wafers for graham crackers for a classic cheesecake base that adds a subtle sweetness.
-
Chocolate Wafer Twist: Use chocolate wafers instead to create a decadent chocolate crust that compliments the creamy filling beautifully.
-
Dairy-Free Delight: Substitute full-fat cream cheese and sour cream with dairy-free alternatives for a lighter option without sacrificing flavor.
-
Flavor Infusions: Excite your taste buds by adding a splash of almond extract or lemon zest into the filling for an unexpected flavor twist.
-
Fruity Fusions: Add fresh fruit purees like strawberry or mango into the filling for a burst of fruity excitement in every bite.
-
Nutty Crunch: Mix in crushed nuts like pecans or walnuts into the crust for added texture and a delightful nutty flavor.
-
Zesty Touch: Top with lemon or lime zest before serving to brighten the flavors and add a refreshing contrast to the creamy filling.
-
Spicy Kick: Incorporate a pinch of cinnamon or nutmeg in the filling or crust for a warm, spicy note that enhances the overall taste.
Storage Tips for Mini Cheesecakes with Vanilla Wafer Crust
-
Fridge: Store your mini cheesecakes in an airtight container in the refrigerator for up to 3-4 days. This keeps them fresh and maintains their creamy texture.
-
Freezer: Freeze the cheesecakes for up to 1 month in a single layer in a freezer-safe container. When ready to enjoy, thaw them overnight in the fridge for the best results.
-
Reheating: Mini cheesecakes are best served chilled, so there’s no need to reheat. Just enjoy them straight from the fridge or let them sit at room temperature for a few minutes before serving.
-
Perfect for Make-Ahead: These mini cheesecakes with vanilla wafer crust can be made in advance for gatherings. Ensure they are completely cooled before storage to maintain the integrity of the crust.
Tips for the Best Mini Cheesecakes
-
Room Temperature Ingredients: Make sure your cream cheese, sour cream, and eggs are at room temperature to ensure a smooth and creamy batter.
-
Mind the Mixing: Avoid overmixing the filling after adding the eggs; this prevents cracks during baking and keeps your mini cheesecakes with vanilla wafer crust looking perfect.
-
Crust Consistency: Press the crust mixture firmly and evenly into the muffin liners; this helps keep the crust structure once filled and baked.
-
Chill Time Matters: Don’t skip the chilling step! Allowing your mini cheesecakes to chill for several hours improves their flavor and texture, making each bite melt-in-your-mouth delicious.
-
Experiment with Flavors: Feel free to get creative! Substitute different cookies for the crust or mix in flavor extracts to customize these mini cheesecakes with vanilla wafer crust to your taste.
Make Ahead Options
These Super Easy Mini Cheesecakes with Vanilla Wafer Crust are perfect for meal prep enthusiasts! You can prepare the crust up to 24 hours in advance by mixing the crushed vanilla wafers with melted butter, then pressing them into the muffin liners and refrigerating them until ready to fill. The cheesecake filling can also be made up to 3 days ahead; simply store it in an airtight container in the refrigerator. When you’re ready to serve, fill the pre-baked crusts with the chilled filling, bake as directed, and let them cool before chilling again. This way, you’ll have delicious, no-fuss desserts ready to impress your guests while saving precious time on busy days!
What to Serve with Mini Cheesecakes with Vanilla Wafer Crust?
Indulging in these velvety mini cheesecakes is a delightful experience, but the perfect accompaniments can elevate your dessert spread even further.
-
Fresh Berries: The burst of sweetness from strawberries, blueberries, or raspberries complements the creamy texture, adding a refreshing contrast. Their vibrant colors also make for an eye-catching presentation!
-
Whipped Cream: A dollop of homemade or store-bought whipped cream adds an airy lightness, enhancing the soft cheesecake texture while providing a touch of extra sweetness.
-
Chocolate Drizzle: A decadent chocolate drizzle brings richness and an irresistible touch for chocolate lovers. Drizzle it on top just before serving for a simple yet impressive finish.
-
Coffee or Tea: Pairing your mini cheesecakes with a cup of hot coffee or herbal tea creates a comforting experience, perfect for an afternoon gathering or a cozy night in.
-
Lemon Zest: A sprinkle of fresh lemon zest adds a zesty brightness, cutting through the richness of the cheesecake. This simple touch can elevate flavors to a whole new level.
-
Caramel Sauce: Drizzling warm caramel sauce over the mini cheesecakes introduces a sweet, gooey element that pairs beautifully with the creamy filling, making each bite even more indulgent.
With these delightful accompaniments, your Mini Cheesecakes with Vanilla Wafer Crust will be the star of any dessert table!
Mini Cheesecakes with Vanilla Wafer Crust Recipe FAQs
What should I look for when choosing vanilla wafers for the crust?
Absolutely! When selecting vanilla wafers, look for packages without broken pieces for a smooth texture. Ensure the wafers are fresh and free from dark spots, which indicate staleness. Check the expiration date to guarantee you’re getting the best quality for your crust.
How long do Mini Cheesecakes with Vanilla Wafer Crust last in the fridge?
These delightful cheesecakes can be stored in an airtight container in the refrigerator for up to 3-4 days. Just make sure they’re completely cooled before refrigerating to maintain that perfect crust and creamy filling.
Can I freeze Mini Cheesecakes with Vanilla Wafer Crust?
Very! To freeze, place the cooled mini cheesecakes in a single layer in a freezer-safe container. They can be stored for up to 1 month. For serving, simply thaw them in the fridge overnight. This method keeps them fresh while maintaining their delicious texture!
What should I do if my cheesecakes have cracks on the surface?
No worries, it happens! To prevent cracks, avoid overmixing the filling, especially after adding the eggs. If you do notice cracks post-baking, cover them up with whipped cream or a fruit topping—no one will notice! For future batches, consider baking at a lower temperature and leaving them in the oven to cool gradually.
Can my pets eat Mini Cheesecakes with Vanilla Wafer Crust?
Definitely not! While the ingredients are generally safe for humans, mini cheesecakes contain sugar and dairy, which can be hard on pets’ stomachs. Always keep these delicious treats out of reach from furry friends, ensuring they stick to their own pet-friendly snacks!
Are there dairy-free options for this recipe?
Absolutely! You can substitute full-fat cream cheese and sour cream with dairy-free alternatives like almond or cashew cream cheese. Use coconut oil instead of butter for the crust. This way, you can enjoy the goodness of mini cheesecakes while accommodating dairy-free diets!
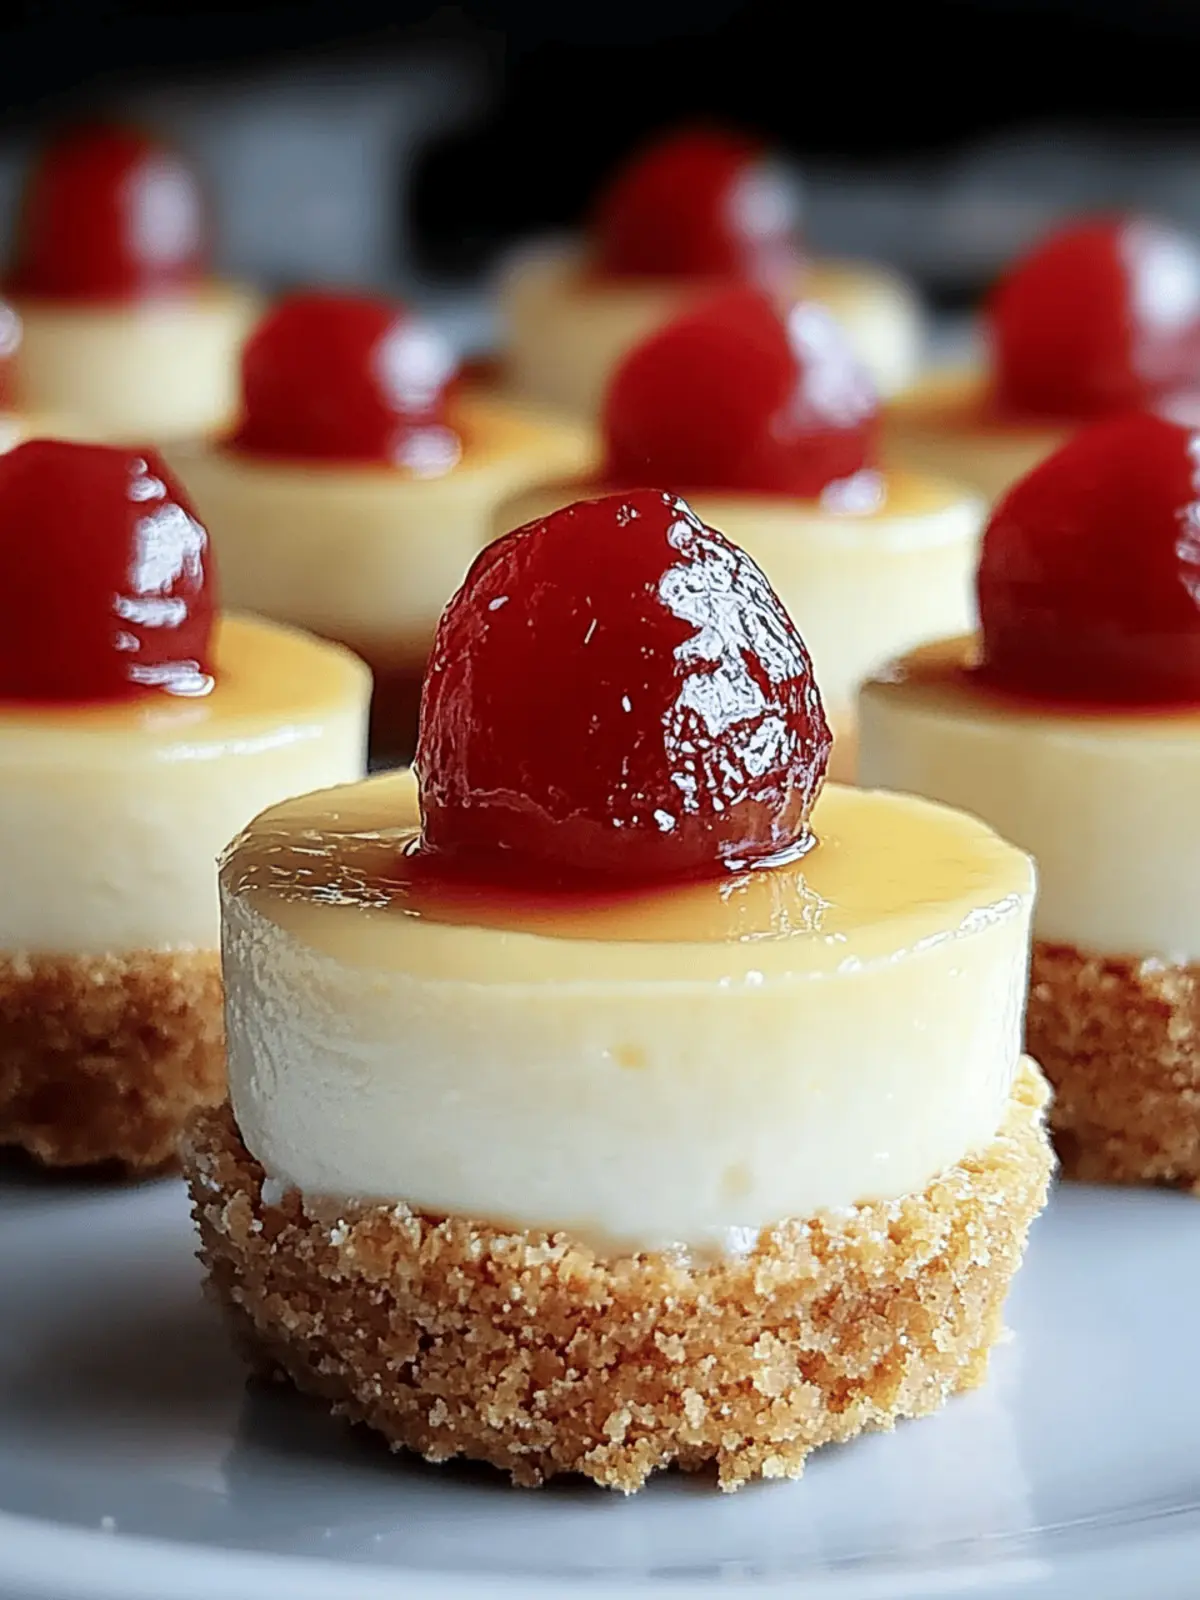
Mini Cheesecakes with Vanilla Wafer Crust Anyone Can Make
Ingredients
Equipment
Method
- Preheat your oven to 325°F (160°C) and line a 12-cup muffin tin with paper liners.
- In a bowl, mix finely crushed vanilla wafers with melted unsalted butter. Press this mixture into the bottom of each muffin liner.
- Bake the crusts for 5-7 minutes until slightly golden. Let cool slightly.
- Beat softened cream cheese until smooth. Gradually add sugar, then sour cream, vanilla extract, salt, and eggs; mix until just combined.
- Fill the crusts with the cheesecake mixture, then tap the tin to release air bubbles. Bake for 18-22 minutes.
- Cool the cheesecakes in the oven with the door ajar for 30 minutes. Chill in the refrigerator for at least 3-4 hours.
- Garnish with your favorite toppings before serving.

