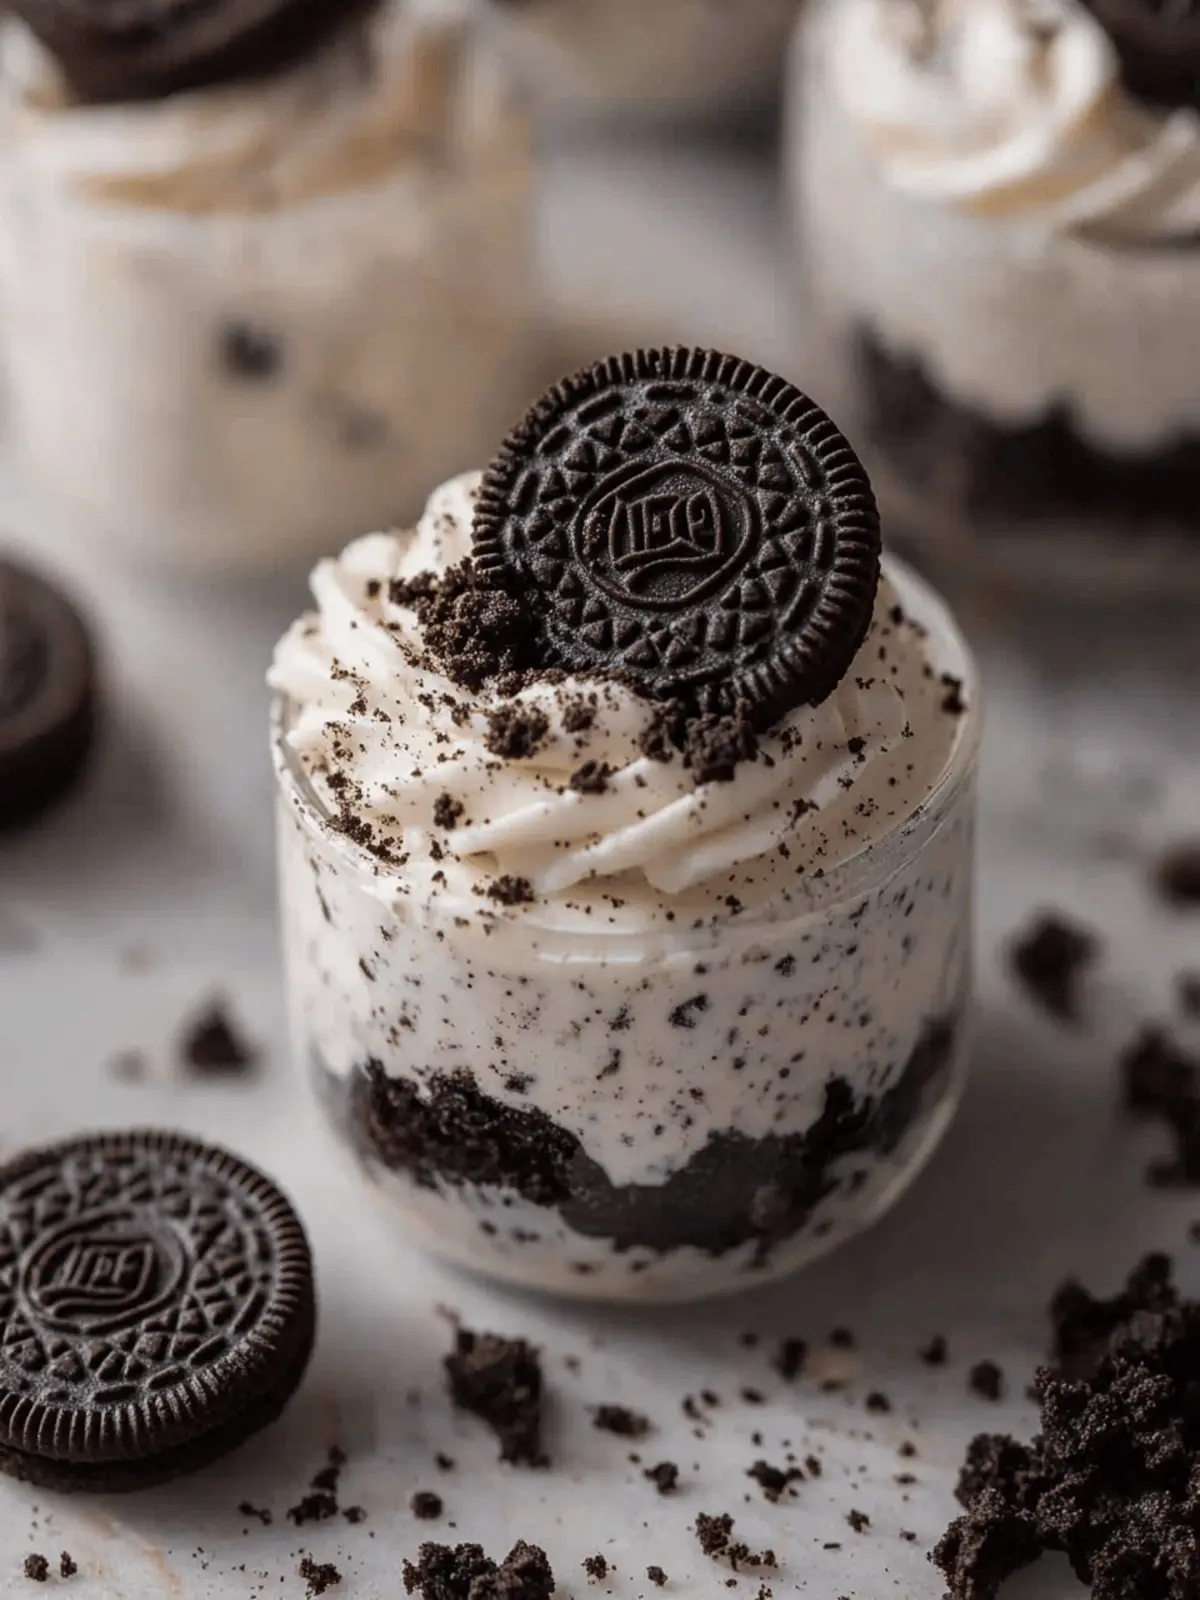
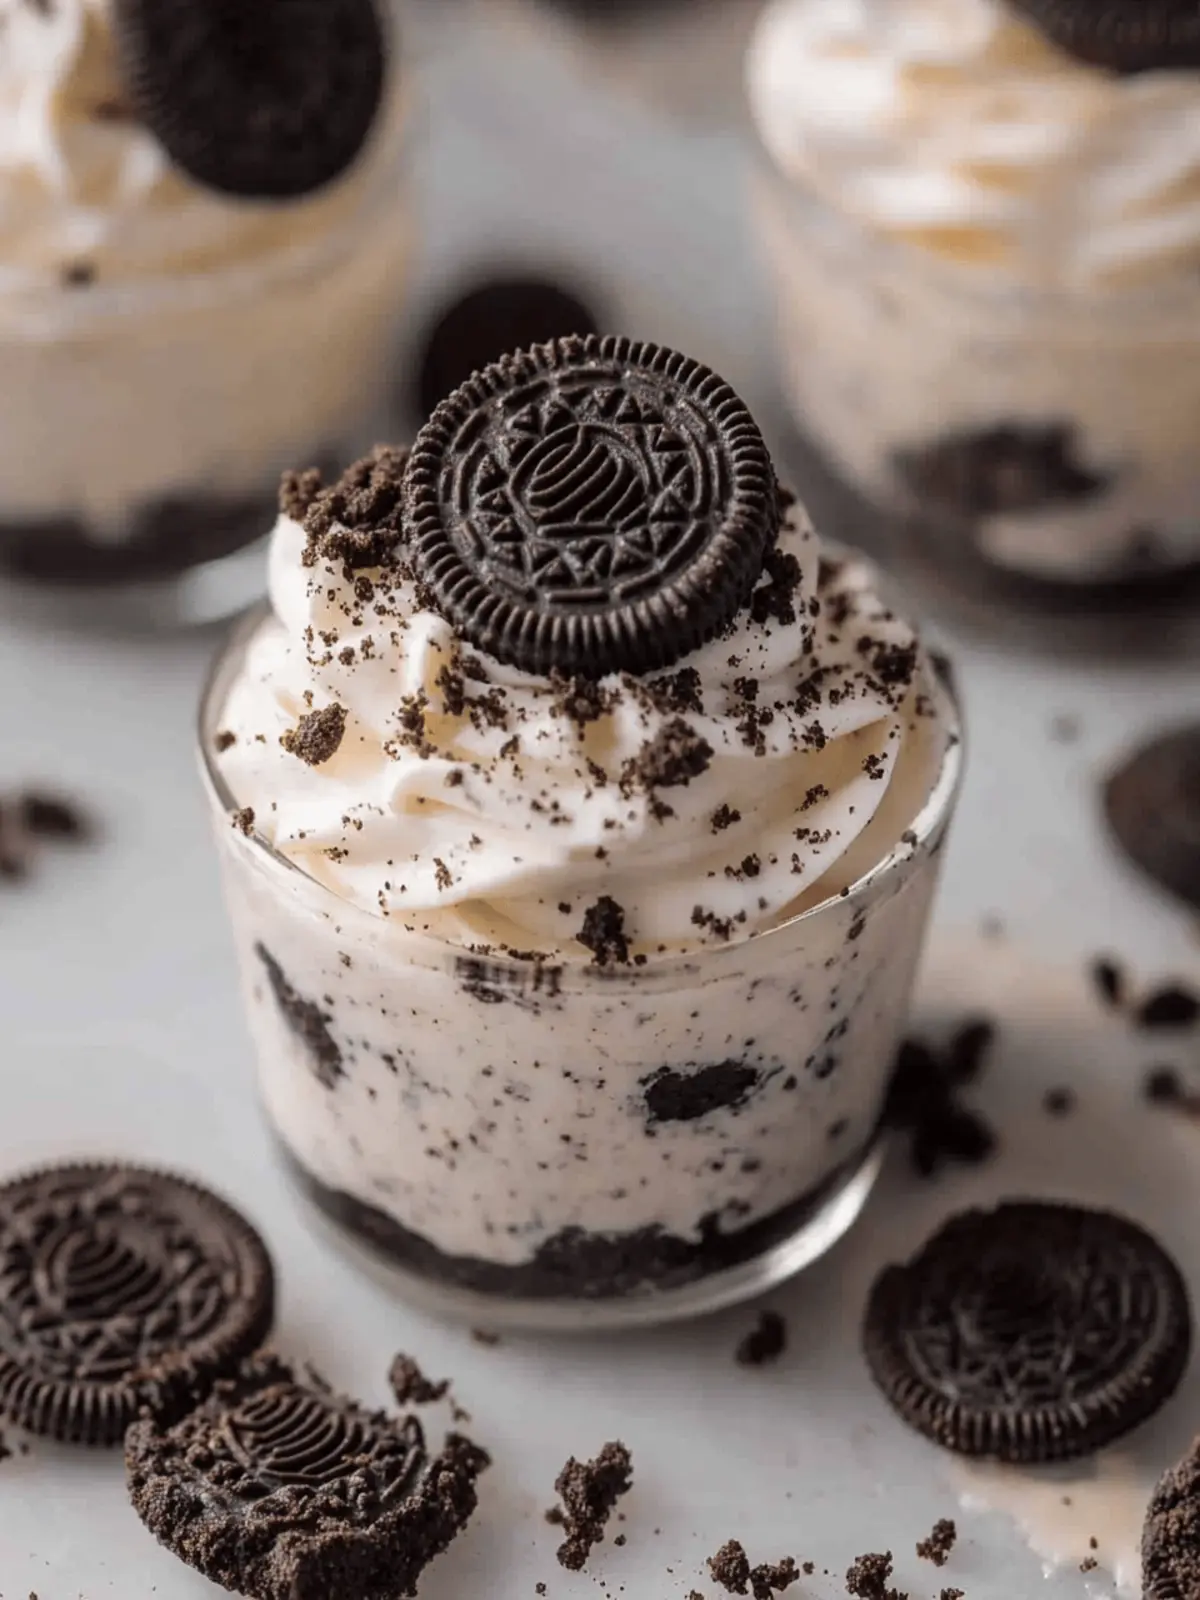
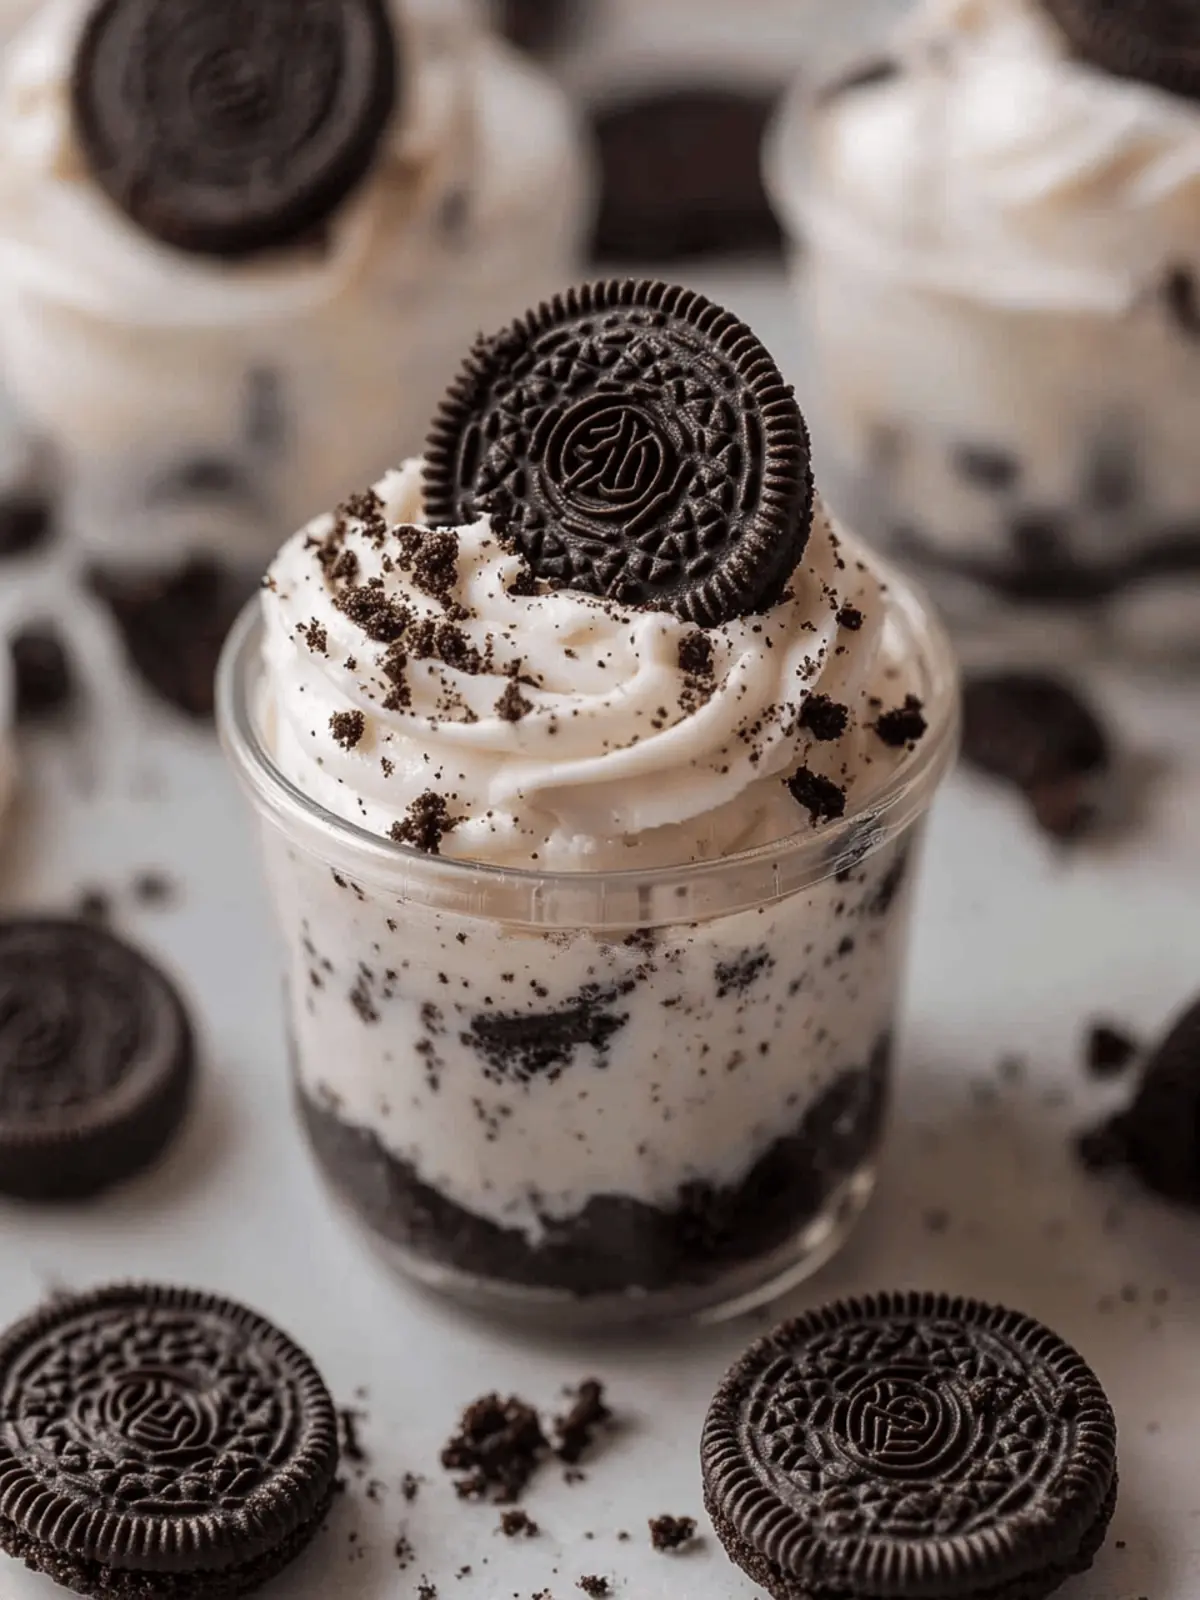
When the sun is shining, and the air is filled with laughter, nothing beats a simple yet indulgent dessert to bring friends and family together. That’s when I turn to these delightful No-Bake Oreo Cheesecake Cups! With just five ingredients and in under 20 minutes, you can whip up a treat that’s as easy on the eyes as it is on the palate. Picture this: crunchy Oreo crusts layered underneath a creamy cheesecake filling that’s perfectly sweetened and refreshingly airy. It’s the kind of dessert that turns ordinary afternoons into special occasions.
These cups are not only customizable—think mint, peanut butter, or birthday cake-flavored Oreos—but they’re also a guaranteed crowd-pleaser. The best part? You can prepare them ahead of time, allowing you to savor your company instead of being tied to the kitchen. Let’s dive into this effortless recipe that promises to make your summer gatherings a little sweeter!
Why are No-Bake Oreo Cheesecake Cups a must-try?
Effortless Indulgence: This recipe comes together in just 20 minutes, making it perfect for busy summer days.
Minimal Ingredients: With only five simple ingredients, it’s easy to stock up and create on a whim.
Versatile Fun: Customize flavors by using different Oreo varieties—everyone will find their favorite!
Kid-Friendly: Great for involving children in the kitchen, they’ll enjoy mixing and assembling.
Party Favorite: Serve these at parties, and watch them vanish—who can resist that creamy, crunchy combo?
No Baking Required: Stay cool while whipping up a delicious dessert without ever turning on the oven!
No-Bake Oreo Cheesecake Cups Ingredients
-
For the Cheesecake Filling
• Cream Cheese — Adds creaminess and structure; ensure it’s softened for easy mixing.
• Cool Whip/Whipped Topping — Provides a light, airy texture; can substitute with homemade whipped cream if preferred.
• Powdered Sugar — Sweetens the filling and helps achieve a velvety consistency; feel free to use granulated sugar, but it may change the texture slightly.
• Vanilla Extract — Elevates flavor complexity; opt for pure vanilla extract for the best taste. -
For the Crust
• Oreo Cookies — The soul of this dessert that adds rich flavor and crunchy texture; any Oreo flavor can be used to add variety to your No-Bake Oreo Cheesecake Cups.
Enjoy the joy of crafting these delightful cups with minimal ingredients while making unforgettable memories with loved ones!
How to Make No-Bake Oreo Cheesecake Cups
-
Crush Oreos: Place your Oreo cookies inside a sturdy plastic bag. Using a rolling pin, crush them into coarse crumbs. Aim for a mix of finer crumbs and some larger pieces for that nice texture!
-
Prepare Dessert Dishes: Spoon the crushed Oreos evenly into the bottom of 6 small dessert cups, each about 3/4 to 1 cup in size. Press gently to create a solid crust layer.
-
Mix Filling: In a mixing bowl, beat the softened cream cheese with powdered sugar until it’s creamy and smooth. Blend in the vanilla extract for an added flavor kick!
-
Fold in Cool Whip: Gently fold the Cool Whip into your cream cheese mixture. This will give your cheesecake a light, airy texture; be careful not to deflate it too much!
-
Add More Oreos: Fold in the remaining crushed Oreos into the filling. This step enhances the Oreo flavor throughout your cheesecake cups, providing delightful bites of crunch.
-
Assemble: Distribute the cheesecake filling into each cup, pressing it down onto the Oreo crusts. Make sure each cup is filled generously for a delectable treat!
-
Chill: Place the assembled cups in the refrigerator to chill for at least 1 hour or until they are set. This helps the flavors meld beautifully.
-
Serve: Serve the cups chilled, topped with a dollop of whipped cream and a sprinkle of extra crushed Oreos for garnish. Enjoy the smiles they bring!
Optional: Top with fresh fruit like raspberries for an extra burst of flavor!
Exact quantities are listed in the recipe card below.
Storage Tips for No-Bake Oreo Cheesecake Cups
- Fridge: Store any leftover No-Bake Oreo Cheesecake Cups in an airtight container for up to 5 days to maintain freshness and flavor.
- Make-Ahead: Feel free to prepare these cups a day in advance! The flavors deepen and meld during refrigeration, enhancing the overall taste.
- Freezer: If you have extra cups, you can freeze them for up to 2 months. Wrap each cup tightly in plastic wrap before placing them in a freezer-safe container.
- Thawing: When ready to enjoy, transfer frozen cups to the fridge and allow them to thaw overnight for the best texture.
No-Bake Oreo Cheesecake Cups Variations
Feel free to get creative and personalize your delightful dessert experience!
- Flavor Swaps: Use different Oreo flavors, like mint or peanut butter, for a unique twist on the classic taste.
- Chocolate Lover’s Dream: Mix in mini chocolate chips or a layer of chocolate ganache for added richness and texture.
- Fruit Forward: Top with fresh berries or incorporate fruit puree into the filling for a refreshing burst of flavor.
- Nutty Crunch: Fold in crushed nuts like almonds or pecans for an added layer of texture and taste contrast.
- Syrupy Sweetness: Drizzle with caramel or chocolate sauce just before serving for an irresistible touch of decadence.
- Vegan-Friendly: Substitute cream cheese and Cool Whip with vegan alternatives and use gluten-free Oreos for a plant-based treat.
- Savory Twist: For adventurous palates, consider adding a sprinkle of sea salt or a hint of espresso powder to intensify the flavors.
In a world full of possibilities, these variations not only delight the taste buds but also invite joyful experimentation in your kitchen!
Make Ahead Options
Planning a get-together? These No-Bake Oreo Cheesecake Cups are a fantastic choice for meal prep, saving you precious time when entertaining! You can assemble the cups up to 24 hours in advance, allowing the flavors to develop beautifully overnight in the refrigerator. Simply prepare the crust and filling as instructed, then layer them in your cups and cover tightly with plastic wrap. To ensure they retain their delicious taste and texture, keep the whipped cream separate until just before serving. Once it’s time to enjoy, top the chilled cups with whipped cream and extra crushed Oreos to create a stunning presentation that’s just as delightful as if made that day!
Tips for the Best No-Bake Oreo Cheesecake Cups
-
Softened Cream Cheese: Make sure your cream cheese is at room temperature for easy mixing. Cold cream cheese can lead to lumps in your filling.
-
Crushing Oreos: For even crumbs, using a food processor is a great option. If crushing by hand, don’t be too aggressive; you want a mix of fine crumbs and larger pieces for texture!
-
Chilling Time: Don’t skip the chilling step! Allowing the No-Bake Oreo Cheesecake Cups to set for at least an hour gives the flavors time to meld, making each bite more delicious.
-
Customization Tip: Feel free to experiment by swapping the Oreo flavor, or add mix-ins such as chocolate chips or fruit for unique spins on your cheesecake cups!
-
Storage Advice: Keep any leftover cheesecake cups in an airtight container in the fridge for up to 5 days. They also taste great after a day in the fridge as the flavors continue to develop!
What to Serve with No-Bake Oreo Cheesecake Cups?
When you’re whipping up these creamy little indulgences, you’ll want to complement their rich flavors with a few delightful pairings.
-
Fresh Berries: Juicy strawberries or raspberries add a burst of freshness, balancing the sweetness of the cheesecake.
-
Chocolate Sauce: A drizzle of chocolate sauce enhances the rich flavors of the Oreo cheesecake, offering a decadent touch.
-
Homemade Whipped Cream: Top with a dollop of freshly whipped cream for added texture and a touch of homemade goodness.
-
Mint Leaves: A sprinkle of fresh mint on top not only looks beautiful but also adds a refreshing note that contrasts beautifully with the creamy filling.
-
Iced Coffee: Enjoy these cups with a refreshing iced coffee to create a delightful, coffee and dessert experience that’s perfect for warm days.
-
Vanilla Ice Cream: Serve with a scoop of vanilla ice cream for a lavish and creamy combination that will make your dessert truly unforgettable.
-
Chocolate Chip Cookies: For a fun twist, pair the cups with some chocolate chip cookies for a multi-layered dessert experience. After all, who can resist cookies and cheesecake together?
Let these pairings elevate your gathering, ensuring every bite is not just enjoyed but celebrated!
No-Bake Oreo Cheesecake Cups Recipe FAQs
How do I select the best Oreos for my No-Bake Oreo Cheesecake Cups?
Absolutely! For the best flavor and texture, choose fresh Oreos without any visible signs of damage or dark spots. If you’re feeling adventurous, you can also use different Oreo flavors like mint or birthday cake to create unique and delicious variations!
What is the best way to store leftover No-Bake Oreo Cheesecake Cups?
Very! It’s best to store your leftover cheesecake cups in an airtight container in the refrigerator. They will stay fresh for up to 5 days. Make sure they are tightly sealed to prevent them from absorbing any other flavors from the fridge.
Can I freeze No-Bake Oreo Cheesecake Cups?
Of course! You can freeze your No-Bake Oreo Cheesecake Cups for up to 2 months. Wrap each cup tightly in plastic wrap, then place them in a freezer-safe container. When you’re ready to enjoy, simply transfer them to the refrigerator and let them thaw overnight for the best texture.
What can I do if my cheesecake filling is too thick or lumpy?
Oh no! If your filling turns out too thick, check that your cream cheese is adequately softened—at room temperature is perfect! If it’s still lumpy, you can use an electric mixer to beat the mixture longer until it becomes smooth. If it’s too thick overall, fold in a little more Cool Whip or a splash of milk to help achieve the desired consistency.
Are No-Bake Oreo Cheesecake Cups suitable for those with allergies?
Great question! These cheesecake cups contain dairy and gluten due to the cream cheese and Oreos. For those with gluten sensitivities, consider using gluten-free Oreo varieties, and you can also look for non-dairy cream cheese and whipped topping to make it dairy-free. Always read labels to ensure you meet dietary restrictions!
Can kids help make the No-Bake Oreo Cheesecake Cups?
Absolutely! This recipe is kid-friendly and provides a great opportunity for children to lend a hand in the kitchen. They can help crush the Oreos, mix the filling, and layer the cups. Just be sure to supervise them, especially while using utensils or mixing!
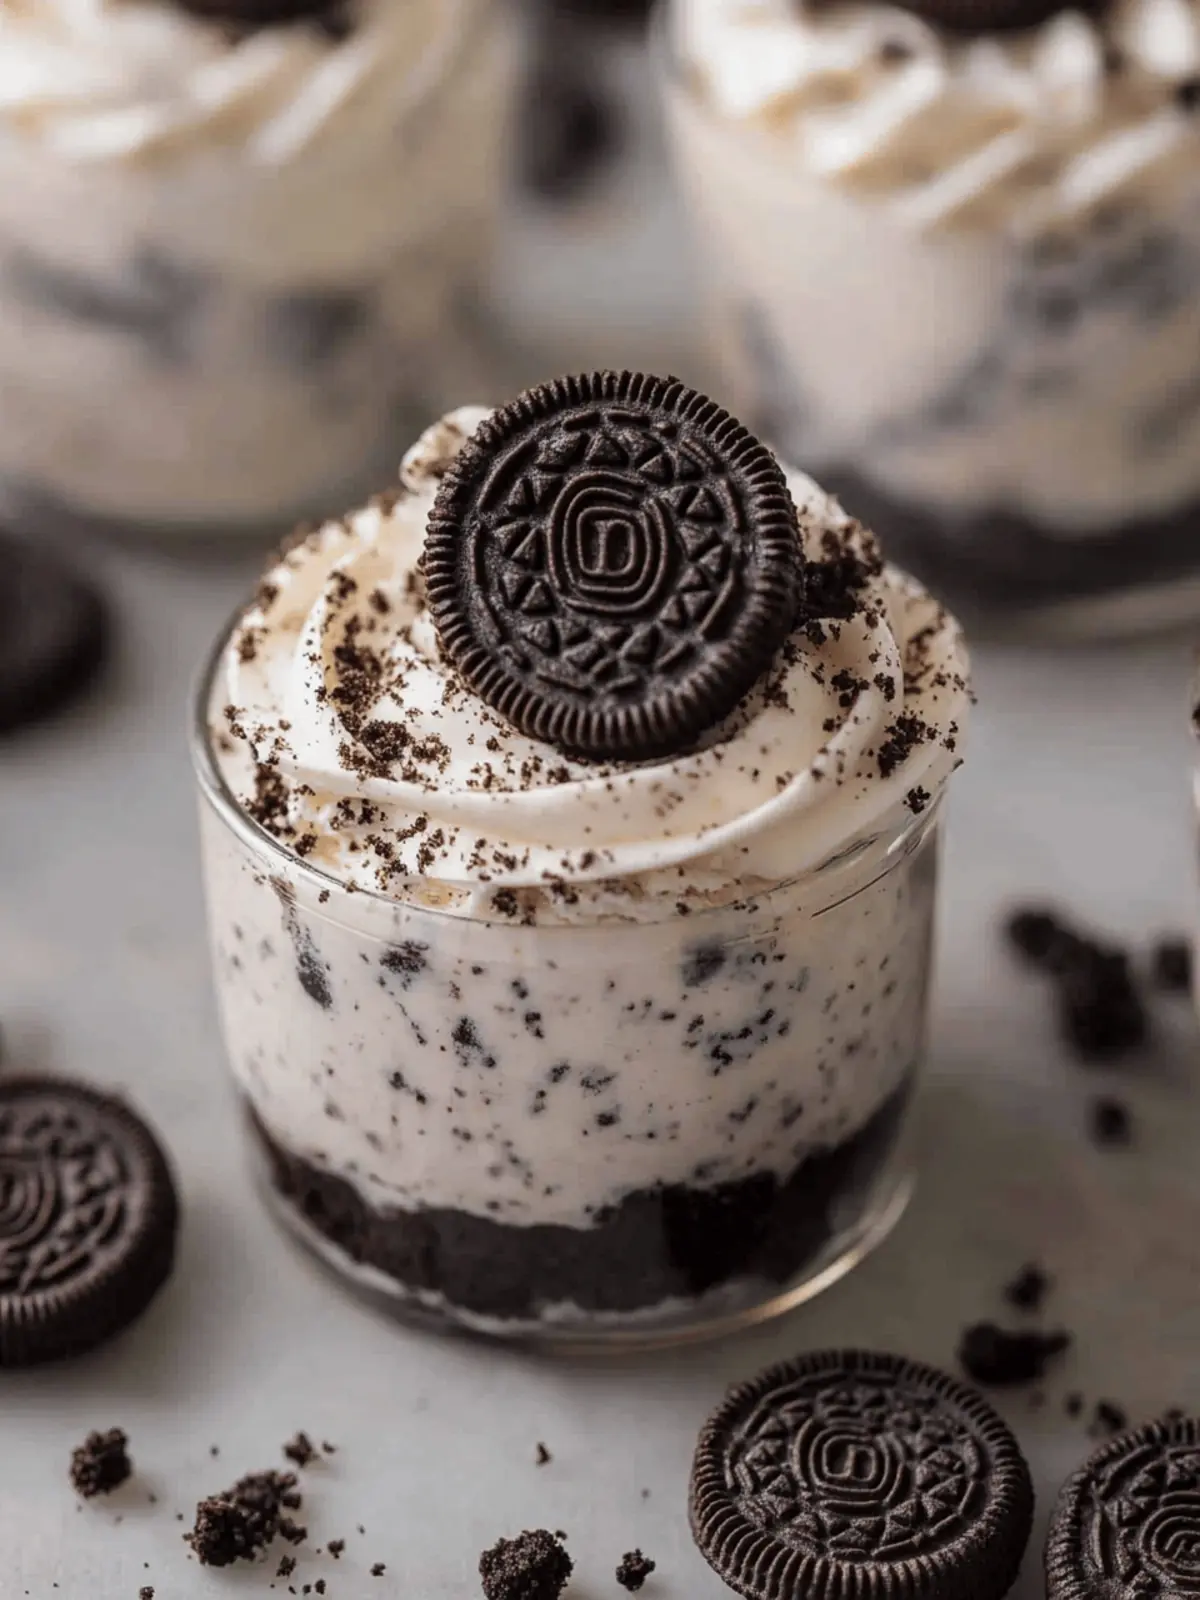
Dreamy No-Bake Oreo Cheesecake Cups
Ingredients
Equipment
Method
- Crush Oreos: Place your Oreo cookies inside a sturdy plastic bag. Using a rolling pin, crush them into coarse crumbs.
- Prepare Dessert Dishes: Spoon the crushed Oreos evenly into the bottom of 6 small dessert cups. Press gently to create a solid crust layer.
- Mix Filling: In a mixing bowl, beat the softened cream cheese with powdered sugar until creamy. Blend in the vanilla extract.
- Fold in Cool Whip: Gently fold the Cool Whip into your cream cheese mixture.
- Add More Oreos: Fold in the remaining crushed Oreos into the filling.
- Assemble: Distribute the cheesecake filling into each cup, pressing it down onto the Oreo crusts.
- Chill: Place the assembled cups in the refrigerator to chill for at least 1 hour or until set.
- Serve: Serve the cups chilled, topped with a dollop of whipped cream and a sprinkle of extra crushed Oreos.

