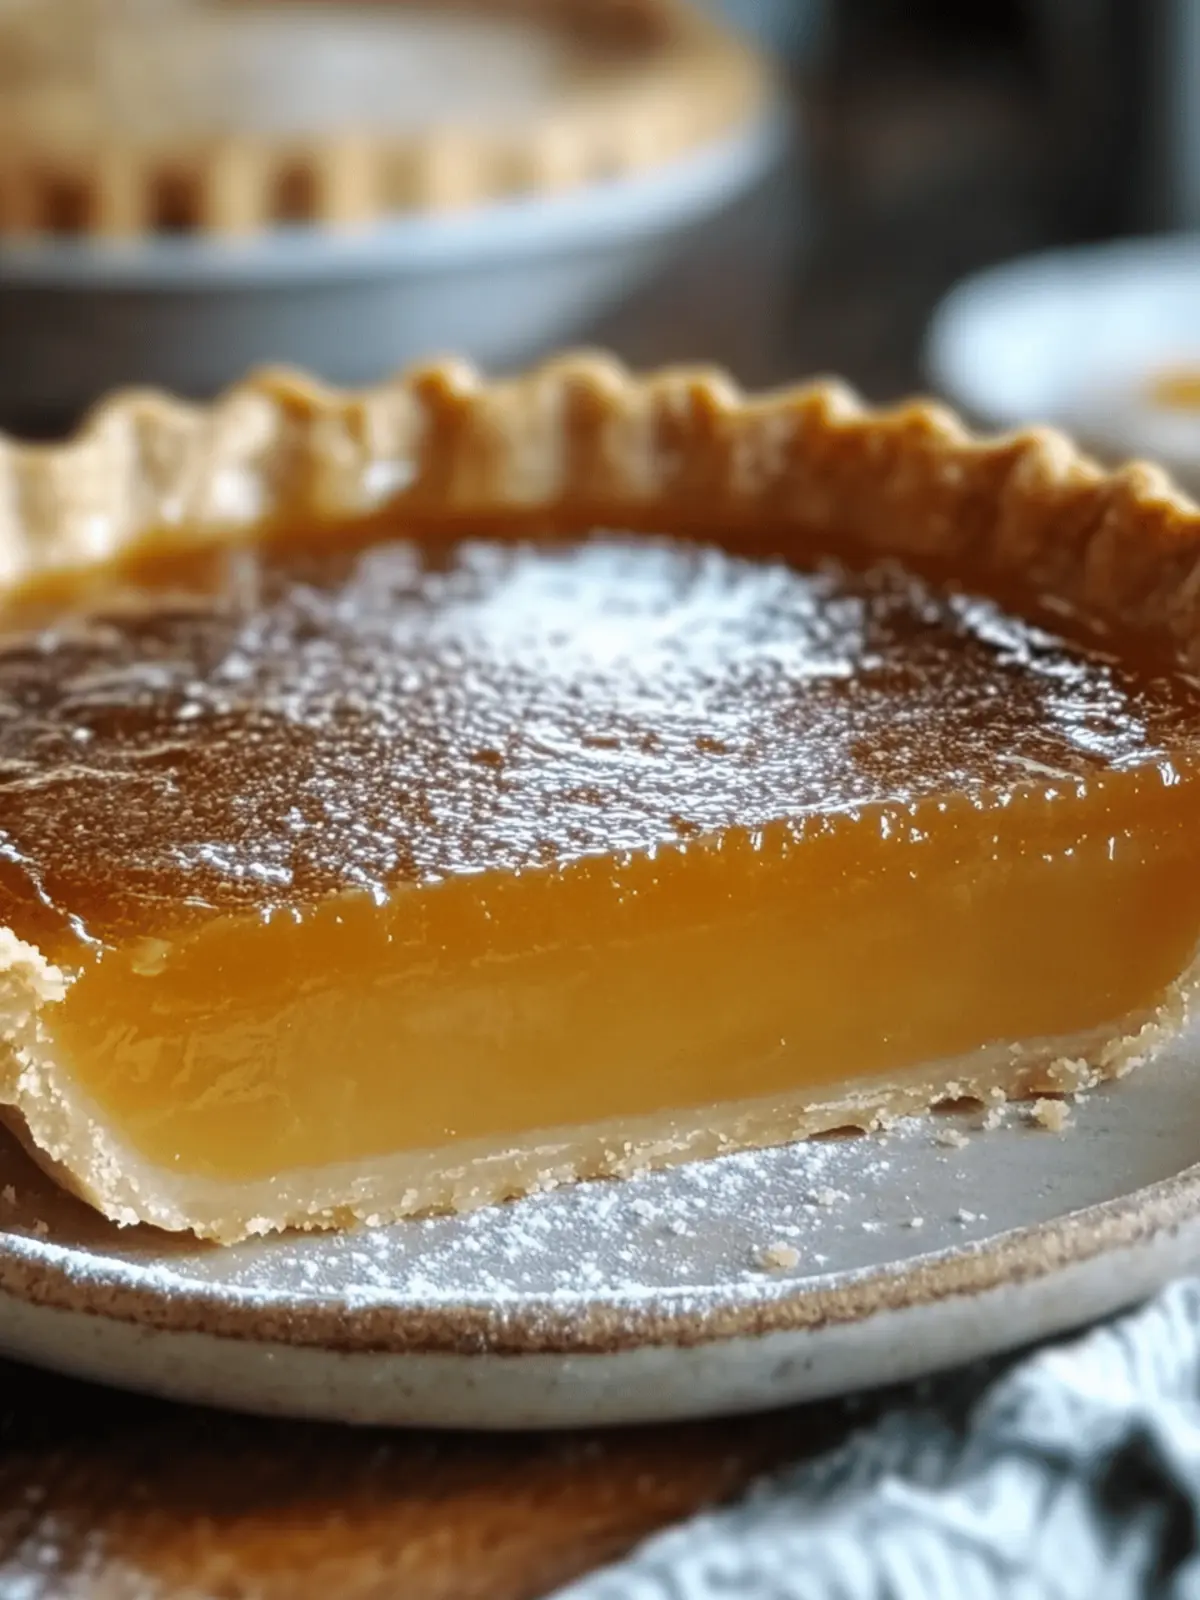
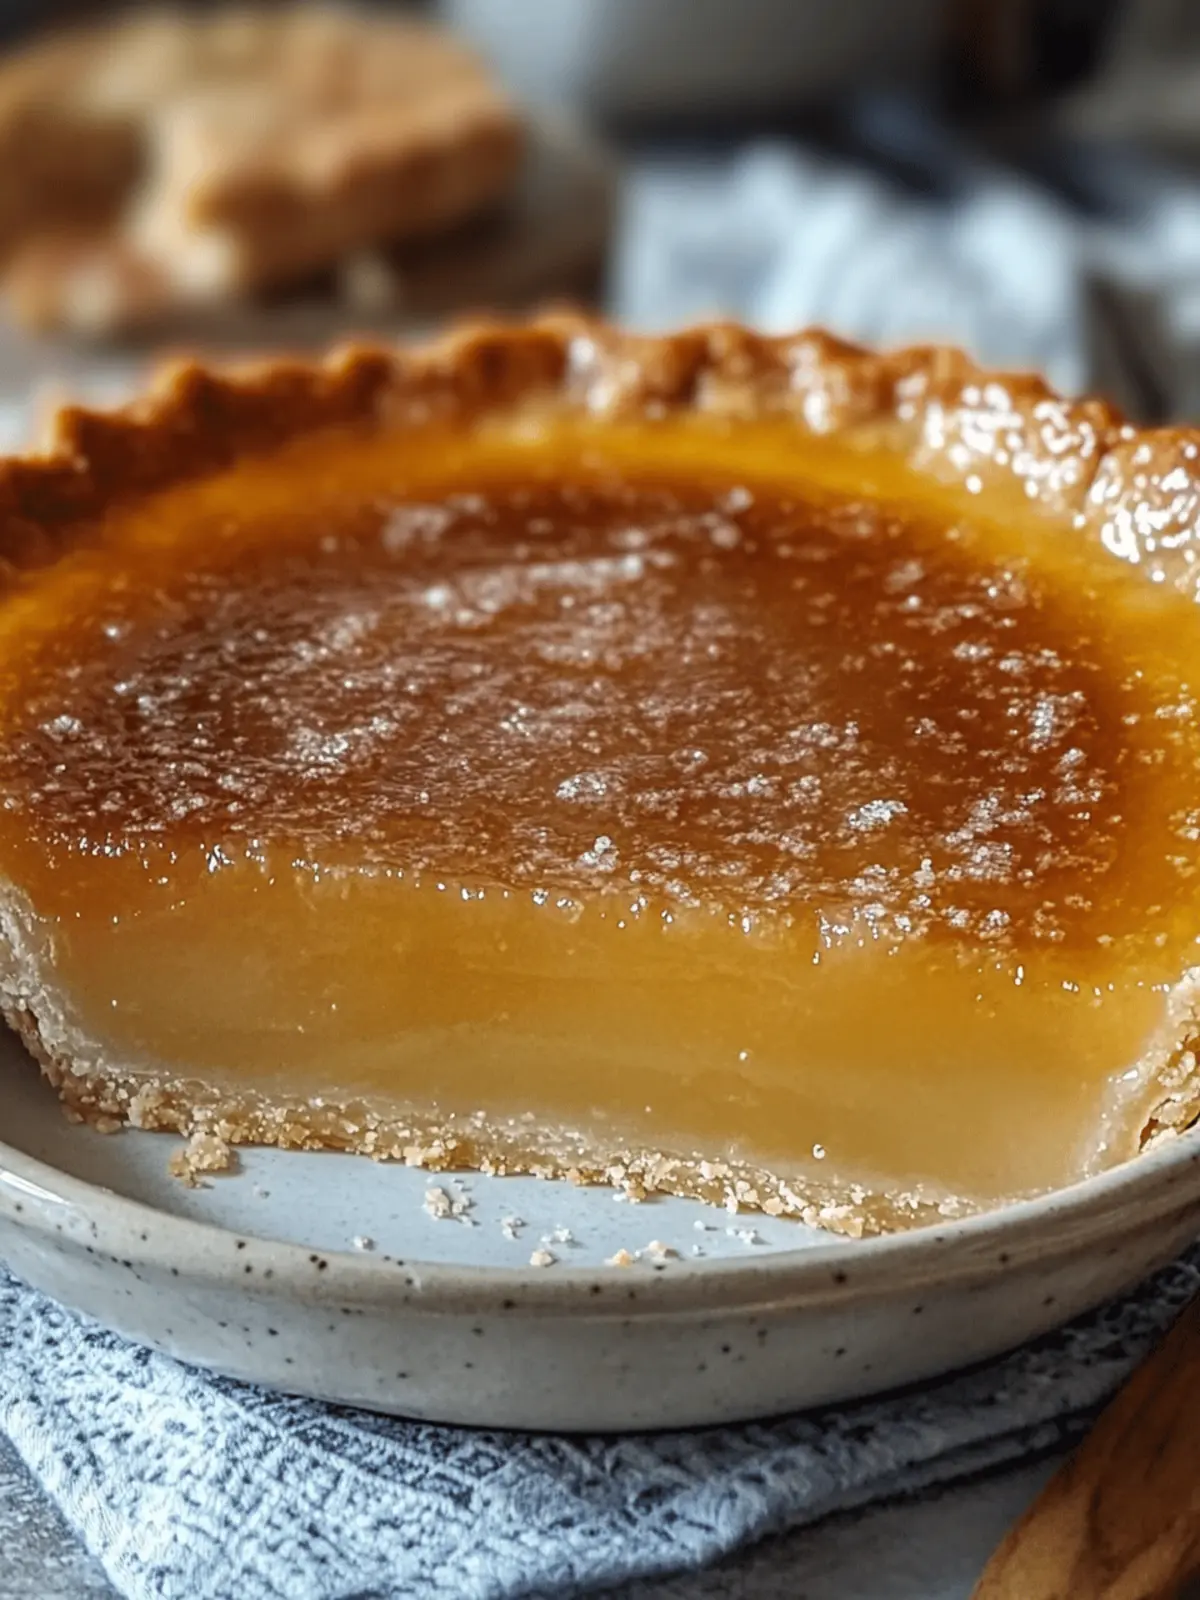
I still recall the moment my friend insisted I try her Salted Honey Pie. The first bite was a revelation—a velvety custard infused with honey, perfectly balancing sweetness and a subtle saltiness that took this classic dessert to new heights. As the flavors danced on my palate, I dreamed of recreating this Southern delight in my own kitchen.
What makes this Salted Honey Pie truly special is not just its indulgent taste but how straightforward it is to prepare. Whether you’re hosting a dinner party or looking for a cozy treat at home, this pie fits the bill beautifully. The buttery crust cradles a silky filling that feels both luxurious and comforting, making it a perfect dessert for any occasion, from summer barbecues to holiday feasts. Plus, with options for gluten-free crusts, everyone can indulge!
Join me on this sweet journey as we create a pie that’s sure to leave your guests in awe, while you revel in its effortless charm. Let’s dive in!
Why is Salted Honey Pie so irresistible?
Unforgettable flavor combination: The harmonious blend of sweet honey and a touch of flaky sea salt creates a taste that lingers delightfully on your palate.
Easy preparation: No complicated techniques here! This recipe is designed for bakers of all levels, ensuring success without the fuss.
Versatile dessert option: Whether you serve it at a formal gathering or a casual dinner, this pie is sure to impress every guest.
Gluten-free friendly: With simple swaps, everyone can enjoy this Southern classic—making it an inclusive option for your table.
Crowd-pleasing appeal: The unique twist on a traditional custard pie captures the hearts (and taste buds) of both new and seasoned friends alike!
Salted Honey Pie Ingredients
• Ready to create a luscious dessert? Here’s what you need!
For the Pie Crust
- 9-inch Pie Crust – Use homemade or store-bought; it’s essential for structure and flakiness, and can be substituted with a gluten-free crust if necessary.
For the Filling
- Unsalted Butter – ½ cup, melted and slightly cooled; it adds richness. Substitute with plant-based butter for a dairy-free option.
- Granulated Sugar – ¾ cup; this provides sweetness, but feel free to replace it with brown sugar for a deeper flavor.
- Cornmeal – ¼ cup, fine grind; contributes texture without being gritty. No substitutes recommended!
- Salt – ¼ teaspoon; enhances the overall flavor profile—keep it as is for the best taste.
- Vinegar or Lemon Juice – 1 tablespoon; adds brightness to the filling. Using lemon juice gives a fresher taste.
- Vanilla Extract – 1 teaspoon; infuses warmth and complexity into the filling. No substitutes needed here!
- Honey – ½ cup, preferably wildflower or clover; this is the key flavor ingredient, but you can experiment with maple syrup or agave, noting it may alter texture.
- Eggs – 3 large, at room temperature; they provide structure and richness essential for the custard texture.
- Heavy Cream – ½ cup; makes the filling rich and creamy, can be swapped with coconut cream for a dairy-free version.
For Topping
- Flaky Sea Salt – Use for topping; it adds a delightful finishing touch, and Maldon works beautifully here.
Now you’re all set to whip up a delightful Salted Honey Pie that’s easy to prepare and sure to impress!
How to Make Salted Honey Pie
-
Prepare the Crust: Preheat your oven to 375°F (190°C). Begin by blind baking the pie crust: chill it, line with foil, and add weights. Bake for 12-15 minutes, then remove weights and bake for an additional 5 minutes until lightly golden. Cool slightly before filling.
-
Make the Filling: In a large mixing bowl, whisk together the melted butter, sugar, cornmeal, salt, vinegar or lemon juice, vanilla, and honey until everything is well combined and smooth.
-
Incorporate Eggs: Add the eggs one at a time into your mixture, whisking thoroughly after each addition. Lastly, gently stir in the heavy cream until the mixture is silky and uniform.
-
Combine and Bake: Carefully pour the prepared filling into your pre-baked crust. Place this on a baking sheet to catch any drips. Bake it at 350°F (175°C) for 40-50 minutes, or until the center is set yet still slightly jiggly—this is key for that custard texture.
-
Cool: Transfer the pie to a wire rack and allow it to cool completely, for at least 2 hours. This chilling time helps the filling set perfectly.
-
Serve: Just before you’re ready to enjoy, sprinkle the top with flaky sea salt to enhance the flavors and add a nice finishing touch.
Optional: Serve with a dollop of whipped cream for a delightful contrast!
Exact quantities are listed in the recipe card below.
Make Ahead Options
These Salted Honey Pie recipes are ideal for those who want to save time in the kitchen! You can prepare the pie crust up to 3 days ahead of time and store it tightly wrapped in the refrigerator, or freeze it for up to 2 months. The filling can be whisked together and stored in the refrigerator for up to 24 hours before pouring it into the crust. Make sure to cover it tightly to prevent any changes in flavor. When you’re ready to complete your Salted Honey Pie, simply pour the filling into the prepared crust and bake as directed. This way, you’ll enjoy that sweet and salty combination with minimal last-minute fuss!
What to Serve with Salted Honey Pie?
Imagine the comforting aroma of baking wafting through your kitchen as you prepare a delightful feast to share with family and friends.
- Whipped Cream: A light and fluffy topping that adds a luscious texture, balancing the creamy filling of the pie.
- Vanilla Ice Cream: The cold creaminess of ice cream provides a beautifully contrasting temperature experience with every bite.
- Fresh Berries: Raspberries or strawberries add a burst of tartness that cuts through the sweetness, enhancing the pie’s flavor.
- Coffee: A warm cup of coffee pairs beautifully with the pie, making it the perfect dessert to wind down after a meal.
- Mint Tea: A refreshing cup of mint tea offers a light, herbal note that complements the rich filling.
- Chocolate Drizzle: A rich and decadent addition, drizzled on top before serving, takes the pie to a whole new level of indulgence.
Pairing these delightful accents with your Salted Honey Pie will elevate your dessert experience and leave your guests raving about the delicious flavors!
How to Store and Freeze Salted Honey Pie
Refrigeration: Cover tightly with plastic wrap or foil and refrigerate for up to 4 days. For a firmer texture, serve it cold or bring it to room temperature before serving.
Freezing: Wrap the pie tightly in plastic wrap, then in foil to prevent freezer burn. It can be frozen for up to 2 months; thaw overnight in the refrigerator before serving.
Slicing: If you’re slicing the pie before refrigerating, ensure to use a sharp knife dipped in hot water and dried to achieve clean cuts without compromising the filling.
Serving After Storage: Serve chilled or at room temperature, and feel free to sprinkle with a touch more flaky sea salt just before enjoying your delicious Salted Honey Pie!
Expert Tips for Salted Honey Pie
-
Room Temperature Ingredients: Ensure all ingredients, especially eggs and cream, are at room temperature for a smoother, well-blended filling that enhances the custard texture.
-
Blind Baking is Essential: Don’t skip the blind baking step! This prevents a soggy bottom and ensures your crust stays crispy and delicious under the creamy filling.
-
Cooling Time Matters: Let your Salted Honey Pie cool completely for at least 2 hours before slicing. This crucial step helps the custard set properly and avoids a runny texture.
-
Quality Honey Counts: Use high-quality honey for the best flavor impact. Local or artisanal honey adds wonderful nuances that elevate the entire pie!
-
Experiment with Flavors: Feel free to add a touch of vanilla bean or a dash of nutmeg for a unique twist that personalizes your Salted Honey Pie to perfection.
Salted Honey Pie Variations
Indulging in Salted Honey Pie is wonderful, but why not add your unique twist?
-
Gluten-Free Crust: Substitute the regular pie crust with a gluten-free option made from almond or gluten-free flour for everyone to enjoy.
-
Coconut Cream: Swap heavy cream for coconut cream to introduce a tropical flair while keeping it dairy-free.
-
Maple Infusion: Replace honey with pure maple syrup for a richer, earthy sweetness that complements the salty notes beautifully.
-
Chocolate Ganache: Drizzle a warm chocolate ganache over the pie after cooling for an indulgent contrast to the custard.
-
Citrus Zest: Add a teaspoon of lemon or orange zest to the filling for a refreshing burst of flavor that brightens each bite.
-
Nutty Crunch: Top the pie with crushed pecans or walnuts for an added layer of texture and nutty goodness. The crunch perfectly balances the creamy pie.
-
Fruit Layer: Create a surprise layer of fruit puree, like peach or blueberry, under the custard to add a delicious fruity punch.
-
Spice It Up: Incorporate a pinch of cinnamon or nutmeg into the filling for subtle warmth and depth that elevates this Southern classic.
Feel free to explore these ideas and make this dessert truly your own!
Salted Honey Pie Recipe FAQs
How do I choose the best honey for my Salted Honey Pie?
Absolutely! For the most delectable flavor, opt for high-quality honey like wildflower or clover. Local or artisanal varieties can add unique nuances to your pie that elevate the entire dessert experience. Remember, the honey is a key flavor component, so selecting one that you enjoy on its own is essential!
How should I store my Salted Honey Pie?
Very easy! Cover your pie tightly with plastic wrap or foil and refrigerate it for up to 4 days. If you prefer a firmer texture, you can serve it cold or allow it to come to room temperature before serving. This simple method ensures your pie stays fresh and delicious!
Can I freeze my Salted Honey Pie?
Yes, you can! To freeze your pie, wrap it tightly in plastic wrap and then in aluminum foil to prevent freezer burn. It will keep well in the freezer for up to 2 months. When you’re ready to enjoy it, simply thaw overnight in the refrigerator before serving.
How can I fix a runny custard filling in my Salted Honey Pie?
If your filling is runny after baking, it’s likely that it hasn’t set adequately. Make sure to bake the pie until the center is set but still slightly jiggly—it should firm up as it cools. Additionally, let it cool completely before slicing, which allows it to set properly. If your pie still seems loose, it may be best to give it a bit more baking time next round!
Is this Salted Honey Pie suitable for those with dietary restrictions?
Absolutely! This recipe can easily accommodate various dietary needs. If gluten-free is necessary, simply use a gluten-free pie crust. For dairy-free options, substitute unsalted butter with plant-based butter and heavy cream with coconut cream. It’s incredibly versatile and allows everyone to indulge without worrying!
Why is blind baking important for my pie crust?
Blind baking is crucial to achieve a perfect pie crust! By partially baking your crust before adding the filling, you prevent it from becoming soggy during the baking process. This ensures a flaky, delicious base that holds up beautifully against the rich, creamy filling. Always remember to let it cool slightly after blind baking before pouring in the custard mixture.

Salted Honey Pie: A Sweet Southern Twist You’ll Love
Ingredients
Equipment
Method
- Preheat your oven to 375°F (190°C). Begin by blind baking the pie crust: chill it, line with foil, and add weights. Bake for 12-15 minutes, then remove weights and bake for an additional 5 minutes until lightly golden. Cool slightly before filling.
- In a large mixing bowl, whisk together the melted butter, sugar, cornmeal, salt, vinegar or lemon juice, vanilla, and honey until everything is well combined and smooth.
- Add the eggs one at a time into your mixture, whisking thoroughly after each addition. Lastly, gently stir in the heavy cream until the mixture is silky and uniform.
- Carefully pour the prepared filling into your pre-baked crust. Place this on a baking sheet to catch any drips. Bake it at 350°F (175°C) for 40-50 minutes, or until the center is set yet still slightly jiggly.
- Transfer the pie to a wire rack and allow it to cool completely, for at least 2 hours.
- Just before you’re ready to enjoy, sprinkle the top with flaky sea salt to enhance the flavors.


