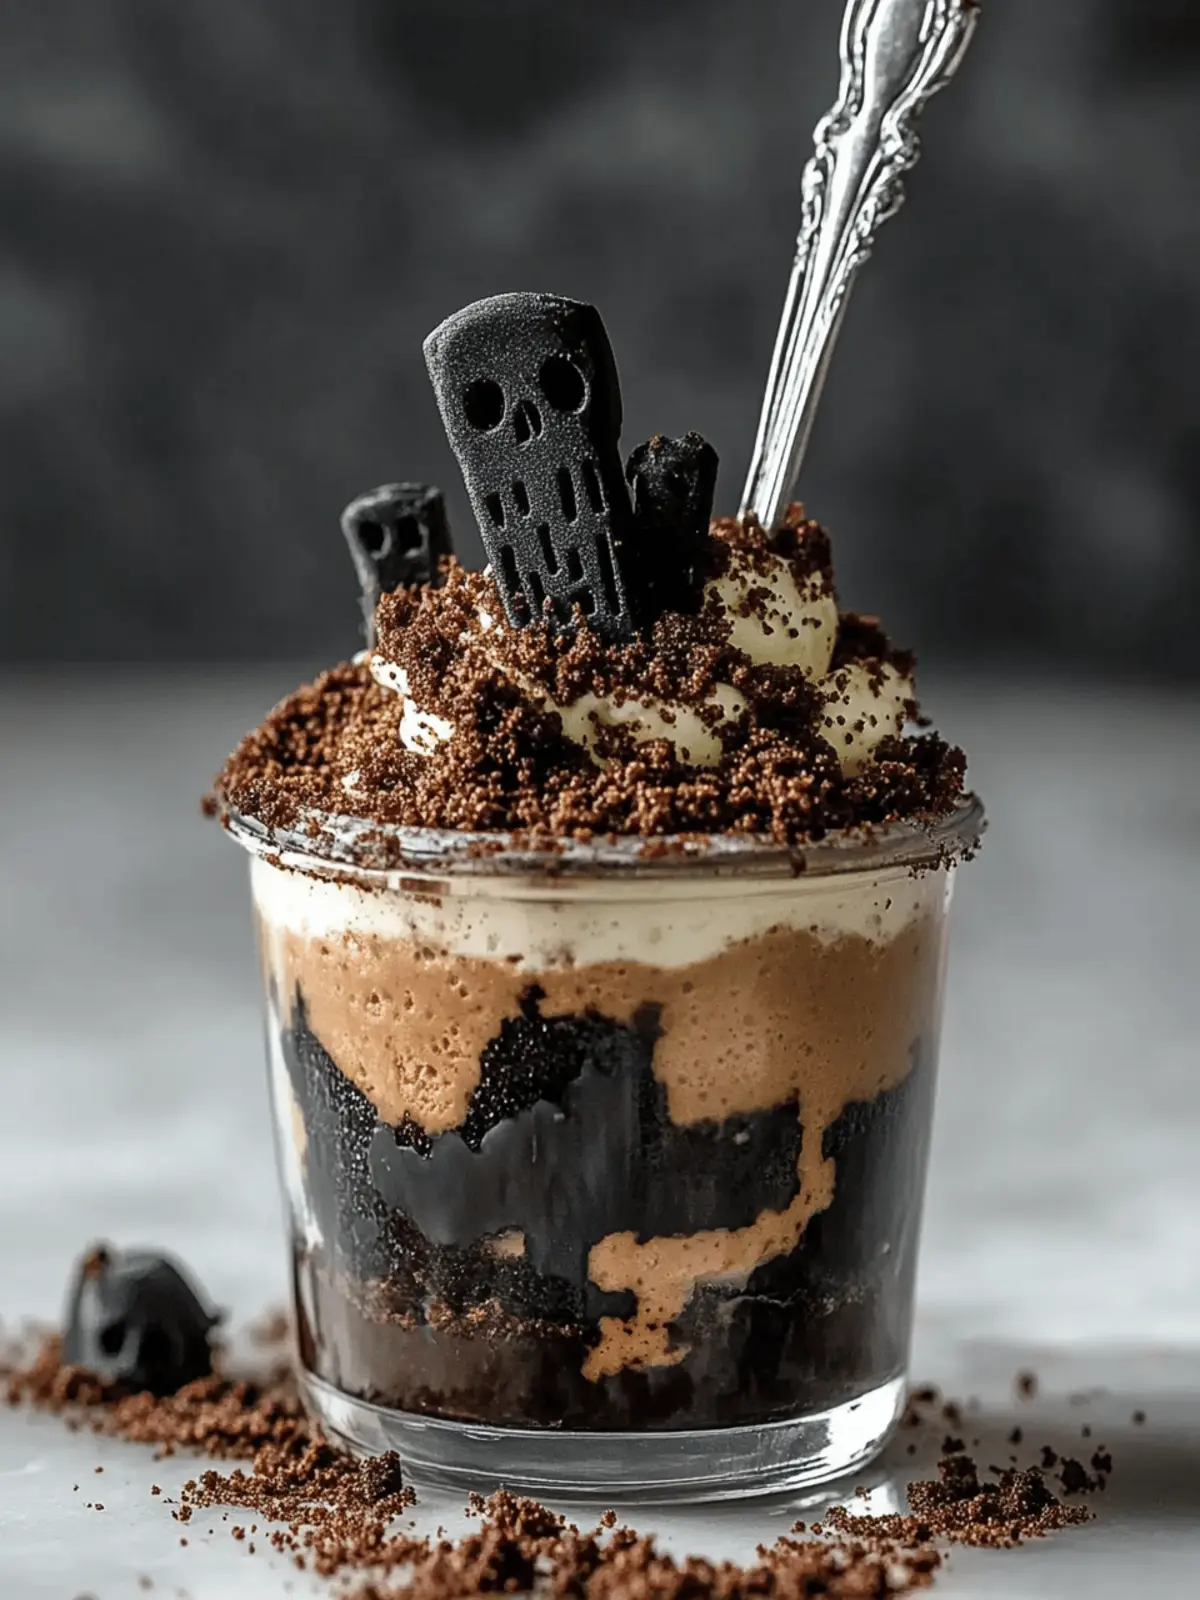
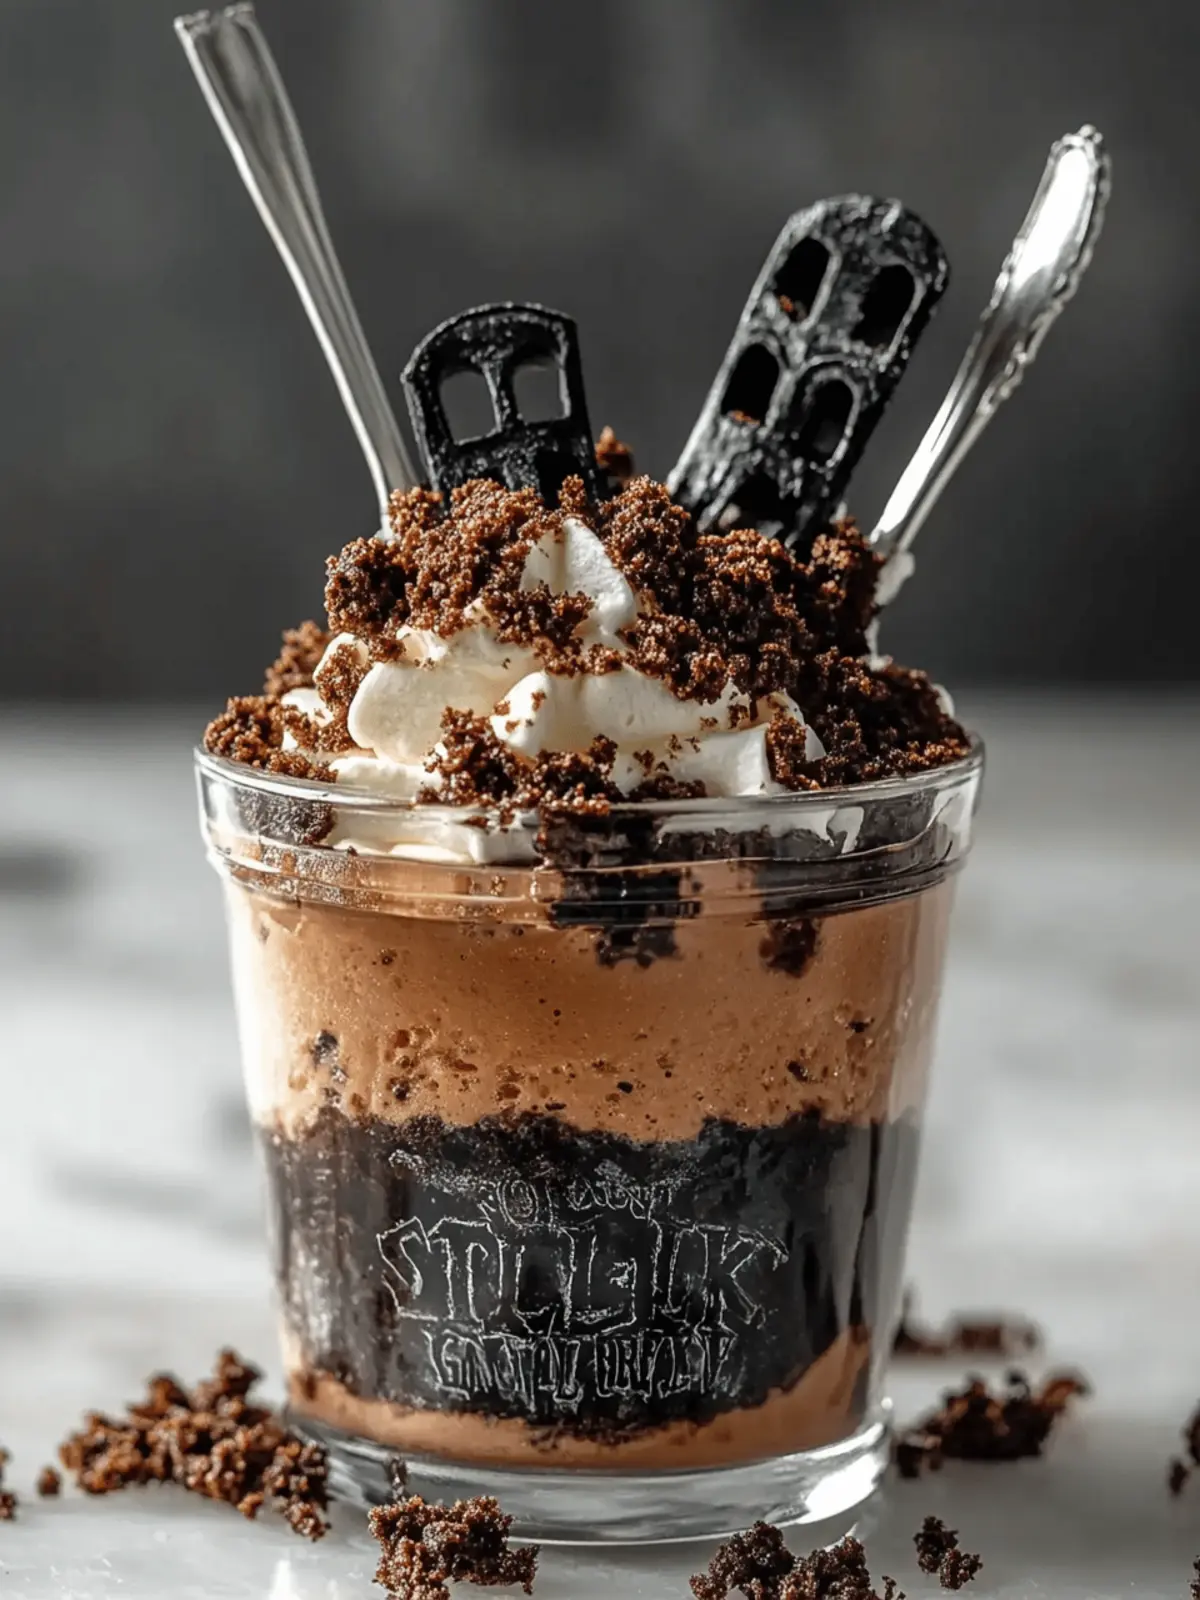
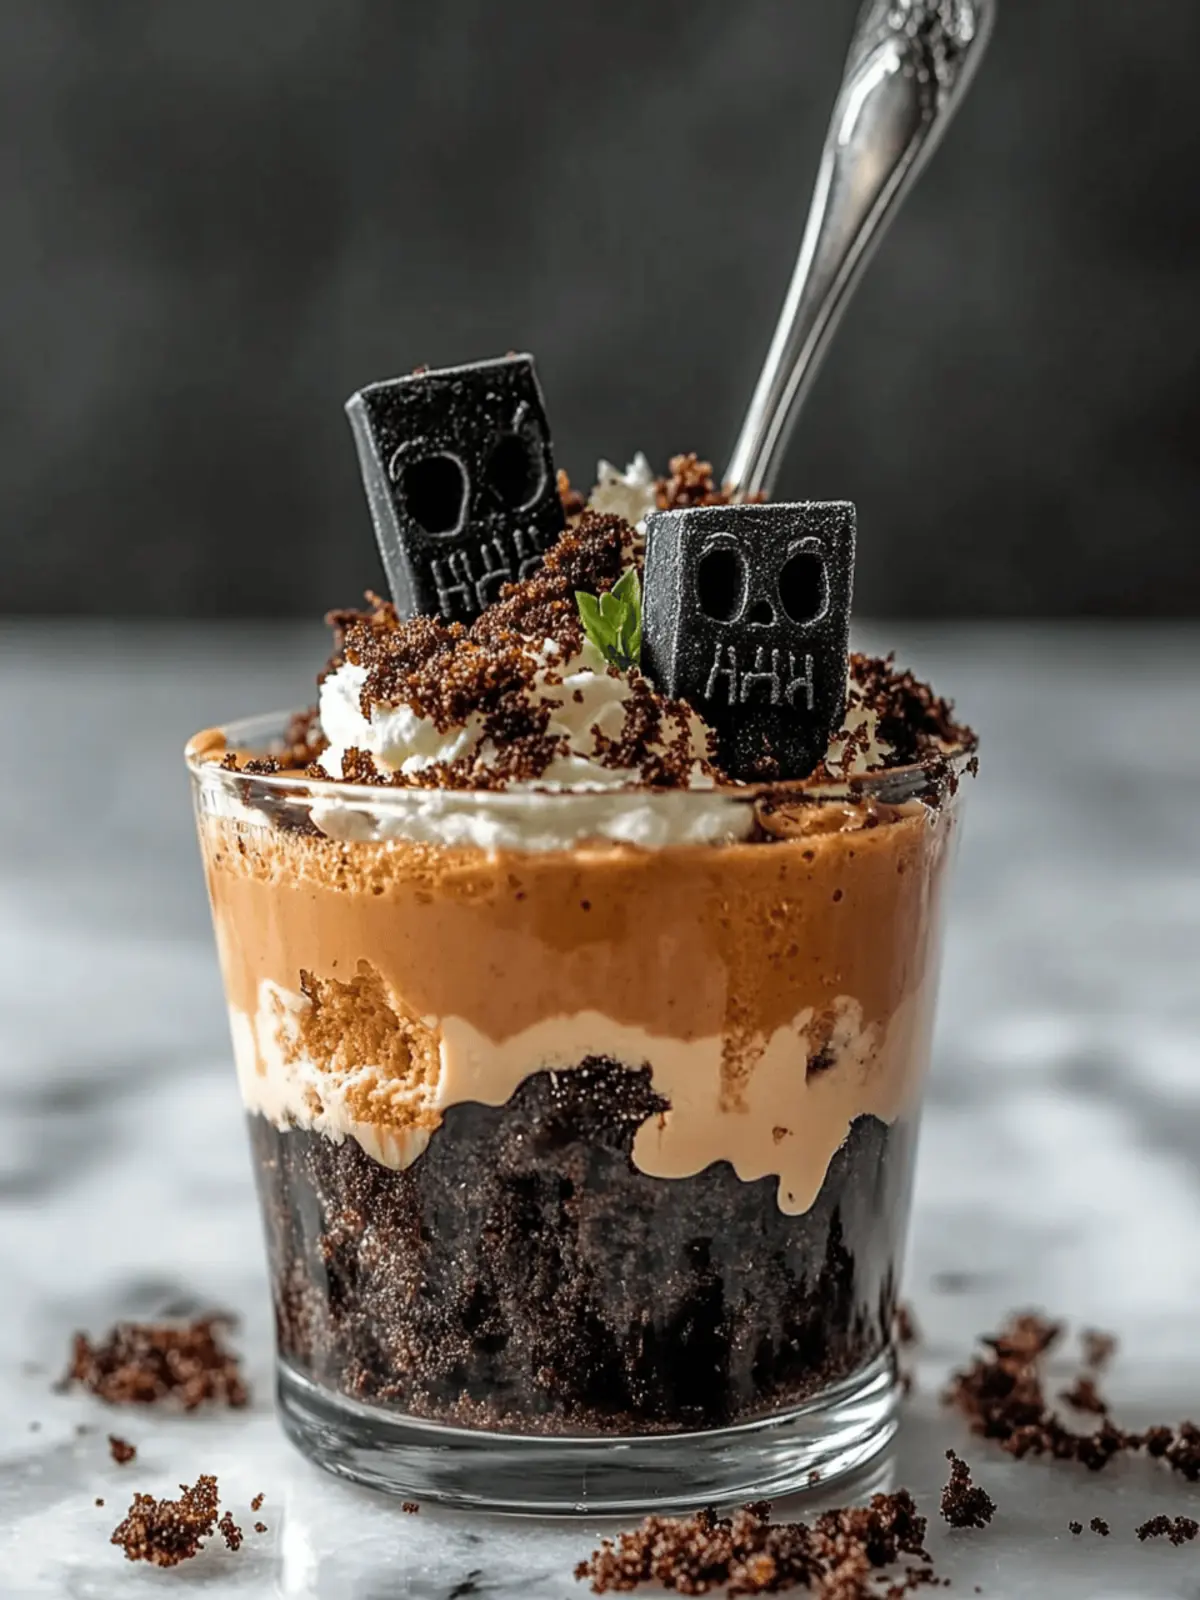
As Halloween creeps closer, I can’t help but reminisce about the delightful chaos of my childhood—dressing up in costumes, the excitement of trick-or-treating, and, of course, the tantalizing treats that awaited us. This year, I wanted to bring that nostalgic joy back with a twist. Enter my Spooky Graveyard Pudding Cups, a no-bake dessert that’s as fun to make as it is to eat!
Picture this: layers of creamy chocolate pudding, crumbled Oreo “dirt,” and adorable cookie tombstones that will have kids and adults alike squealing with delight. And the best part? You can whip these up in just 15 minutes! Whether it’s for a Halloween party or a cozy night in, these spooky treats are sure to be a crowd-pleaser. Let’s dive into this easy recipe and get ready to create some delicious graveside fun!
Why are Spooky Graveyard Pudding Cups a must-try?
Quick and Easy: These delightful treats come together in just 15 minutes, perfect for busy schedules or impromptu gatherings.
Kid-Friendly Fun: Kids will love helping out, especially when it comes to adding the “dirt” and decorating with tombstones.
No-Bake Magic: Forget about turning on the oven—this recipe is refreshingly simple and mess-free!
Creative Customization: You can easily swap ingredients for dietary needs or add creative decorations like marshmallow ghosts.
Perfect for Any Occasions: Whether it’s Halloween or a whimsical celebration, these cups add an adorable touch to any festivity!
Spooky Graveyard Pudding Cups Ingredients
For the Pudding
• Chocolate Pudding Mix – Provides the creamy, rich base; try homemade for a gourmet twist.
• Cold Milk – Activates the pudding mix and thickens it quickly; very cold milk works best for a smoother texture.
• Whipped Topping (e.g., Cool Whip) – Adds a light and airy flair; a dairy-free alternative makes it vegan-friendly.
For the “Dirt”
• Oreo Cookies – Crushed to create the “dirt” layer; opt for gluten-free chocolate sandwich cookies for a gluten-free treat.
For the Tombstone Decor
• Shortbread Cookies – Perfect for crafting cute tombstones; homemade shortbread can add a personal touch.
• Black Food Coloring (optional) – Enhances the spooky look of the pudding for a ghoulish touch.
These Spooky Graveyard Pudding Cups are a festive delight, making them a fantastic addition to your Halloween spread!
How to Make Spooky Graveyard Pudding Cups
-
Prepare the Pudding Mixture: In a mixing bowl, combine cold milk and chocolate pudding mix. Whisk vigorously for about 2 minutes until the mixture thickens and is smooth.
-
Fold in Whipped Topping: Gently mix in the whipped topping using a spatula. Aim for fluffy streaks to remain; be careful not to overmix, as you want that light texture.
-
Assemble Pudding Cups: Spoon the creamy pudding into 6-oz clear cups, filling each nearly to the top. Layer generously with crushed Oreos to create the “dirt” effect.
-
Insert Cookie Tombstones: Decorate each pudding cup with shortbread cookie tombstones, pressing them gently into the pudding so they stand upright.
-
Chill: Refrigerate the assembled cups for at least 30 minutes to set. These spooky treats are best served within 2 days for optimal freshness.
Optional: Add a dash of spooky atmosphere by scattering gummy worms on top!
Exact quantities are listed in the recipe card below.
Storage Tips for Spooky Graveyard Pudding Cups
- Fridge: Keep the pudding cups in an airtight container in the refrigerator for up to 2 days. This helps maintain the creamy texture and freshness of the spooky treats.
- Add Decorations Later: To prevent the cookie tombstones from getting soggy, add them just before serving. This ensures they remain crisp and delightful!
- Freezer: If you need to store them longer, you can freeze the pudding mixture (without cookies) for up to 1 month. Thaw in the fridge overnight before serving.
- Reheating: No need for reheating; these treats are best enjoyed chilled right from the fridge as a fun, spooky dessert!
What to Serve with Spooky Graveyard Pudding Cups?
Creating a fun festive atmosphere around Halloween conjures delicious ideas that perfectly complement these spooky treats.
-
Pumpkin Spice Cookies: These soft, spiced cookies bring a delightful autumn flavor that pairs well with the rich chocolate pudding.
-
Mummy Hot Dogs: Simple yet playful, these easily made mummies will entice kids and keep the theme whimsical throughout the meal.
-
Apple Cider: A warm mug of spiced apple cider offers a cozy drink option that enhances the Halloween vibe and contrasts the sweet dessert.
-
Gummy Worms: Scatter some gummy worms on top of the cups for an added surprise! Their bright colors add to the visual appeal, providing a delightful chewy texture.
-
Candy Corn: This classic candy can be used as both decoration and a sweet nibble alongside each pudding cup, embracing the holiday spirit!
-
Caramel Corn: The crunch of caramel corn balances the creamy texture of the pudding while adding a sweet-and-salty component to the dessert table.
-
Chocolate Dipped Pretzels: This sweet-salty treat offers a charming contrast and can be fashioned to mimic spooky fingers by adding almond slices.
These pairings create a playfully spooky spread that will thrill both kids and adults, making your Halloween gathering unforgettable!
Tips for the Best Spooky Graveyard Pudding Cups
-
Whisk Wisely: Use very cold milk for the pudding mixture to ensure it thickens quickly and achieves a smooth, creamy consistency.
-
Layer with Care: When adding the crushed Oreos, try to keep the layers distinct. This makes the “dirt” effect stand out beautifully against the chocolate pudding.
-
Cookie Stability: To avoid sinking, chill the pudding cups for 15 minutes before inserting the shortbread “tombstones.” Insert them firmly but not too deep!
-
Make-Ahead Magic: You can prepare the pudding mix a day or two in advance, layering the cookies just before serving to retain their crispness in these Spooky Graveyard Pudding Cups.
-
Decorate Imaginatively: Play with toppings! Consider adding mini marshmallow ghosts or colorful icing to personalize each cup and enhance the spooky appeal.
Make Ahead Options
These Spooky Graveyard Pudding Cups are perfect for meal prep, saving you time when Halloween festivities come knocking! You can prepare the pudding mixture up to 24 hours in advance; simply whisk together the chocolate pudding mix and cold milk, then fold in the whipped topping. Store the pudding in an airtight container in the refrigerator to maintain its creamy texture. Additionally, you can crush the Oreos and keep them in a separate container at room temperature for up to 3 days. Just before serving, layer the pudding in cups, sprinkle the crushed Oreo “dirt” on top, and insert the cookie tombstones for a whimsical touch that’ll be just as delicious as when freshly made!
Spooky Graveyard Pudding Cups Variations
Feel free to let your creativity shine and customize these delightful treats to suit your taste!
- Gluten-Free: Swap Oreo cookies for gluten-free chocolate sandwich cookies, so everyone can enjoy this spooky dessert.
- Dairy-Free: Use almond or coconut milk for a lactose-free pudding and substitute whipped topping with a dairy-free alternative.
- Homemade Pudding: For a gourmet touch, replace the boxed pudding mix with a scratch-made chocolate pudding that’s rich and indulgent.
Make it a fun project! Kids will enjoy measuring and mixing the ingredients for a homemade treat.
- Peppermint Twist: Add crushed peppermint candies to the crushed Oreos for a refreshing flavor change that’s perfect for the holidays!
- Add a Spooky Crunch: Mix in crushed pretzels with the Oreo layer for an unexpected salty crunch that contrasts beautifully with the creamy pudding.
- Mini Marshmallow Ghosts: Elevate the spookiness by adding mini marshmallows on top to create little ghostly figures hiding behind the tombstones.
Experimenting with these variations can bring an exciting twist to your Spooky Graveyard Pudding Cups while keeping the festive spirit alive!
Spooky Graveyard Pudding Cups Recipe FAQs
How do I choose the right chocolate pudding mix?
Absolutely! When selecting a chocolate pudding mix, look for a brand that uses real cocoa for rich flavor. If you opt for homemade, just ensure it’s fully chilled before serving for the best consistency.
What’s the best way to store leftover pudding cups?
Store any leftover Spooky Graveyard Pudding Cups in an airtight container in the fridge for up to 2 days. This keeps the layers fresh and creamy. Just remember to add the cookie tombstones before serving to maintain their crunch!
Can I freeze the pudding mixture for later use?
Yes! If you’d like to prepare the pudding in advance, you can freeze the pudding mixture (without the cookies) for up to 1 month. To do this, place the mixture in a freezer-safe container, ensuring it’s tightly sealed. When you’re ready to enjoy, simply thaw it overnight in the fridge and stir gently before assembling your cups.
What should I do if my pudding doesn’t thicken properly?
Very good point! If your pudding mix isn’t thickening after whisking for the recommended 2 minutes, ensure you’re using very cold milk, as warm or room-temperature milk won’t activate the pudding mix effectively. Try whisking for an extra minute or two and give it a minute to set before folding in the whipped topping.
Are there any allergy considerations for this recipe?
Definitely! This recipe can be adapted to accommodate various dietary needs. For a gluten-free option, simply substitute regular Oreo cookies with gluten-free chocolate sandwich cookies. If you require a dairy-free version, choose plant-based whipped topping and ensure your pudding mix is dairy-free as well. Always check ingredient labels to avoid allergens.
Can pets eat any part of the Spooky Graveyard Pudding Cups?
No, it’s best to keep these treats away from pets. Chocolate can be toxic to dogs and cats, and ingredients like cookies and additives may not be healthy for them. Keep these delightful cups strictly for human enjoyment!
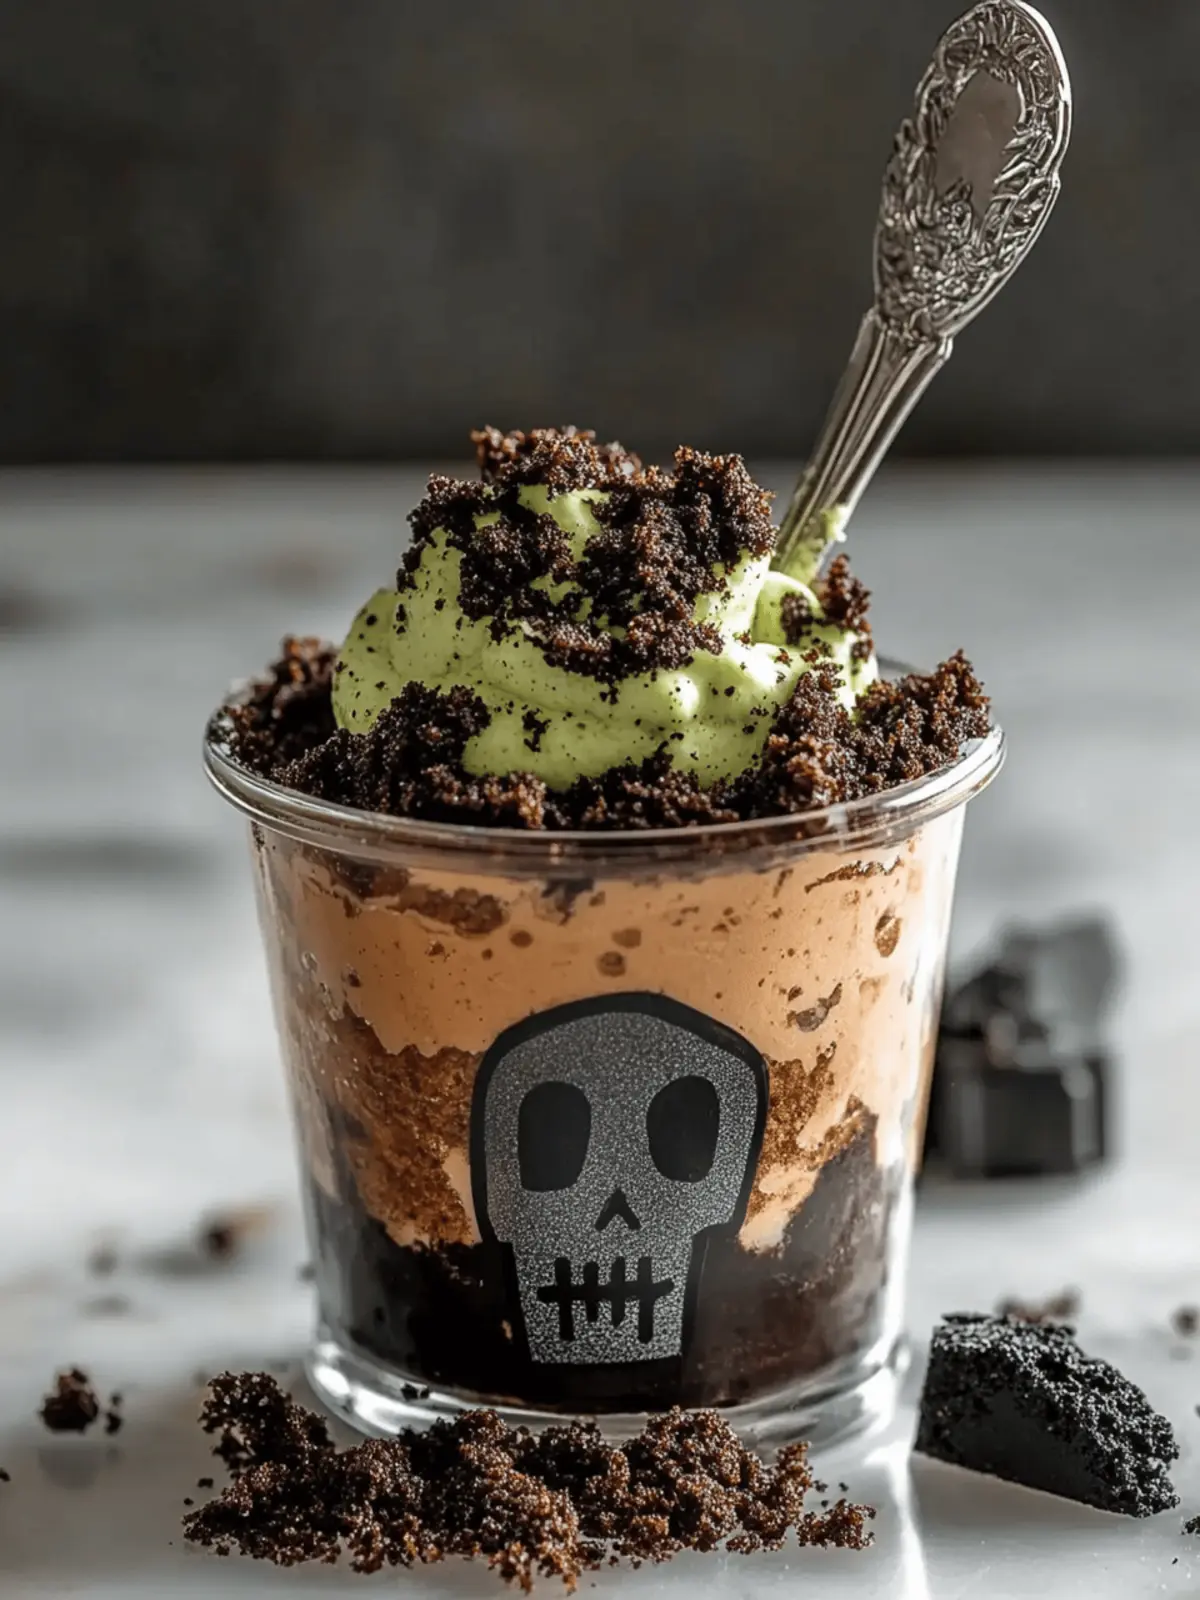
Spooky Graveyard Pudding Cups: A Whimsical Halloween Delight
Ingredients
Equipment
Method
- In a mixing bowl, combine cold milk and chocolate pudding mix. Whisk vigorously for about 2 minutes until the mixture thickens and is smooth.
- Gently mix in the whipped topping using a spatula. Aim for fluffy streaks to remain; be careful not to overmix.
- Spoon the creamy pudding into 6-oz clear cups, filling each nearly to the top. Layer generously with crushed Oreos to create the 'dirt' effect.
- Decorate each pudding cup with shortbread cookie tombstones, pressing them gently into the pudding so they stand upright.
- Refrigerate the assembled cups for at least 30 minutes to set. These spooky treats are best served within 2 days for optimal freshness.

