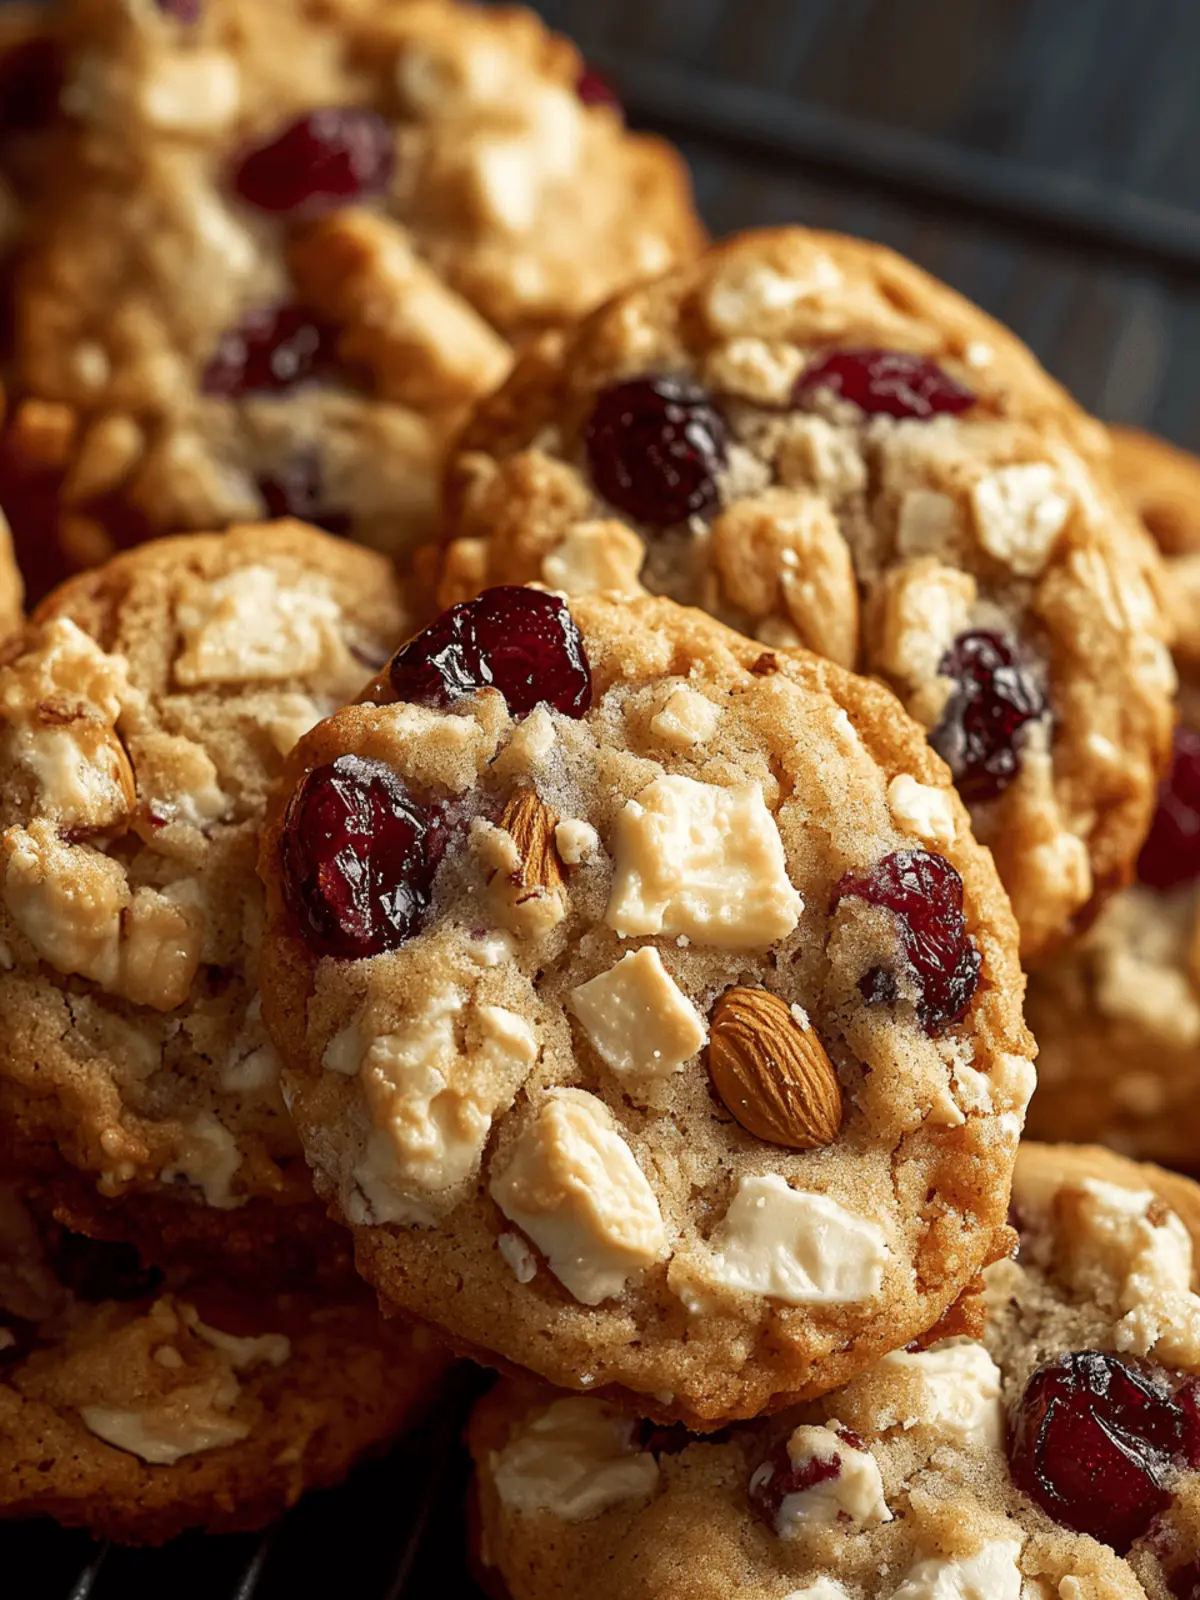
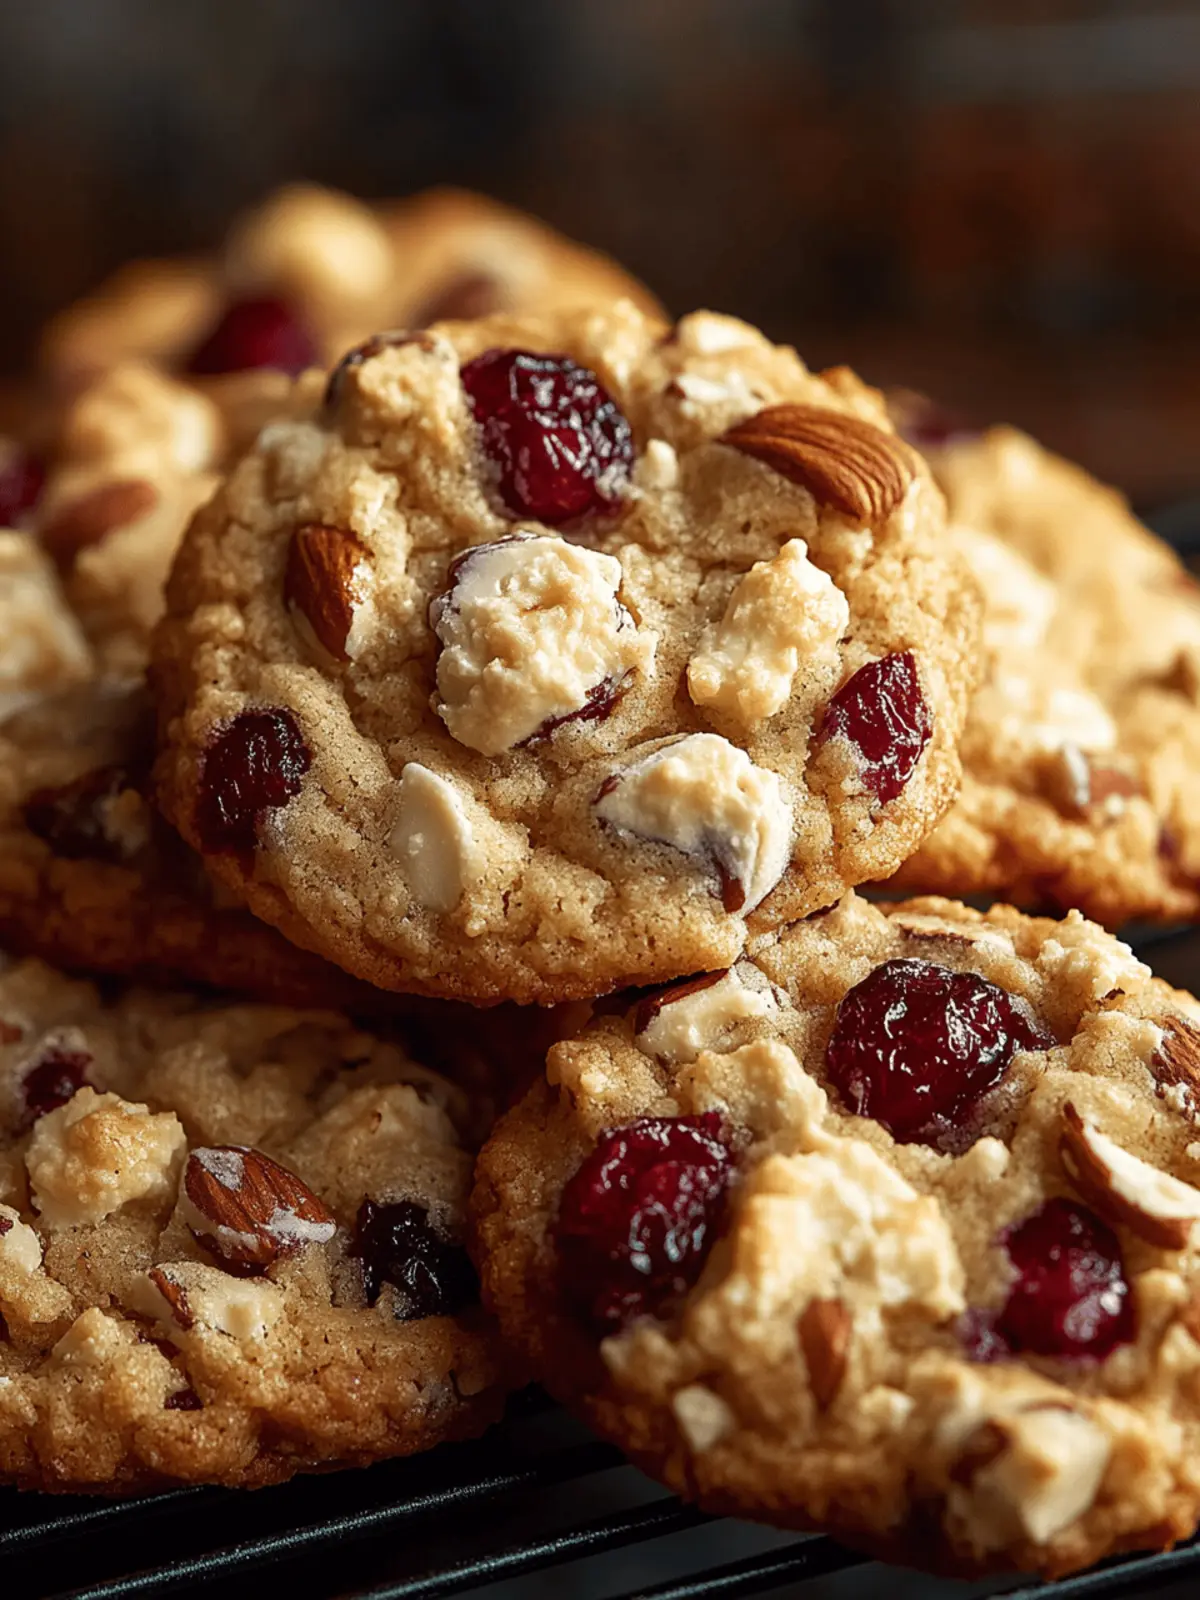
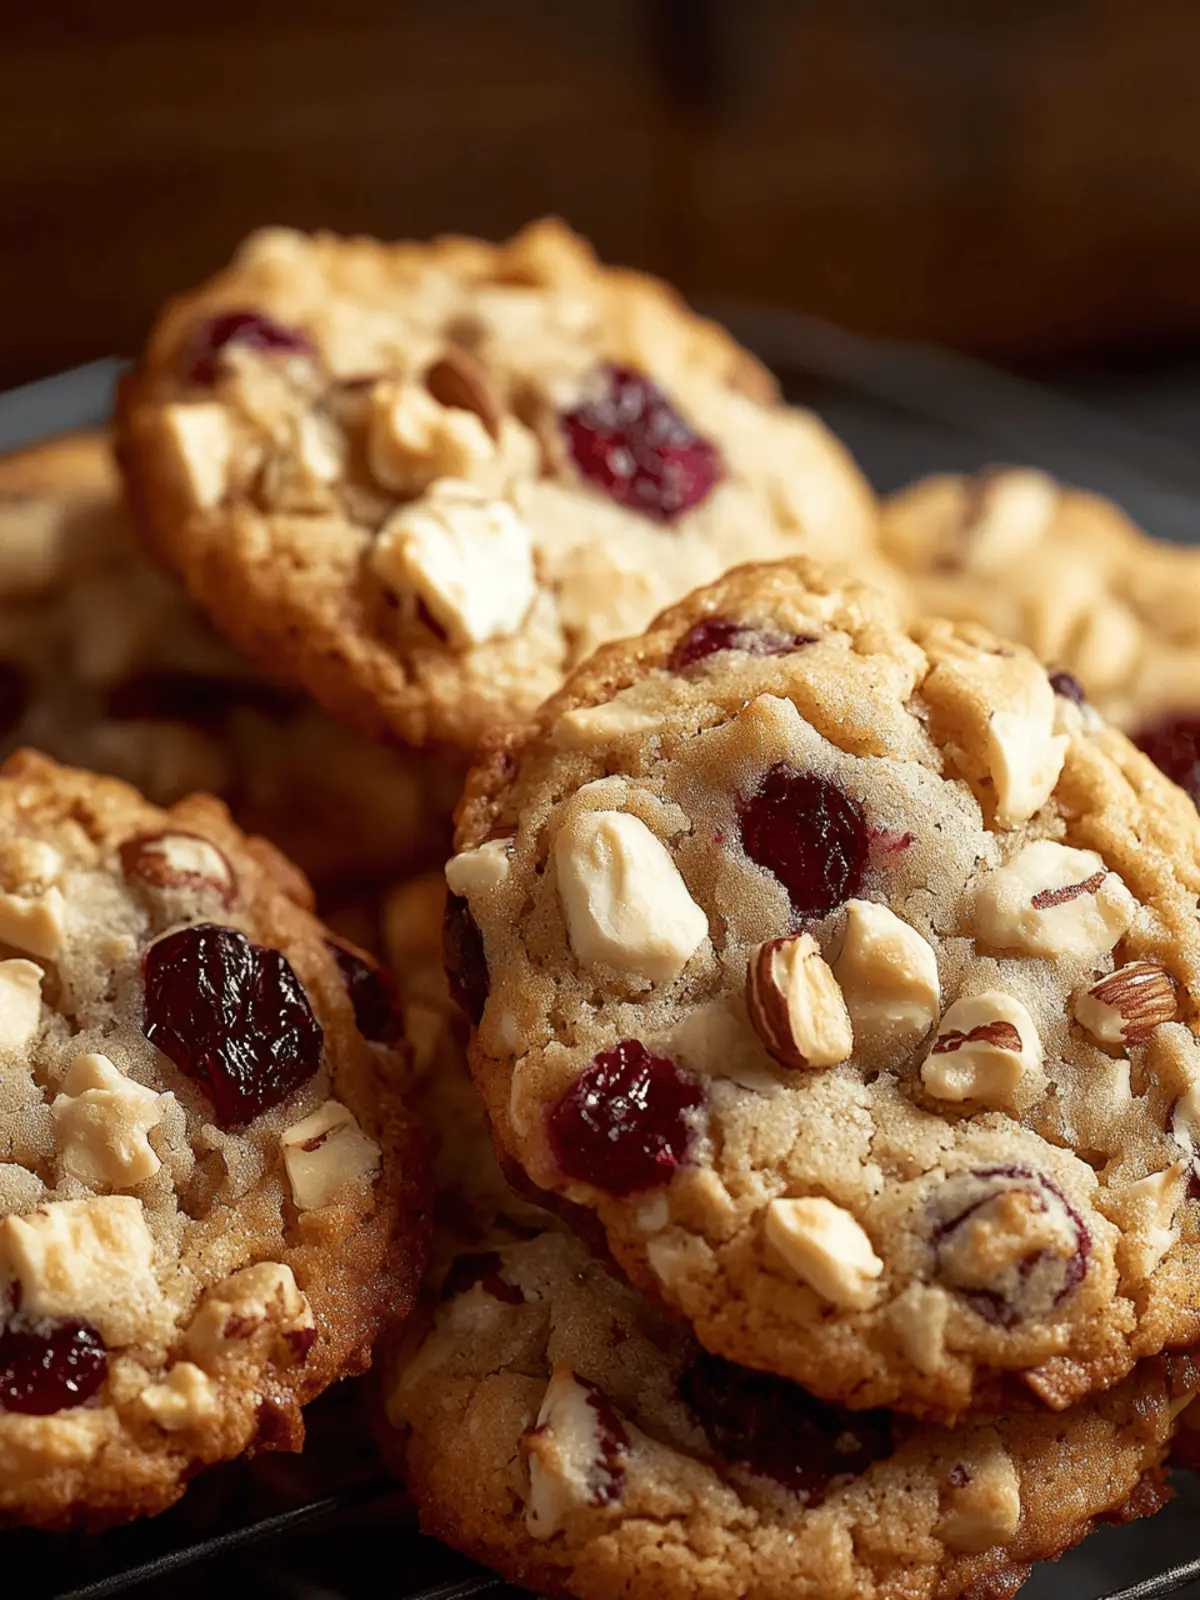
The first bite of a freshly baked cookie can transport you back to simpler times, where the kitchen is filled with warmth and laughter. When I first discovered these Vintage Cranberry Kitchen Cookies, the delightful combination of chewy texture and the sweet-tart burst of cranberries left me captivated. They’re more than just a treat; they evoke memories of festive gatherings and cozy afternoons shared with loved ones over steaming cups of tea.
These cookies stand out not only for their nostalgic flavor profile but also for their incredible versatility. You can swap out the nuts for white chocolate chips or even choose a gluten-free flour blend to suit your dietary needs. Each batch is a chance to create something uniquely yours while filling your home with the inviting aroma of orange and baked goodness. Whether you’re preparing for a cookie exchange or simply wanting to indulge in a sweet moment, these cookies are sure to please. Get ready to embrace baking bliss with this easy recipe that promises joy and deliciousness in every bite!
Why Love Vintage Cranberry Kitchen Cookies?
Vintage Cranberry Kitchen Cookies bring a joyful twist to your baking repertoire!
- Nostalgic Flavors: A delightful blend of chewy texture and tart cranberries whisk you back to family gatherings.
- Versatile Ingredients: Switch nuts for white chocolate chips or accommodate gluten-free diets easily!
- Aromatic Delight: Infused with fragrant orange juice, your kitchen will smell heavenly.
- Quick to Make: With a straightforward process, you’ll have warm cookies ready in no time!
- Crowd-Pleasing Treats: Perfect for cookie exchanges or cozy afternoons, they guarantee smiles all around.
Start creating special moments with these irresistible cookies that will surely become a beloved favorite!
Vintage Cranberry Kitchen Cookies Ingredients
For the Batter
- ½ cup butter or margarine – Provides richness and moisture; substitute with plant-based margarine for a dairy-free option.
- ¼ cup granulated sugar – Adds sweetness and contributes to the cookie’s texture.
- ¼ cup packed brown sugar – Enhances flavor depth with a hint of caramel.
- ¼ cup milk (or ⅓ cup for orange extract) – Moisture and structure; use plant-based milk like almond or oat as a substitute.
- 2 tbsp orange juice (or 1 tsp orange extract) – Adds citrus flavor; can be replaced with lemon juice for a different twist.
- 1 large egg – Binds ingredients and aids in leavening; consider a flax egg for a vegan alternative.
- 3 cups sifted all-purpose flour – The main structure; use a gluten-free 1:1 flour blend as a substitute.
- 1 tsp baking powder – Provides leavening for a lighter texture.
- ¼ tsp baking soda – Enhances leavening for fluffy cookies.
- ½ tsp salt – Balances sweetness and enhances flavors.
For the Mix-Ins
- 1 cup chopped nuts (walnuts or pecans) – Adds crunch; optional and can be replaced with seeds like pumpkin or sunflower.
- 2½ cups coarsely chopped fresh cranberries – Provides tartness and moisture; frozen cranberries can be used directly without thawing.
Optional Toppings
- White chocolate chips – Replace nuts for an extra touch of sweetness.
- Orange or lemon zest – For an added citrus aroma that enhances the flavor of the Vintage Cranberry Kitchen Cookies.
Now that you have everything you need, let’s dive into creating these delightful cookies that will warm both your heart and your home!
How to Make Vintage Cranberry Kitchen Cookies
-
Preheat Oven & Prep Pans: Start by preheating your oven to 375°F (190°C). While it warms up, prepare your baking sheets by lining them with parchment paper or greasing them to prevent sticking.
-
Cream Butter & Sugars: In a large mixing bowl, beat the softened butter with both granulated and brown sugars until the mixture turns pale and fluffy—this should take about 2-3 minutes.
-
Add Wet Ingredients: Next, combine the milk, orange juice, and egg in a separate bowl. Gradually mix it into the butter-sugar mixture until everything is smooth and well incorporated.
-
Mix Dry Ingredients: In another bowl, sift together the flour, baking powder, baking soda, and salt. This step is crucial as it helps prevent lumps and ensures even distribution of the leavening agents.
-
Combine Wet & Dry: Slowly add the dry ingredient mixture to the wet ingredients, mixing at low speed until just combined. Be careful not to overmix, as this could affect the texture of your cookies.
-
Fold in Nuts & Cranberries: Gently fold in your chopped nuts and fresh cranberries with a spatula, being careful to distribute them evenly without overworking the dough.
-
Portion Cookies: Using a tablespoon, drop rounded teaspoons of dough onto your prepared baking sheets, leaving about 2 inches of space between each cookie to allow for spreading.
-
Bake: Place the cookies in the oven and bake for 10-15 minutes. They’re ready when the edges are golden brown, and the centers look soft but set.
-
Cool: Once baked, let the cookies rest on the baking sheets for 3-5 minutes. Then, using a spatula, transfer them to a wire rack to cool completely.
-
Optional Glaze: For an optional finishing touch, drizzle a simple glaze made from powdered sugar and orange juice over the cooled cookies for added sweetness and a pop of flavor.
Optional: Sprinkle with fresh orange zest before serving to enhance the aroma.
Exact quantities are listed in the recipe card below.
Expert Tips for Vintage Cranberry Kitchen Cookies
- Measure Ingredients Accurately: Use the spoon and level method for flour to avoid dense cookies; measuring too heavily can ruin the chewy texture.
- Don’t Overmix: Gently combine wet and dry ingredients to maintain a tender crumb; overmixing leads to tough cookies.
- Chill the Dough: If your cookies spread too much, chill the dough for 30 minutes; this helps them retain shape during baking.
- Use Fresh Cranberries: For the best flavor, opt for fresh cranberries; if using frozen, don’t thaw them first to keep the dough from getting too wet.
- Experiment with Variations: Enjoy the versatility of Vintage Cranberry Kitchen Cookies by swapping nuts for white chocolate chips or adding citrus zest for extra flavor.
What to Serve with Vintage Cranberry Kitchen Cookies?
Imagine the warmth of your kitchen as you savor rich flavors and delightful textures that elevate your baking experience.
- Earl Grey Tea: This fragrant tea complements the citrus aromas in the cookies, making it an ideal pairing for a cozy afternoon.
- Coffee: A classic choice, the rich coffee enhances the sweetness, balancing the tartness of cranberries perfectly.
- Fresh Fruit Salad: Light and refreshing, a fruit salad introduces vibrant flavors and adds a healthy twist to your dessert platter.
- Vanilla Ice Cream: Creamy and indulgent, this combo creates a delightful contrast to the chewy cookies, perfect for a sweet treat.
For a special occasion, consider arranging the cookies on a vintage platter surrounded by fresh berries, creating a stunning centerpiece that will draw everyone in!
Make Ahead Options
These Vintage Cranberry Kitchen Cookies are perfect for meal prep! You can prepare the cookie dough up to 3 days in advance and refrigerate it, which actually enhances the flavors. Just make sure to wrap the dough tightly in plastic wrap to prevent it from drying out or absorbing odors. When you’re ready to bake, simply bring the dough to room temperature for about 20-30 minutes before portioning it onto baking sheets. If you prefer to bake them fresh, you can also freeze pre-portioned cookie dough balls for up to 1 month; bake straight from the freezer, adding a couple of extra minutes to the baking time. With these make-ahead tips, you’ll enjoy warm, chewy cookies whenever you desire, making life a little easier on busy days!
How to Store and Freeze Vintage Cranberry Kitchen Cookies
- Room Temperature: Keep cookies in an airtight container for up to 3 days to maintain freshness and prevent them from becoming stale.
- Fridge: For extended freshness, refrigerate cookies in an airtight container for up to 1 week; allow them to come to room temperature before serving.
- Freezer: Freeze cookies in a single layer on a baking sheet before transferring to a freezer-safe bag or container. They can be stored for up to 3 months.
- Reheating: For a warm treat, reheat frozen cookies at 350°F (175°C) for about 5-7 minutes, restoring their chewy texture without losing flavor.
Vintage Cranberry Kitchen Cookies Variations
These cookies offer delightful opportunities for personalization and creativity in your kitchen!
- Gluten-Free: Substitute all-purpose flour with a 1:1 gluten-free flour blend for a deliciously chewy option everyone can enjoy.
- Nut-Free: Replace nuts with pumpkin seeds or sunflower seeds for a crunchy texture without the allergens. They’ll still add that satisfying bite!
- Citrus Twist: Use lemon juice in place of orange juice for a zesty flavor profile that adds a refreshing brightness to each cookie.
- Chocolate Lovers: Swap half the cranberries for semi-sweet chocolate chips to create a decadent version with a sweet, melty surprise in every bite.
- Spiced Up: Add 1 teaspoon of cinnamon or a pinch of nutmeg to the dry ingredients for an aromatic autumnal flavor that warms the heart.
- Sweet Drizzle: Top with a simple icing made from powdered sugar and milk (or almond milk) to enhance the sweetness; a decorative touch that adds charm!
- Dairy-Free: Use plant-based margarine instead of butter and a flax egg instead of a regular egg for a completely dairy-free treat.
Explore these variations and make the recipe your own, creating unforgettable moments around the cookie jar!
Vintage Cranberry Kitchen Cookies Recipe FAQs
How do I select ripe cranberries for the recipe?
Absolutely! Look for firm cranberries that are bright red in color. Avoid any with dark spots or softness, as these may be overripe. If you can’t find fresh cranberries, frozen ones work perfectly and can be used directly without thawing.
What is the best way to store leftovers?
To keep your Vintage Cranberry Kitchen Cookies fresh, store them in an airtight container at room temperature for up to 3 days. If you want to extend their freshness, they can be refrigerated for up to a week. Just allow them to come to room temperature before enjoying!
Can I freeze the cookie dough?
Yes, you can freeze your cookie dough! Form the dough into balls and place them in a single layer on a baking sheet. Freeze them for about 1-2 hours until firm, then transfer the dough balls into a freezer-safe bag. They can be stored for up to 3 months. When you’re ready to bake, you can pop them in the oven directly from the freezer, just add a couple of extra minutes to the bake time.
What should I do if my cookies spread too much while baking?
If your cookies spread excessively, don’t panic! This can happen for a few reasons, often due to room temperature ingredients or not chilling the dough. To remedy this, you can chill the dough for 30 minutes before baking, which helps maintain their shape. Also, make sure your butter is softened but not melted, as melted butter can lead to spreading.
Are there any dietary considerations to keep in mind?
Very! These cookies can easily accommodate various dietary needs. To make them gluten-free, simply use a gluten-free 1:1 flour blend. For a dairy-free option, swap out the butter for plant-based margarine and the milk for almond or oat milk. If you have nut allergies, feel free to omit the nuts entirely or replace them with seeds like pumpkin or sunflower for a similar crunch.
Can I use orange extract instead of juice?
Absolutely! If you prefer a more concentrated orange flavor without the added liquid, use 1 teaspoon of orange extract in place of the 2 tablespoons of orange juice. This will infuse the cookies with a lovely aroma while still maintaining the chewy texture we love in Vintage Cranberry Kitchen Cookies.
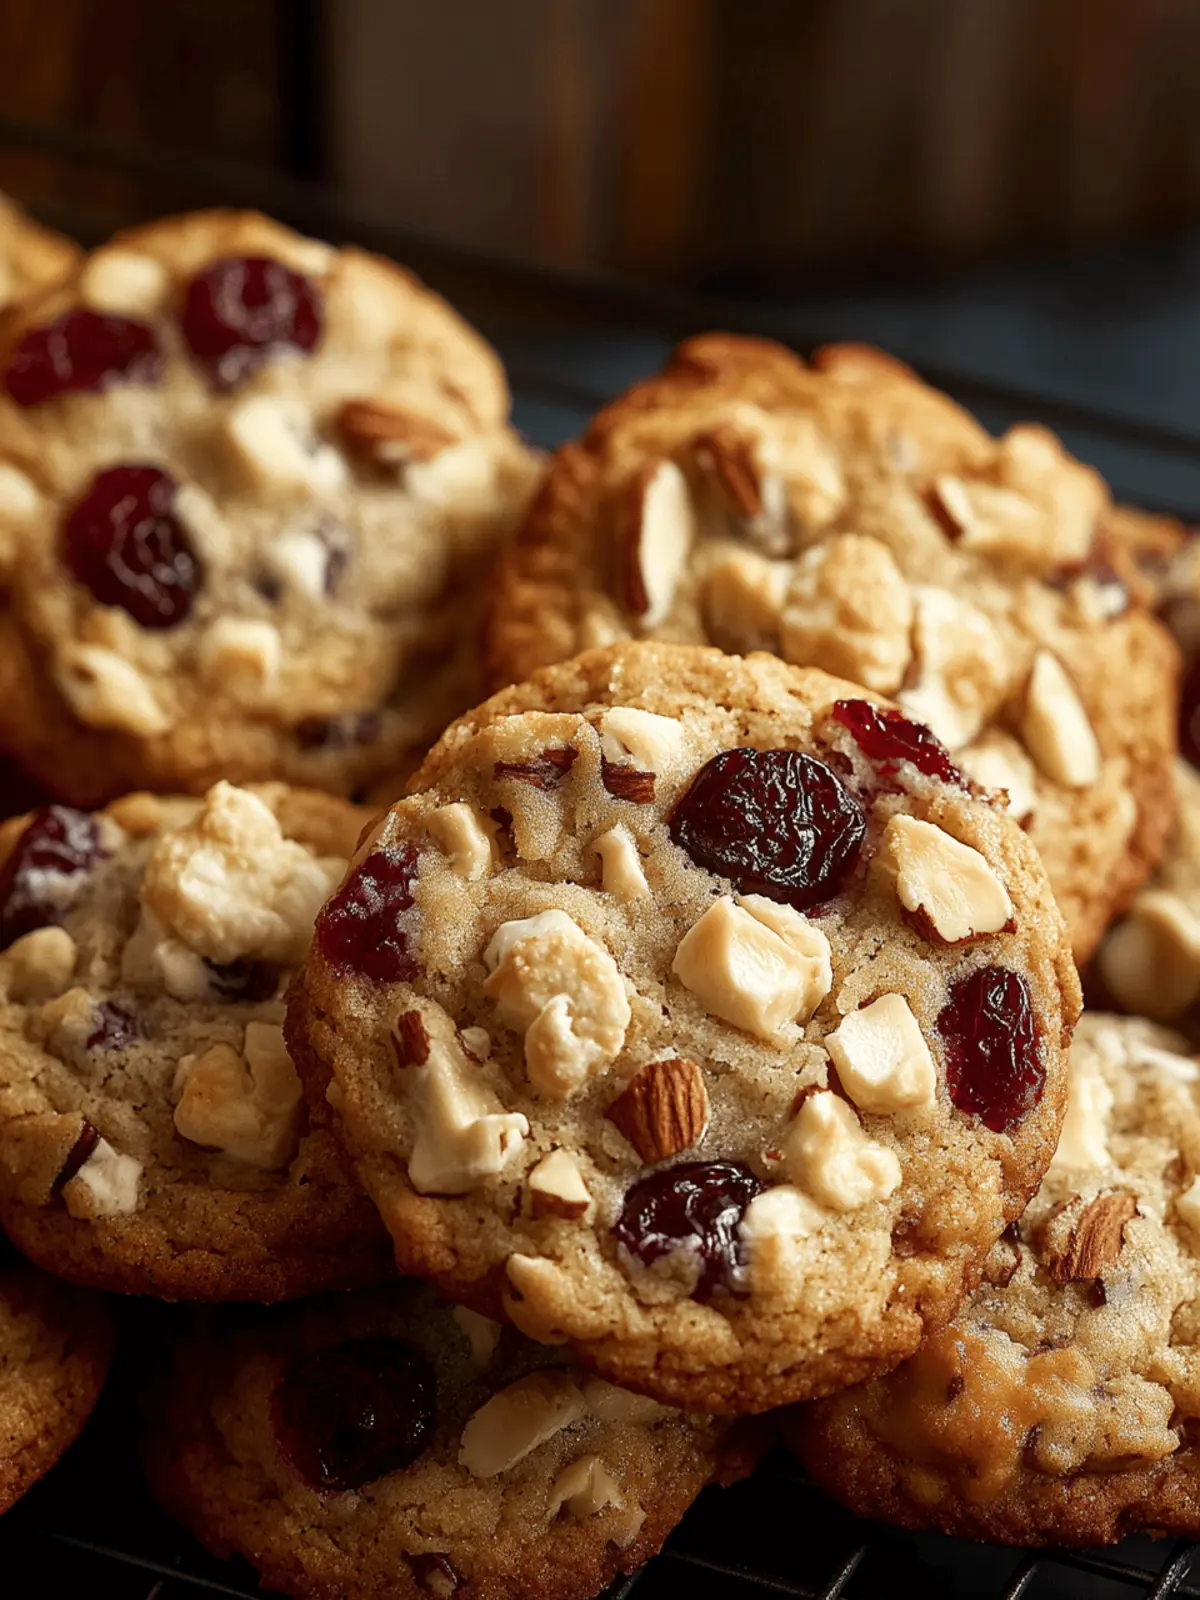
Vintage Cranberry Kitchen Cookies: Sweet, Chewy & Irresistible
Ingredients
Equipment
Method
- Preheat oven to 375°F (190°C) and prepare baking sheets with parchment paper or grease them.
- In a large bowl, beat softened butter with granulated and brown sugars until pale and fluffy (2-3 minutes).
- Combine milk, orange juice, and egg in a separate bowl, then mix into the butter-sugar mixture until smooth.
- Sift together flour, baking powder, baking soda, and salt in another bowl.
- Slowly add dry ingredients to wet ingredients, mixing at low speed until just combined.
- Gently fold in chopped nuts and cranberries with a spatula.
- Drop rounded teaspoons of dough onto prepared baking sheets, spacing them about 2 inches apart.
- Bake for 10-15 minutes until edges are golden brown and centers look soft but set.
- Allow cookies to rest on baking sheets for 3-5 minutes, then transfer to a wire rack to cool completely.
- (Optional) Drizzle a simple glaze made from powdered sugar and orange juice over cooled cookies.

